QuickBooks – Configuration Guide
QuickBooks is an accounting software package developed and marketed by Intuit. QuickBooks products are geared mainly toward small and medium-sized businesses and offer on-premises accounting applications as well as cloud-based versions that accept business payments, manage and pay bills, and payroll functions.
How to connect to the QuickBooks API
Apideck enables you to build a native integration with QuickBooks. This guide explains how to configure the QuickBooks connector.
Before you start, you’ll need:
To create your Intuit Developer account, follow the steps below.
- Navigate to developer.intuit.com
- On the menu bar, click Sign up, which will open the "Create your account" form.
- Fill out the form and click Create Account, which redirects you to the developer homepage.
- Navigate to Account Profile, fill out your profile details, and click Submit.
- Watch the email inbox you specified for a confirmation message and a second message that contains some introductory links to get you started.
- To create a new app, navigate to the Apps dashboard and click Create an app. Copy the Client ID and Secret.
- Add the Apideck Redirect URI:
https://unify.apideck.com/vault/callback - Go back to Apideck to configure the QuickBooks connector with your Client ID and Secret.
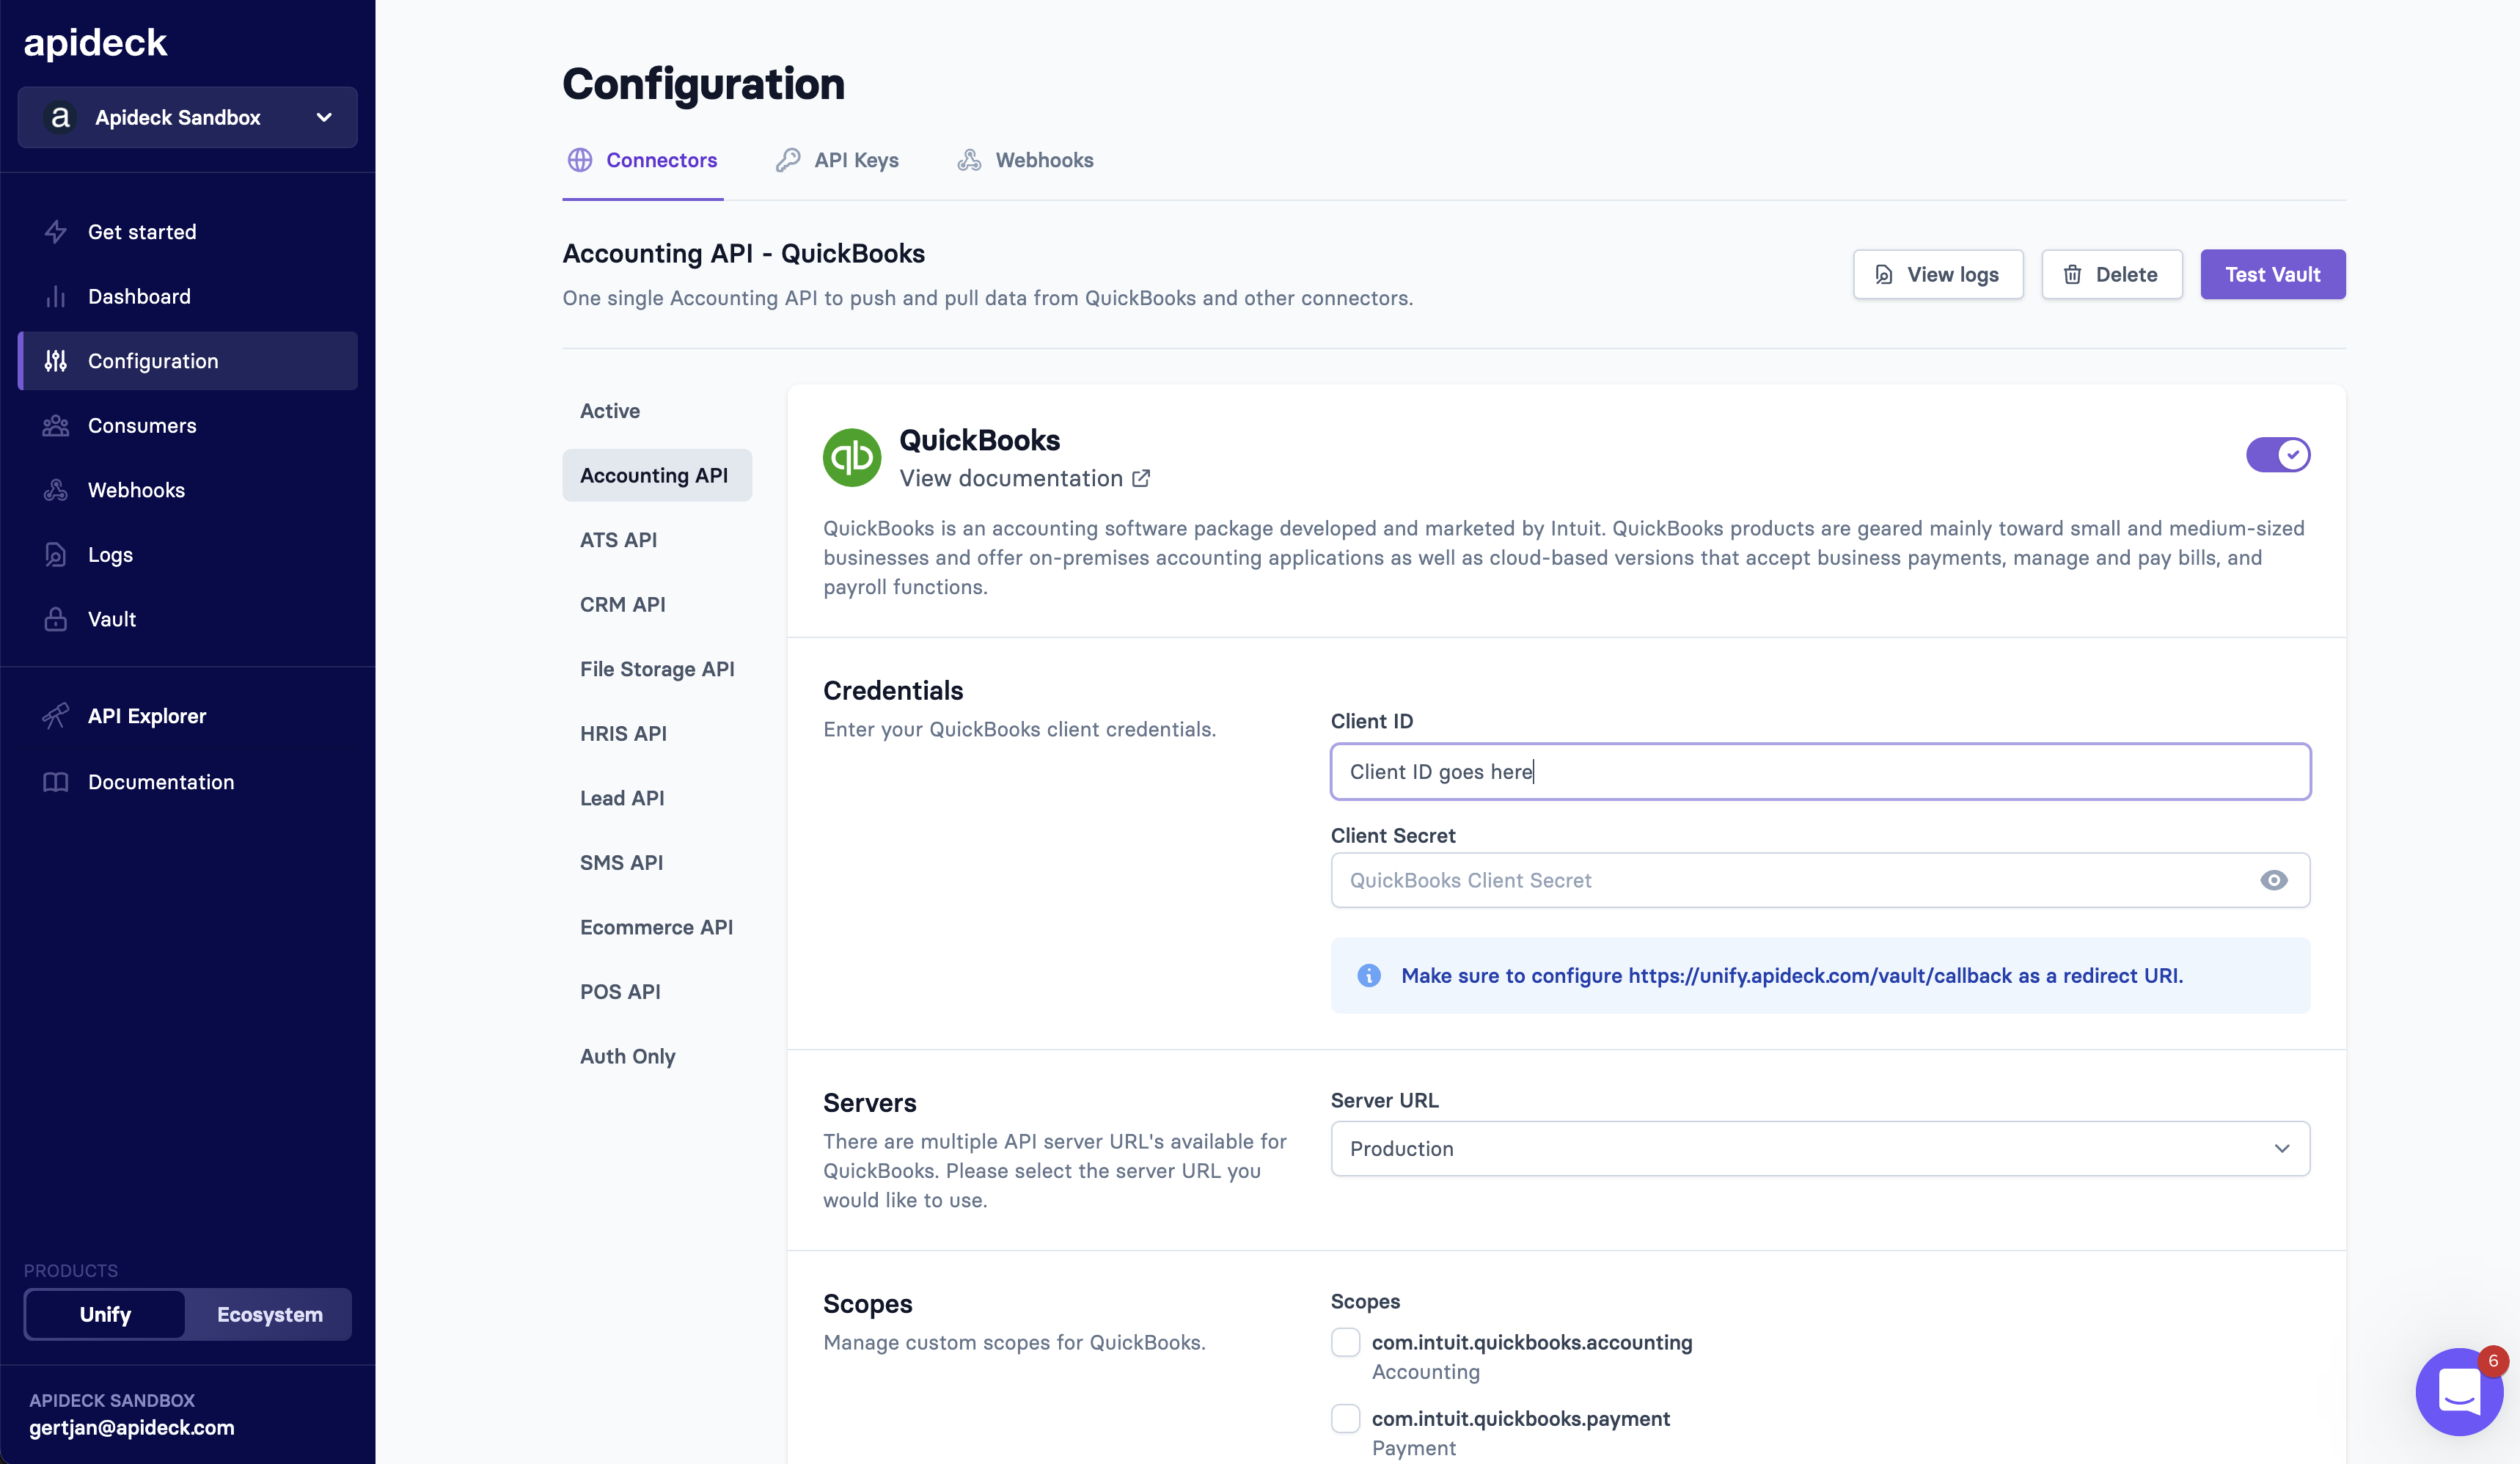
Required Scopes for QuickBooks Integration
When setting up the QuickBooks connector in the Apideck dashboard, you’ll be asked to select the scopes your integration requires. Scopes define which parts of the QuickBooks API your app can access.
At a minimum, you should enable:
com.intuit.quickbooks.accounting— This grants access to QuickBooks accounting data (such as invoices, customers, and general ledger information).
This is the only required scope for most accounting use cases.
If your integration needs to access user-specific identity information (like name, email, phone number, or address), you must also select:
openid— Enables identity support via OpenID Connect.
This scope is required in order to use any of the following:profile— For the user’s first and last nameemail— For the user’s email addressphone— For the user’s phone numberaddress— For the user’s physical address
Important: Selecting profile, email, phone, or address without selecting openid will cause the connection to fail.
Do your first API call to the QuickBooks API
-
Connect your QuickBooks account through Vault with a test session.
-
To test the access token, make a query to get your
Invoicesendpoint using the Accounting API.
Start building with the QuickBooks API
Learn what else you can build with the QuickBooks API.
Interested in a personalized demo? Let us know.
Next steps
- Disconnect Setup Guide — configure the Disconnect URL so Apideck is notified when a user disconnects your app from within QuickBooks Online.
- App Compliance Guide — answer Intuit's App Assessment and Compliance Questionnaire to certify your app.
- API Changes Guide — review Intuit's recent rate-limit, deprecation, and query-filtering changes that may affect your integration.
- Departments and Classes Guide — enable and map QuickBooks Departments, Locations, and Classes through the Apideck Accounting API.