How to register an OAuth app for SD Worx
Apideck enables you to build a native integration with SD Worx, a comprehensive HR and payroll solution that delivers people solutions across the entire employee lifecycle. This guide explains how to configure the SD Worx connector.
Prerequisites
Before you begin, make sure you have the following:
- An SD Worx account with API access enabled
- Your SD Worx Company ID (contact SD Worx support to obtain this)
Getting credentials from SD Worx
1. Contact SD Worx Support
To get started with the SD Worx API, contact SD Worx support to:
- Request API access for your account
- Obtain your Company ID
- Get your OAuth client credentials (Client ID and Client Secret)
- Ensure the necessary API permissions are granted
2. Obtain your Company ID
Your Company ID is a unique identifier for your organization within the SD Worx system. This will be provided by SD Worx support when you request API access.
💡 Tip: Keep your Company ID handy—you'll need it during the connection setup.
3. Get OAuth credentials
SD Worx uses OAuth 2.0 for authentication. You will receive:
- Client ID — Your application's unique identifier
- Client Secret — A key used to sign JWT assertions
Configure connector
Once you have your SD Worx credentials, you can enter them in Apideck to connect securely.
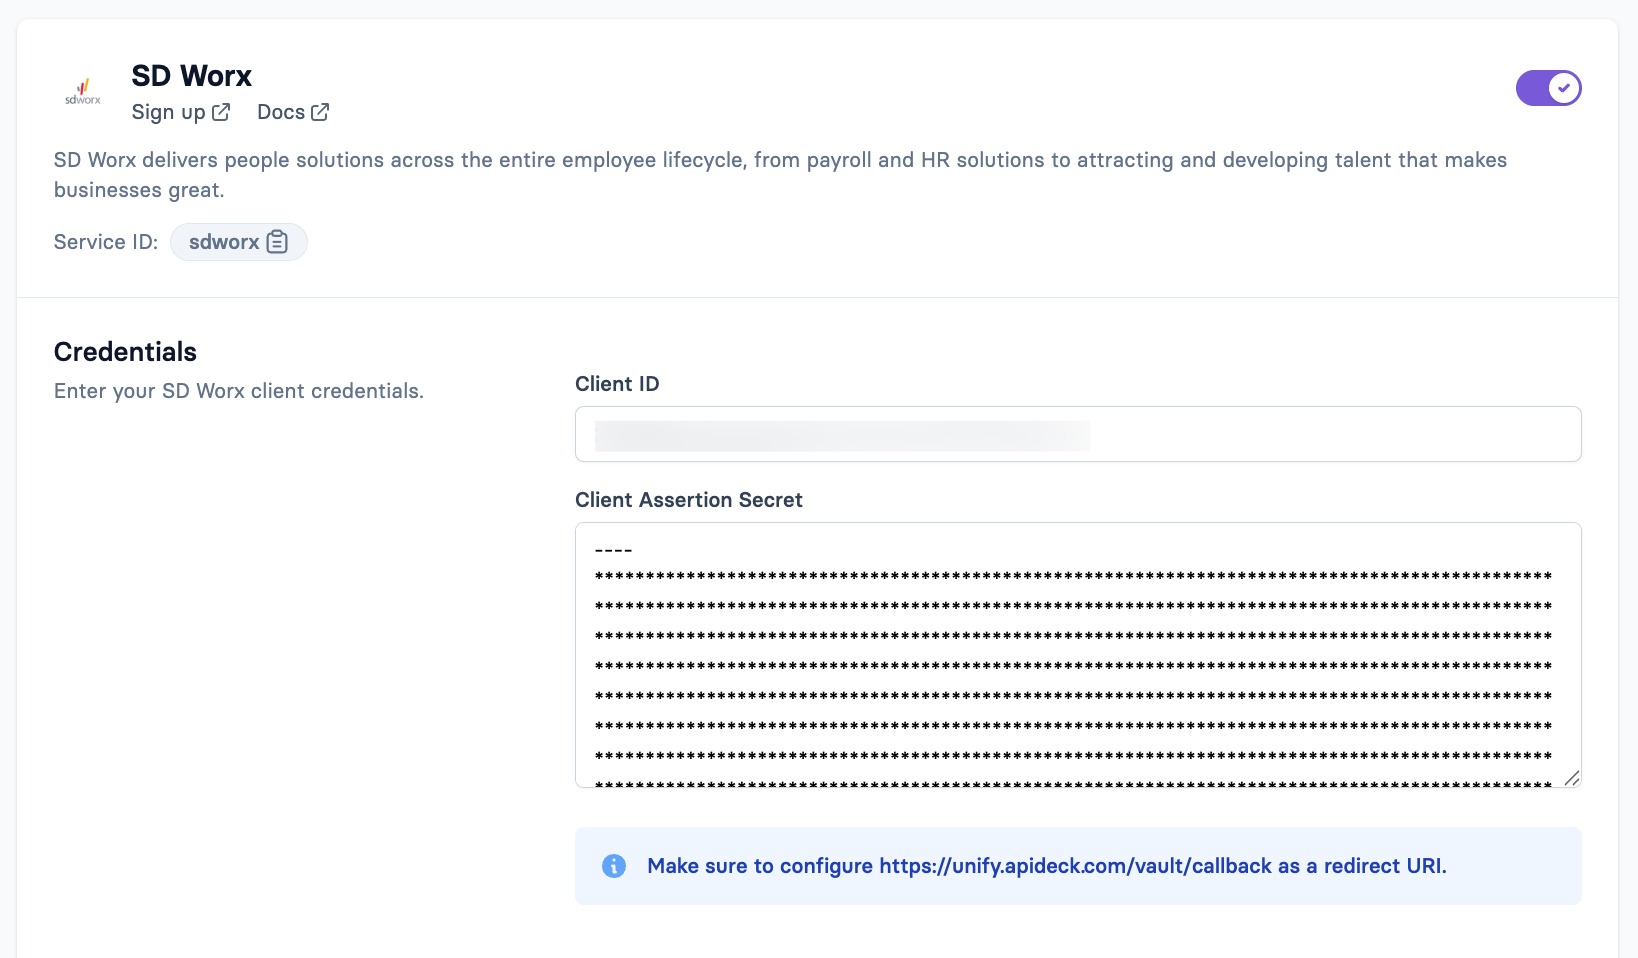
Go to Apideck → Configuration → HRIS → SD Worx
Enter the following credentials:
- Client ID — Your OAuth client ID from SD Worx
- Client Secret — Your OAuth client secret from SD Worx

Environment selection
SD Worx provides both production and testing environments:
- Production:
https://app.sdworx.com/wow - Testing:
https://app.acc.sdworx.com/wow
The connector automatically detects the environment based on your server URL configuration. Make sure to select the correct one in the dropdown.

Virtual webhooks
The SD Worx connector supports virtual webhooks for real-time employee updates. You can enable or disable the Employees resource.
Supported events:
hris.employee.createdhris.employee.updatedhris.employee.terminated

Press "Save settings" to save your configuration.
✅ Now you're ready—clients can authorize the connection to their SD Worx account securely.
Test the connector
-
Click "Test Vault" on the top-right corner of the configuration page. This starts a Vault session linked to
test-consumer.
-
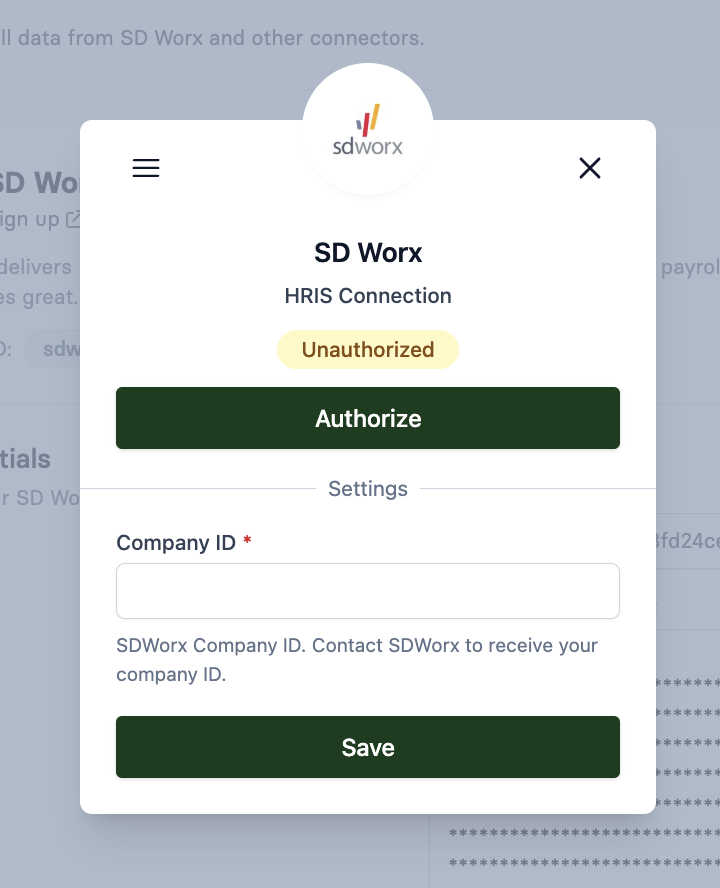
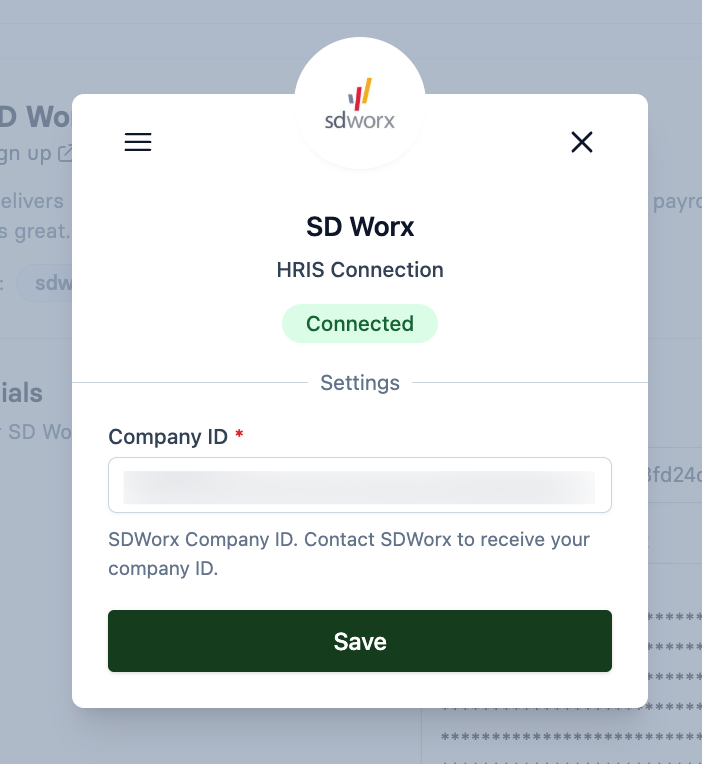
Enter the Company ID and click Save

-
Click Authorize — the status will change to Connected
