Creating an OAuth App for Dropbox
This guide will walk you through creating a Dropbox app, retrieving your Client ID and Client Secret, and adding them to your Apideck dashboard so you can sync files securely.
Step 1: Create a Dropbox App
-
Access the Dropbox developers page at https://www.dropbox.com/developers

-
Click Create App
-
Select the following options:
- API: Choose Scoped Access
- Type of Access: Select Full Dropbox (or App Folder if you only want access to a specific folder)
- Name your app: Enter a unique name (e.g., YourCompany-Integration)
-
Click Create App

Step 2: Configure App Settings
-
On the App Settings page:
- Copy the App Key (this will be your Client ID)
- Copy the App Secret (this will be your Client Secret)
-
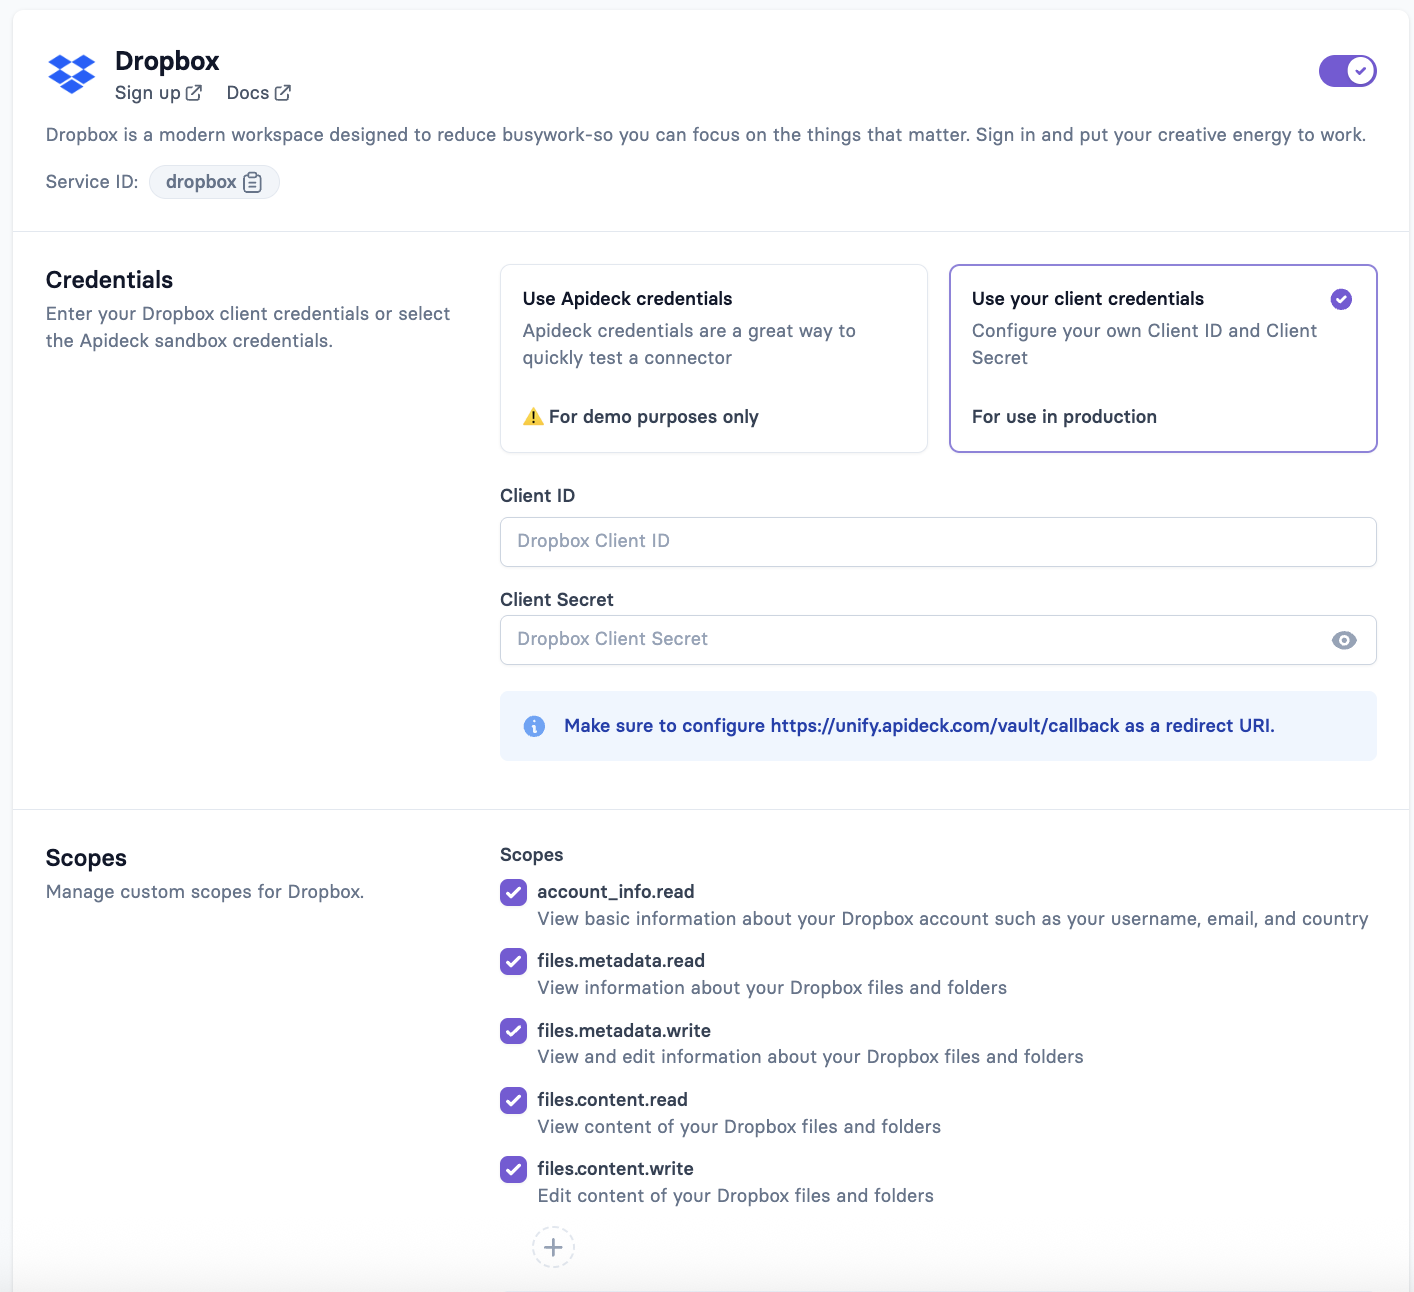
Under OAuth 2, add a redirect URI:
- Use the callback URL:
https://unify.apideck.com/callback - Click Add to save it
- Use the callback URL:
-
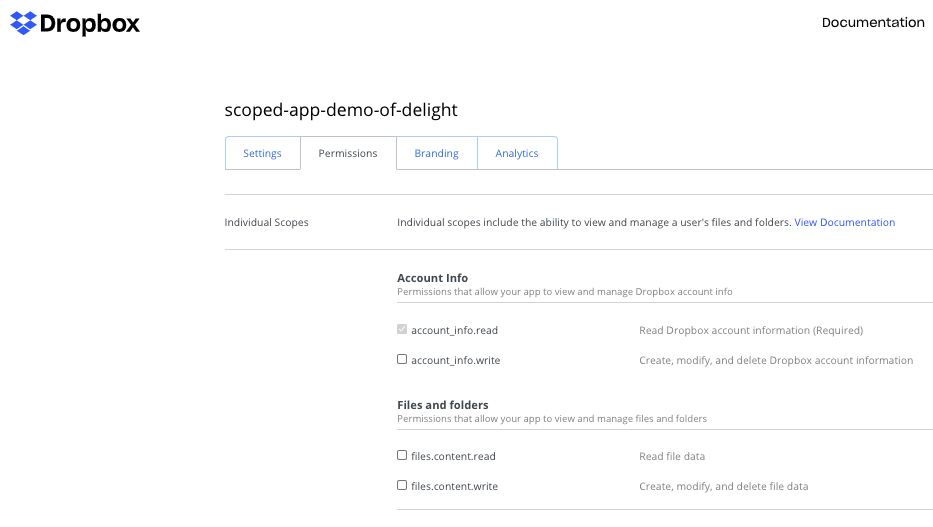
Under Permissions, make sure to assign these scopes:
-
account_info.read
View basic information about your Dropbox account such as your username, email, and country -
files.metadata.read
View information about your Dropbox files and folders -
files.metadata.write
View and edit information about your Dropbox files and folders -
files.content.read
View content of your Dropbox files and folders -
files.content.write
Edit content of your Dropbox files and folders

-
-
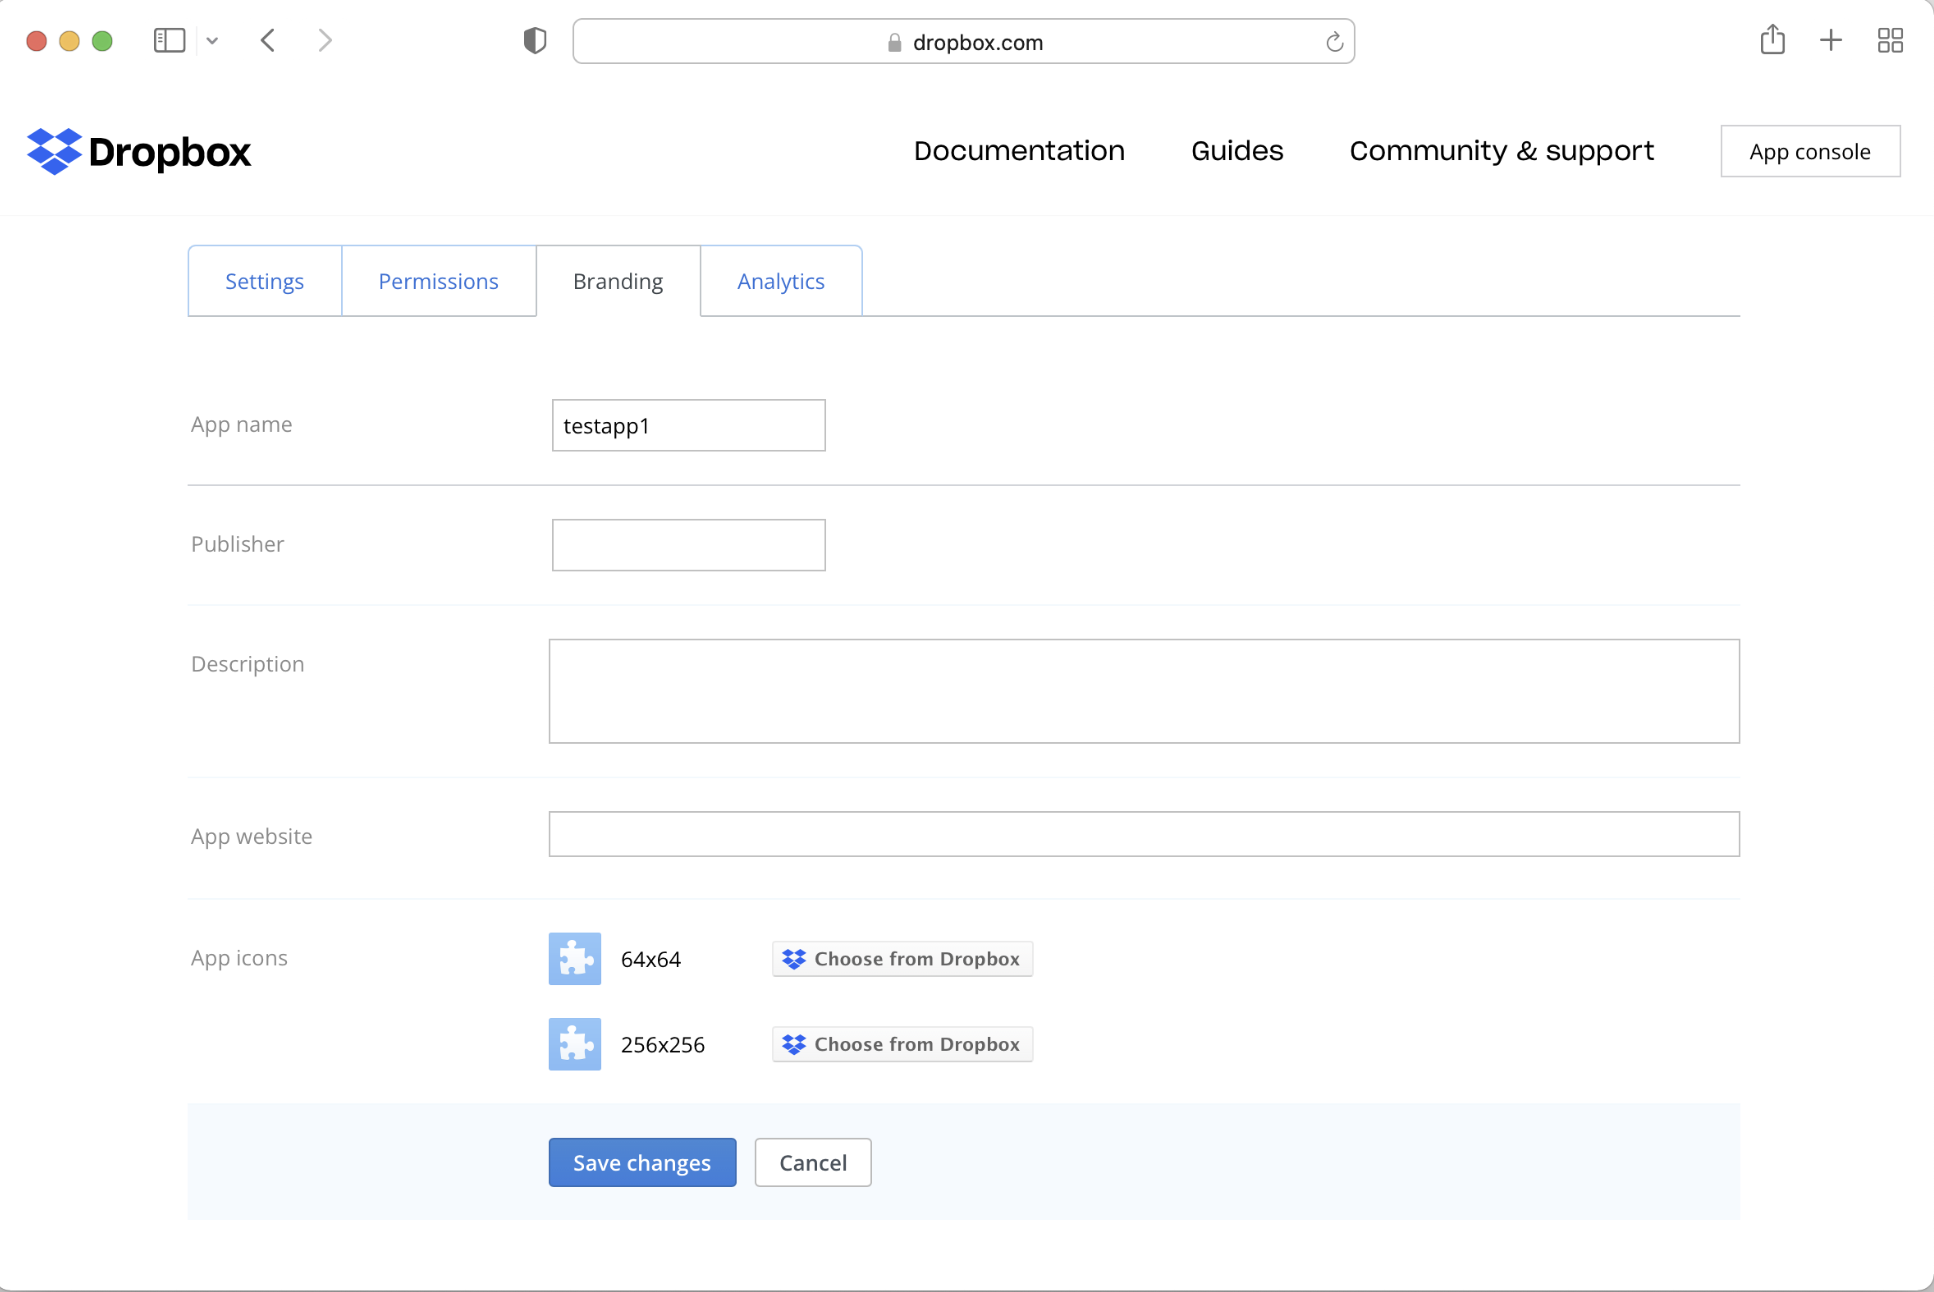
(Optional) Configure your domain name and logo on the Branding tab

Step 3: Add Credentials to Your Apideck Dashboard
-
Log in to your Apideck Dashboard
-
Navigate to Configuration → Dropbox
-
Enter the Client ID and Client Secret you copied earlier
-
Save your changes

Step 4: Test the Connection
-
Go back to the Dropbox integration in your dashboard
-
Click Test Vault to launch a Dropbox sign-in window
-
You’ll be redirected to Dropbox to authorize the connection
-
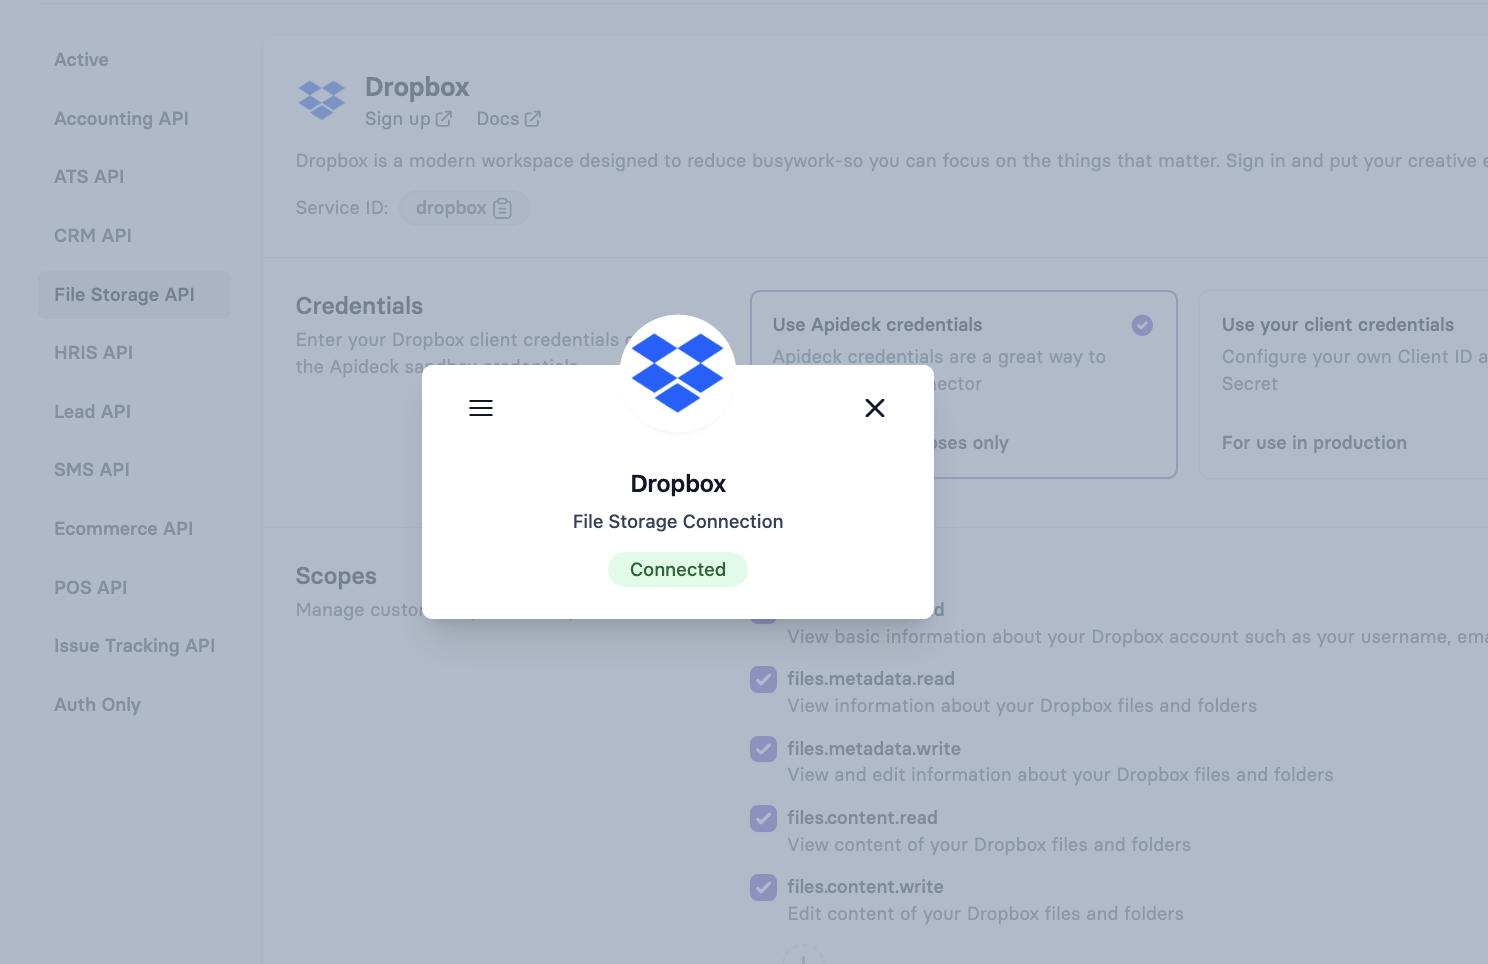
After granting access, you should see the integration status as Connected

🎉 You’re Done!
Your Dropbox integration is now set up and ready to use through Apideck.