Creating an OAuth App for CatalystOne
Introduction
CatalystOne Solutions is a Nordic leader in HCM (Human Capital Management) software and provides user-friendly solutions for processes such as HR master data, performance management, talent management, and learning management. It's one of the connectors available on our HRIS API. Integrating CatalystOne into your application can enhance its functionality, allowing users to access their employee data directly from your app. This guide will walk you through the steps to create an OAuth app for CatalystOne integration.
To create a connection, you need to complete the following steps:
- Login to your admin account
- Create a new app
- Configure your application
- Configure your resources
- Configure your Unify connection
Login to your admin account
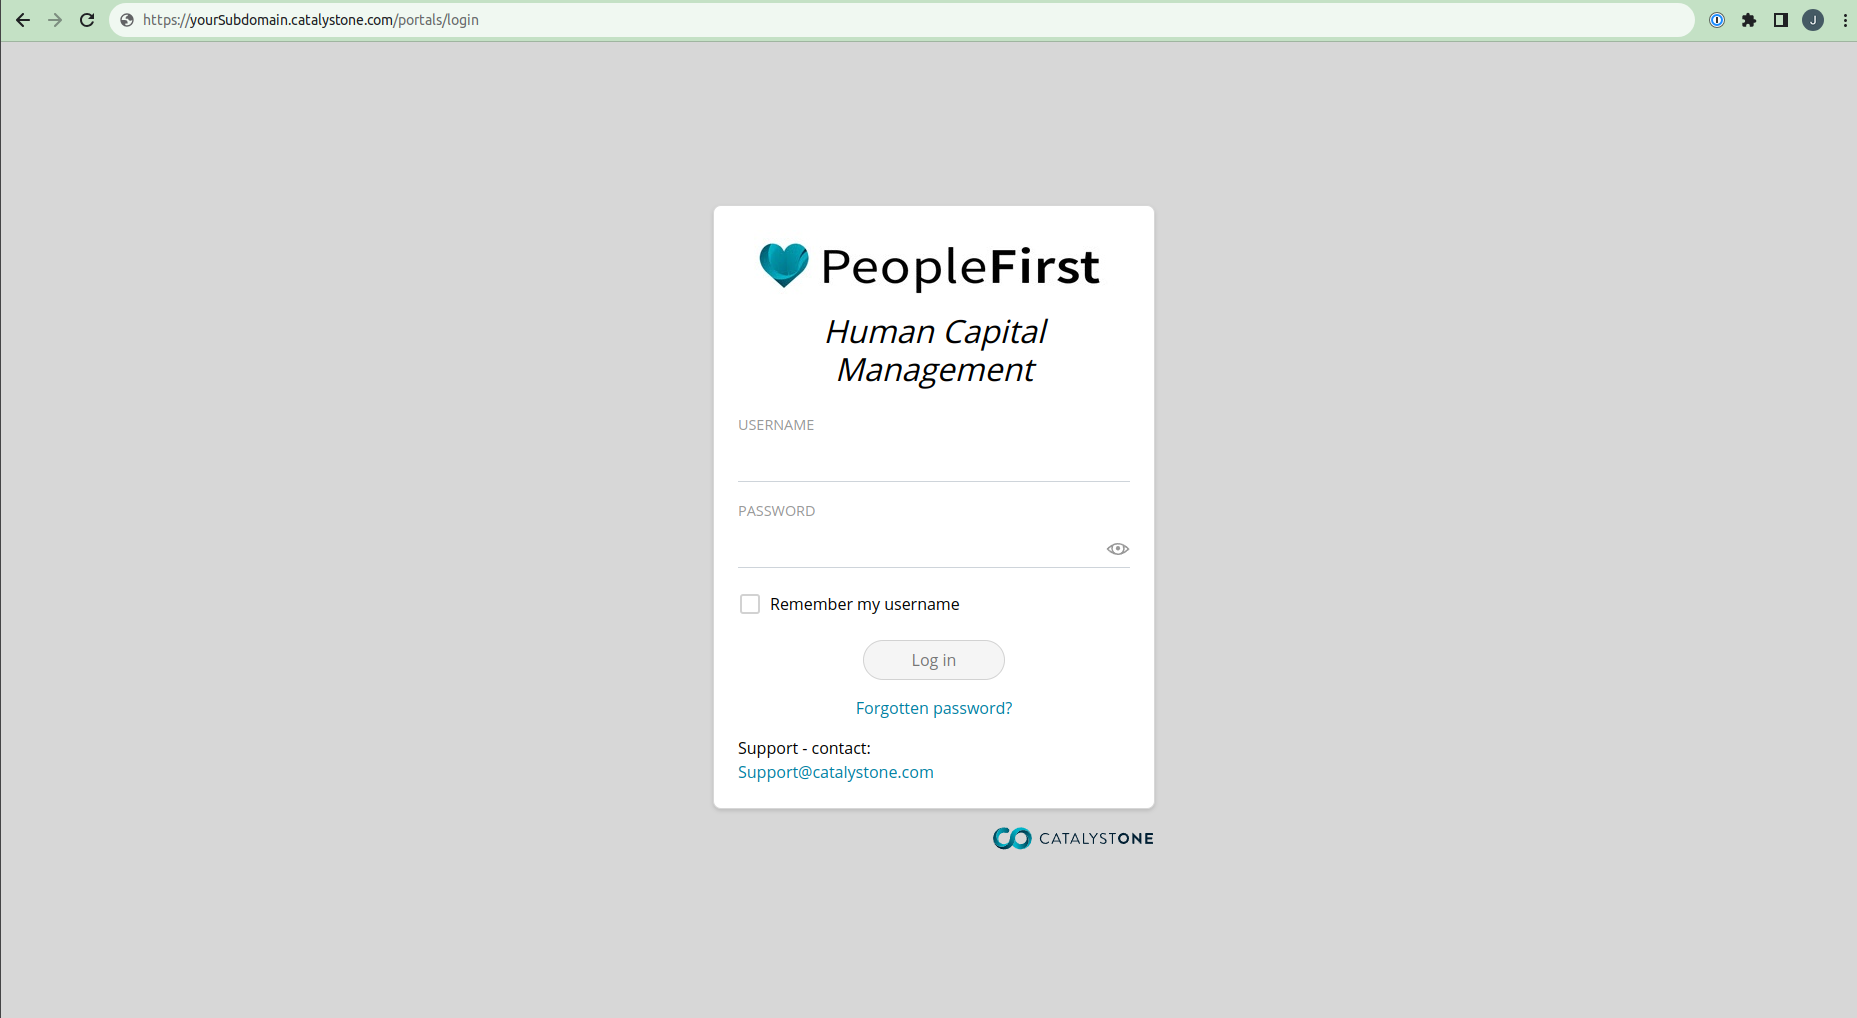
After registering with CatalystOne, you will be able to log in with your admin account.
Use your subdomain assigned by CatalystOne and your admin credentials.
Create a new app
From your dashboard, select the "Administration" tab and then navigate to the "API configuration" section.
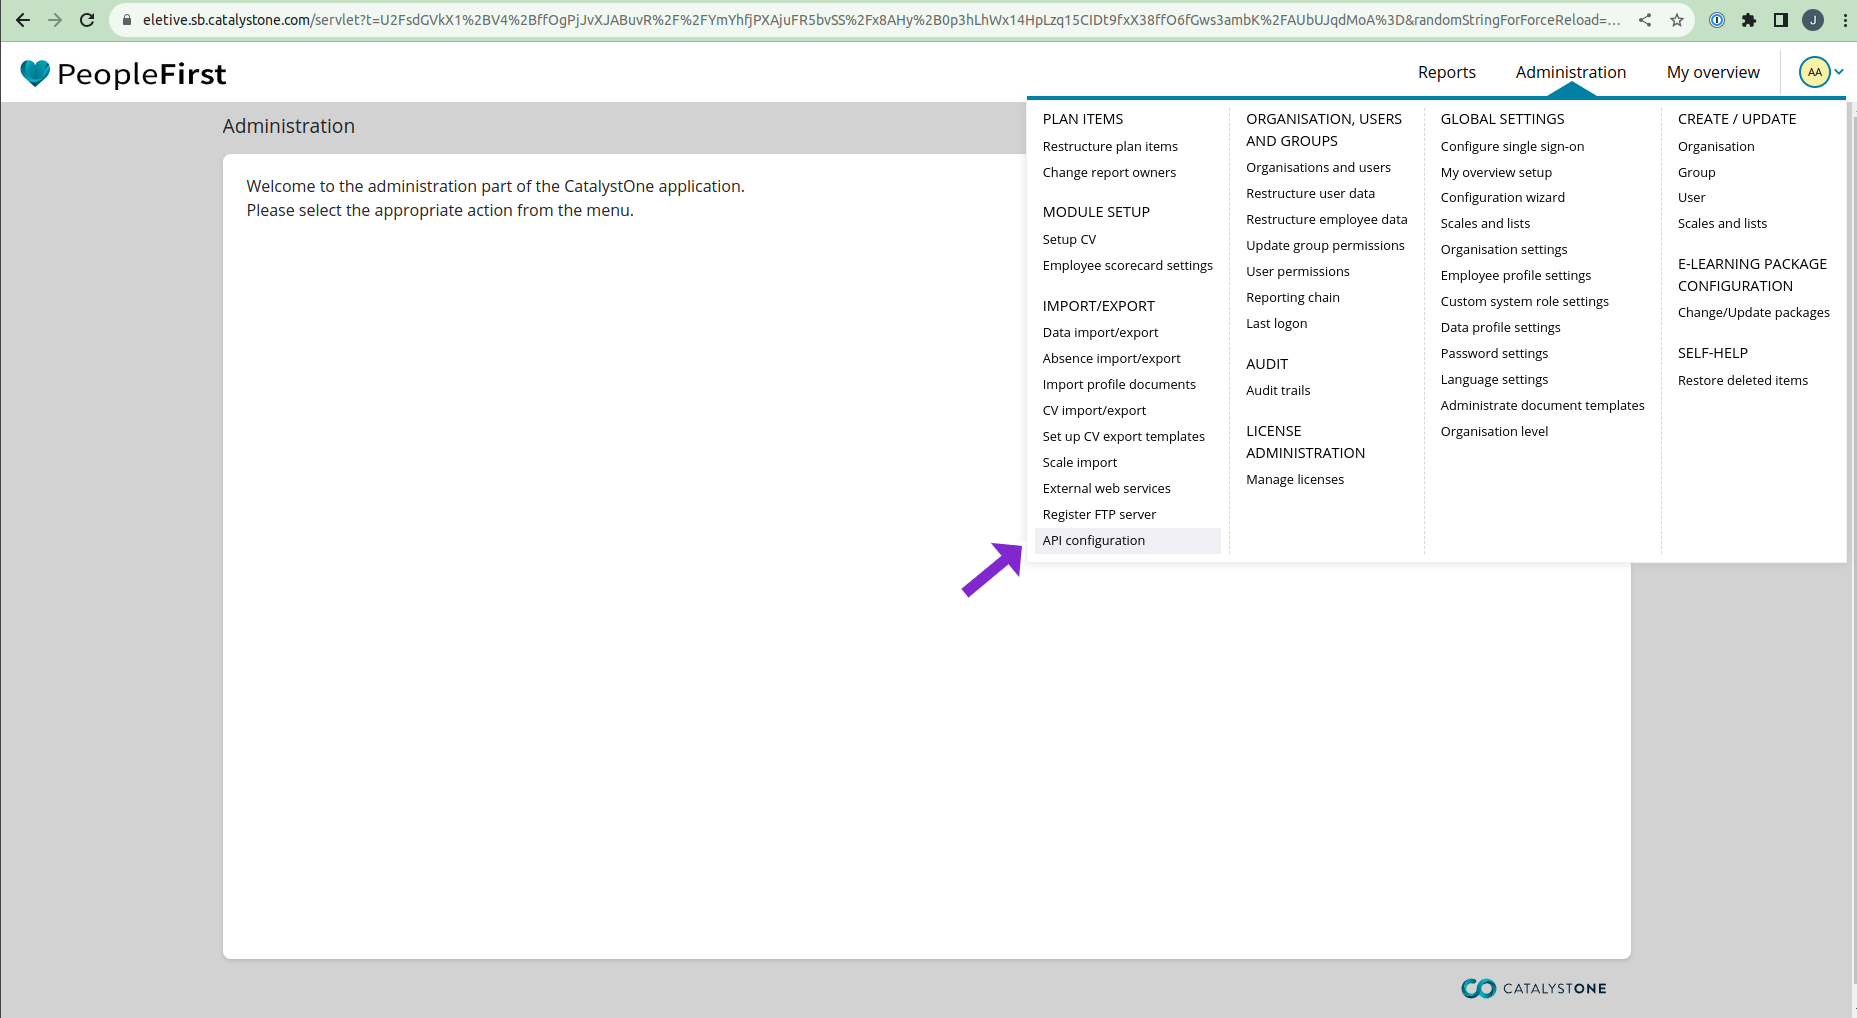
In the API configuration, select "New API Setup" to create a new app and obtain its credentials.
![]()
Configure your application
Configure your app by entering a name and an optional description.
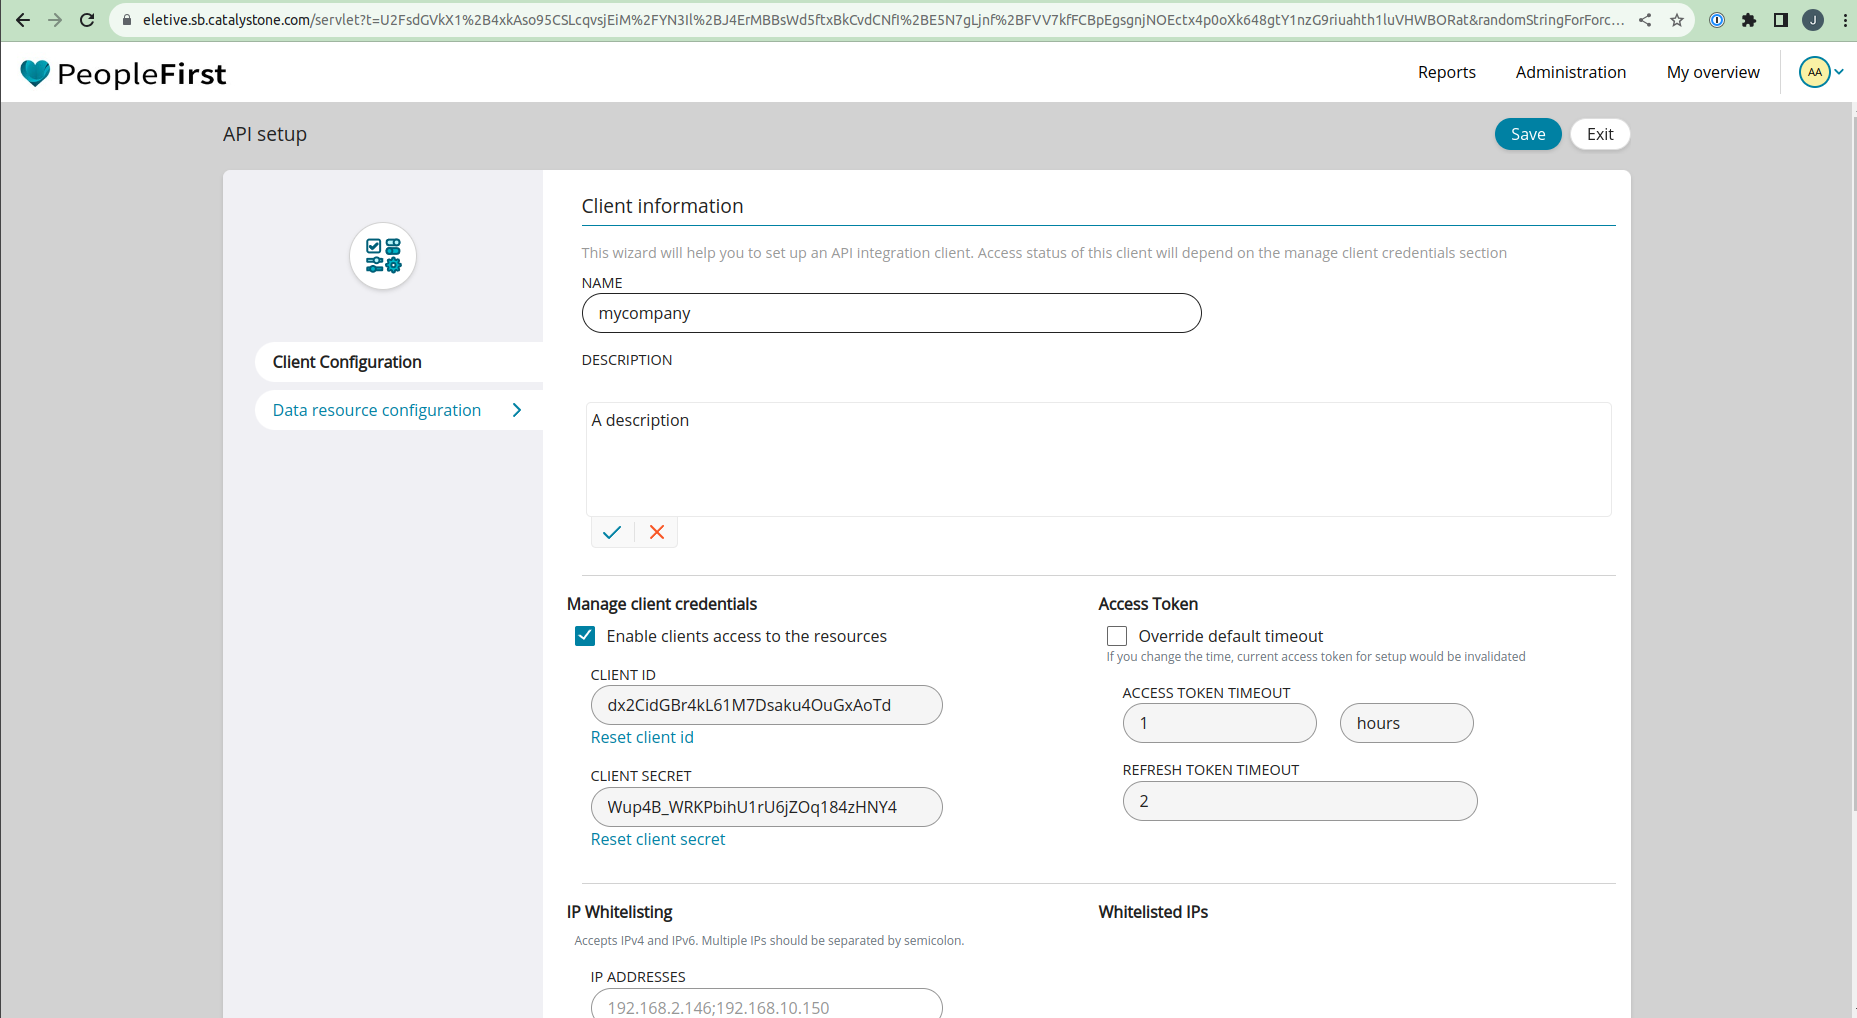
💡 TIP: Copy the "Client Id" and the "Client secret". You will need them in one of the next steps.
Configure your resources
Open the Data resource configuration in the left sidebar and manage the resources you want to handle with Apideck. Currently, we support employees and departments that require employee and organizational resources from CatalystOne. Check all the operations you want to allow.
In the employee profile selection criteria select any identifier and any filter criteria if needed.
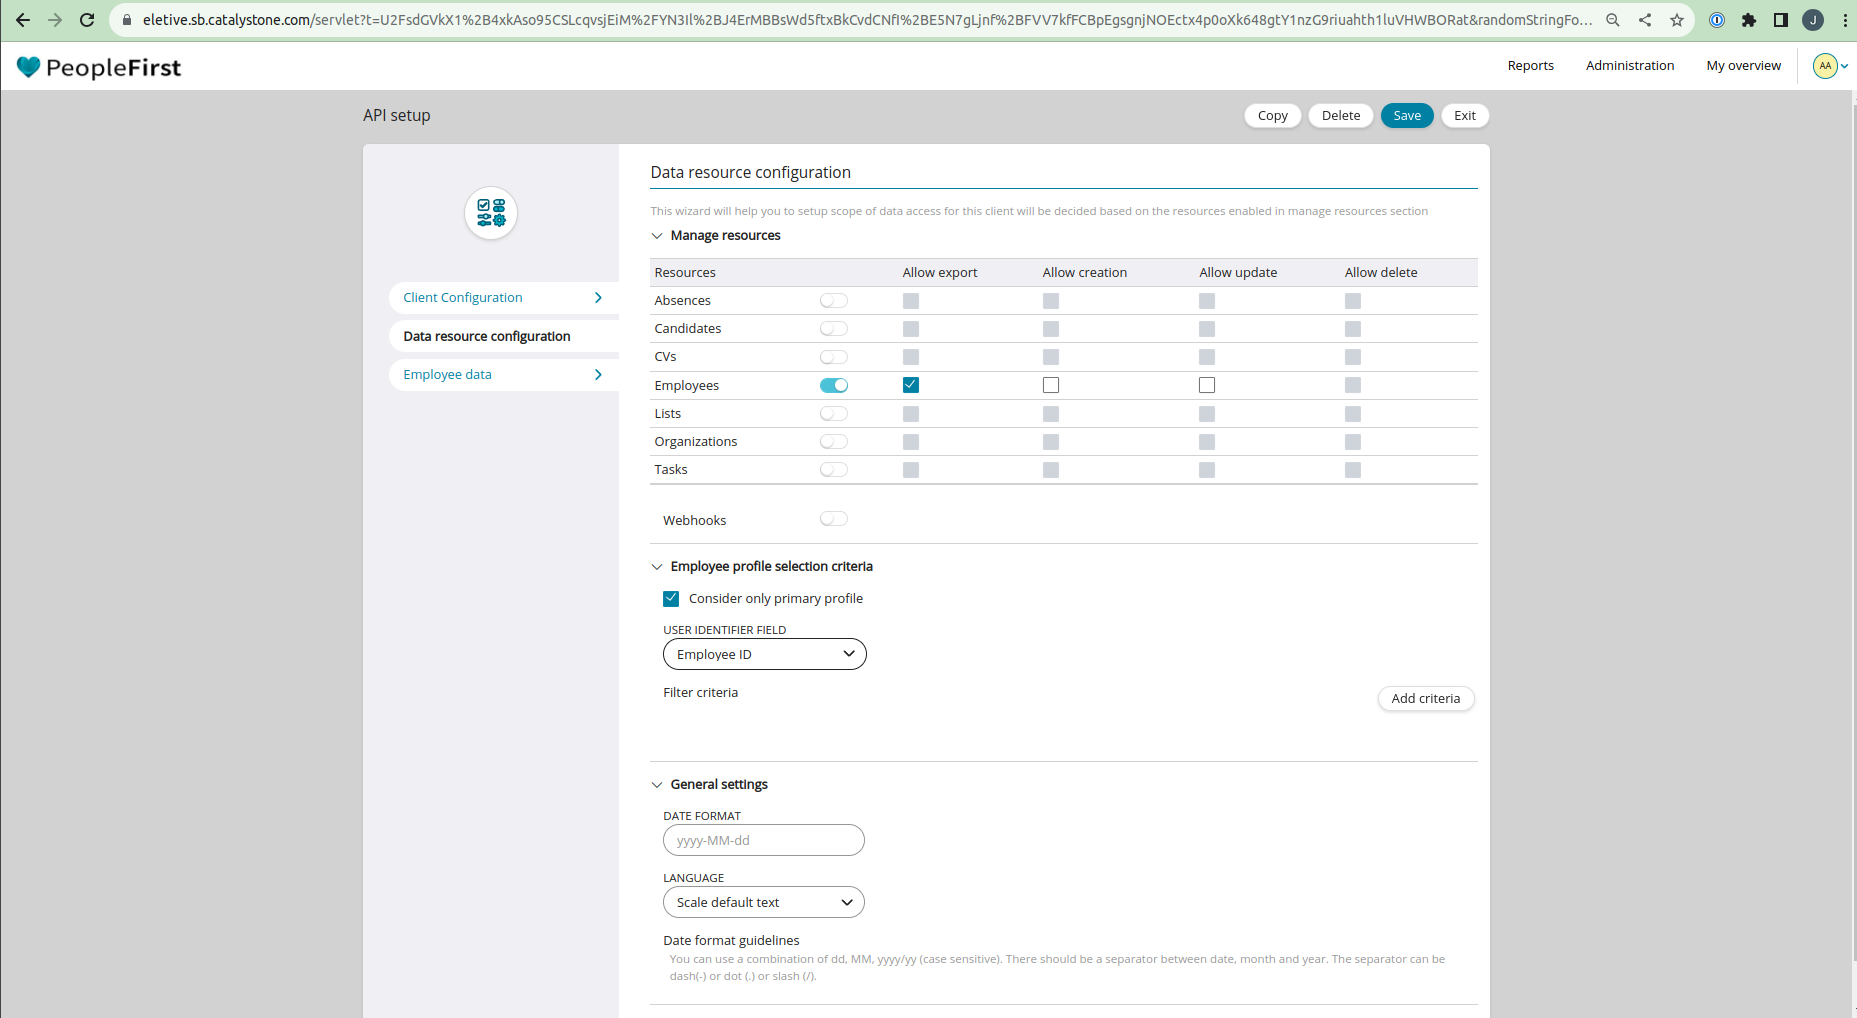
Select the resources data on the sidebar and check the fields you want to allow from each resource.
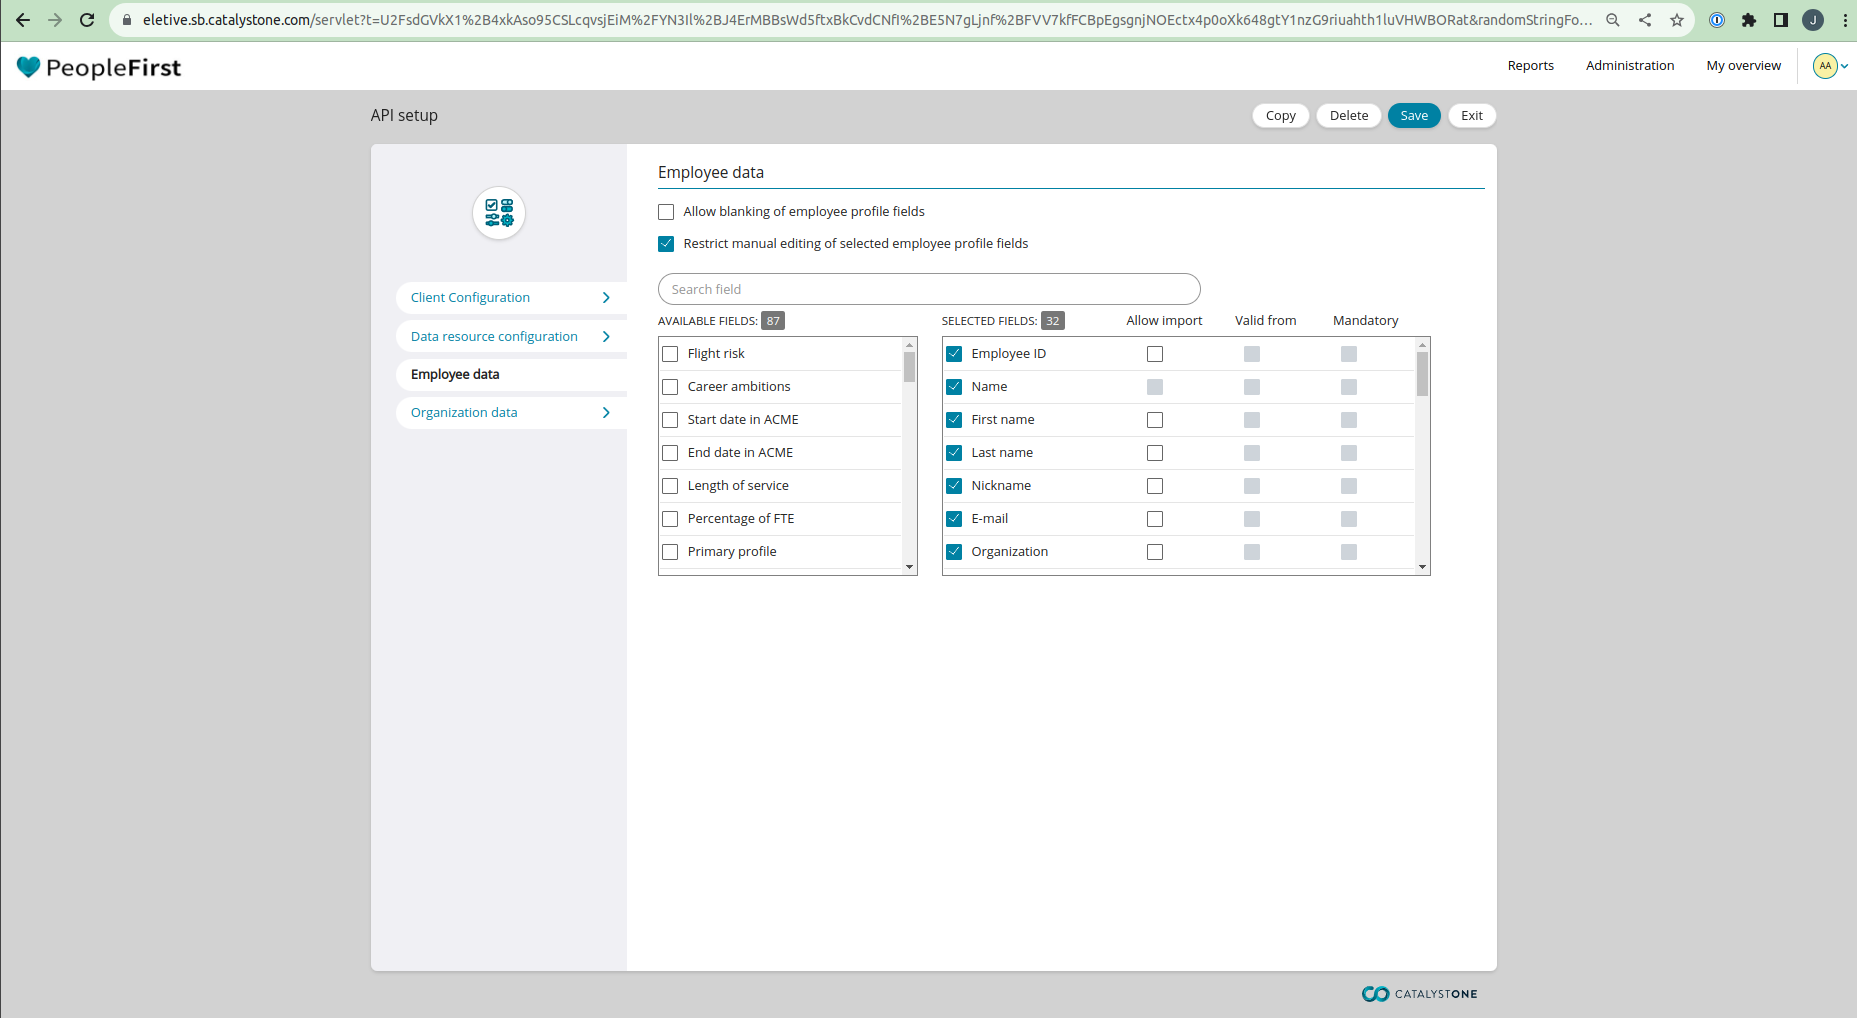
Then save your configuration.
Configure your Unify connection
In Vault, you can configure your account by adding the Domain, Client ID, and Client secret received in the configure application step of this guide.
Save the settings and authorize the connector.
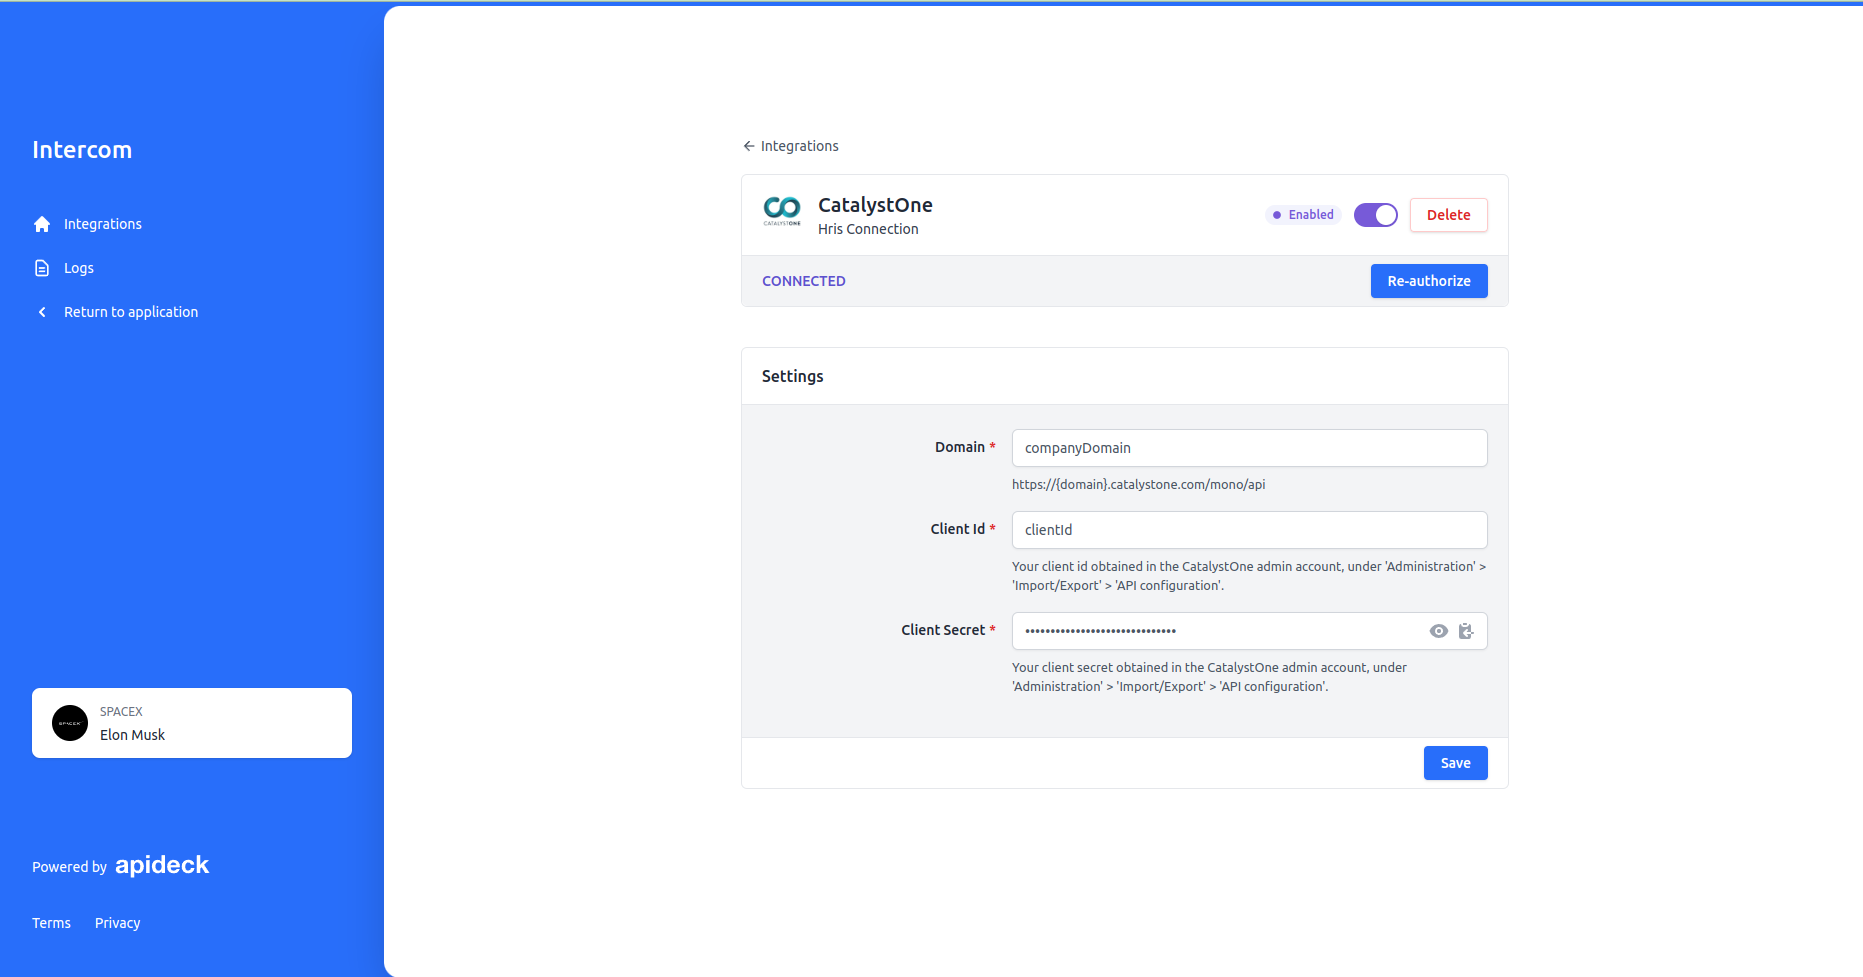
Now you are done and the connection is ready to be used.