How to Create OAuth Credentials for Box
This guide will help you set up your Box OAuth app to connect with Apideck.
To create a connection with Box, you need to complete the following steps:
1. Create OAuth App in Box
Login to Box Developer Console
- Go to https://app.box.com/ and log in to your Box account
- Navigate to the Developer Console at https://app.box.com/developers/console

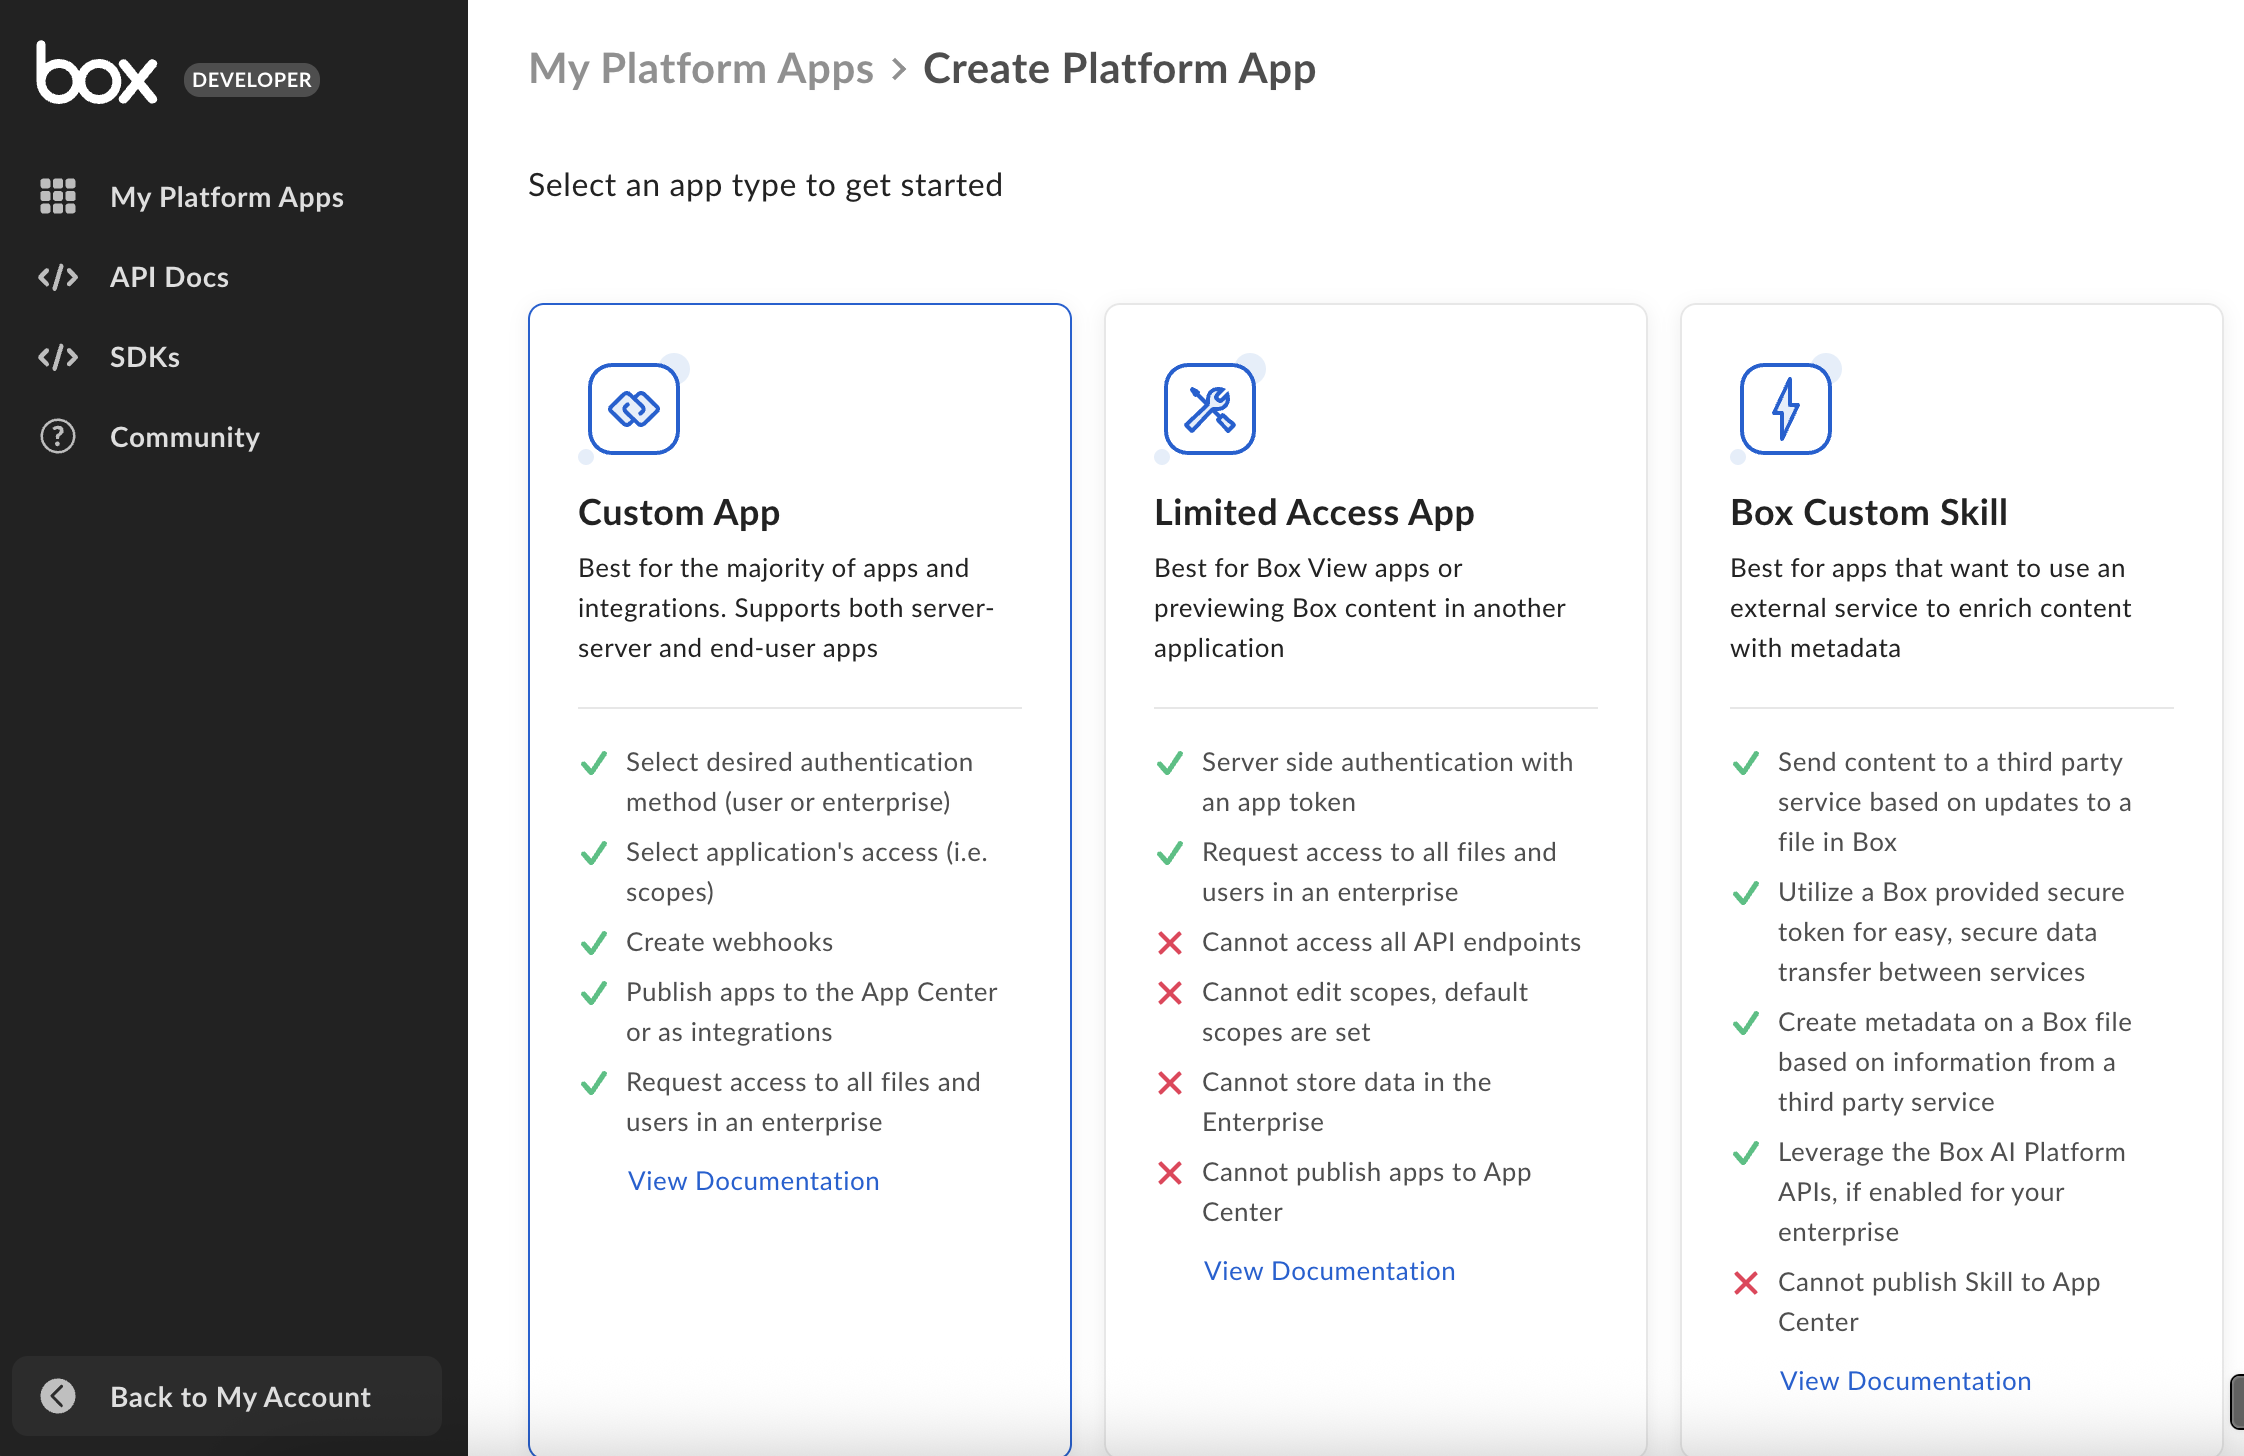
Create Platform App
- Click Create Platform App to start creating your application

Choose Custom App
- Select Custom App as the app type
Configure App Details
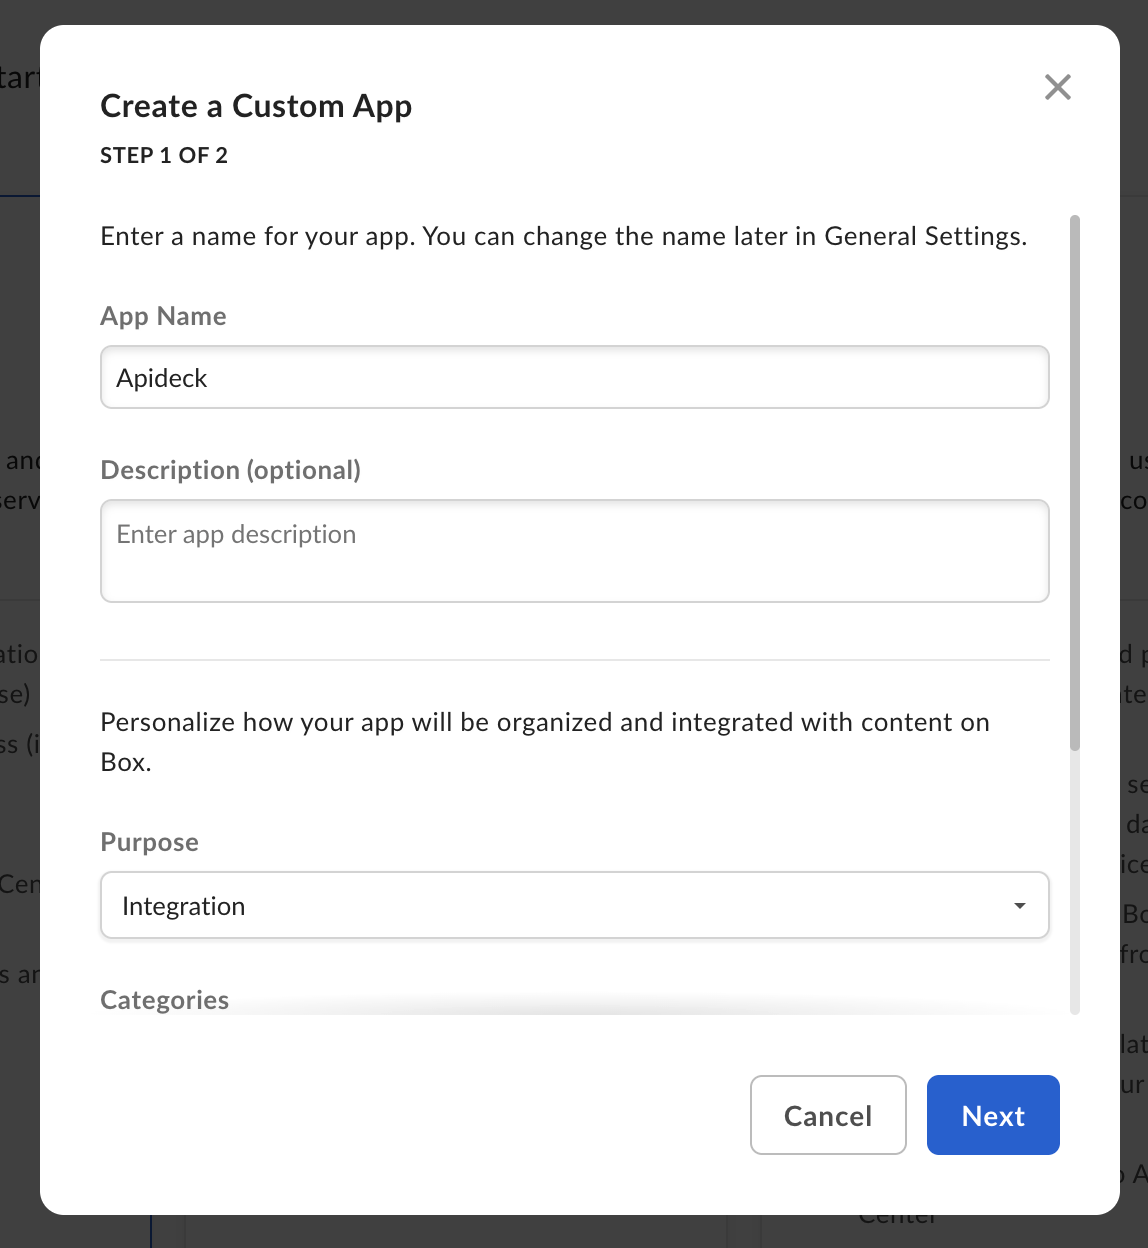
Fill out the basic information for your app:
- App Name: Enter a descriptive name (e.g., "Apideck")
- Description: Provide a brief description of your integration
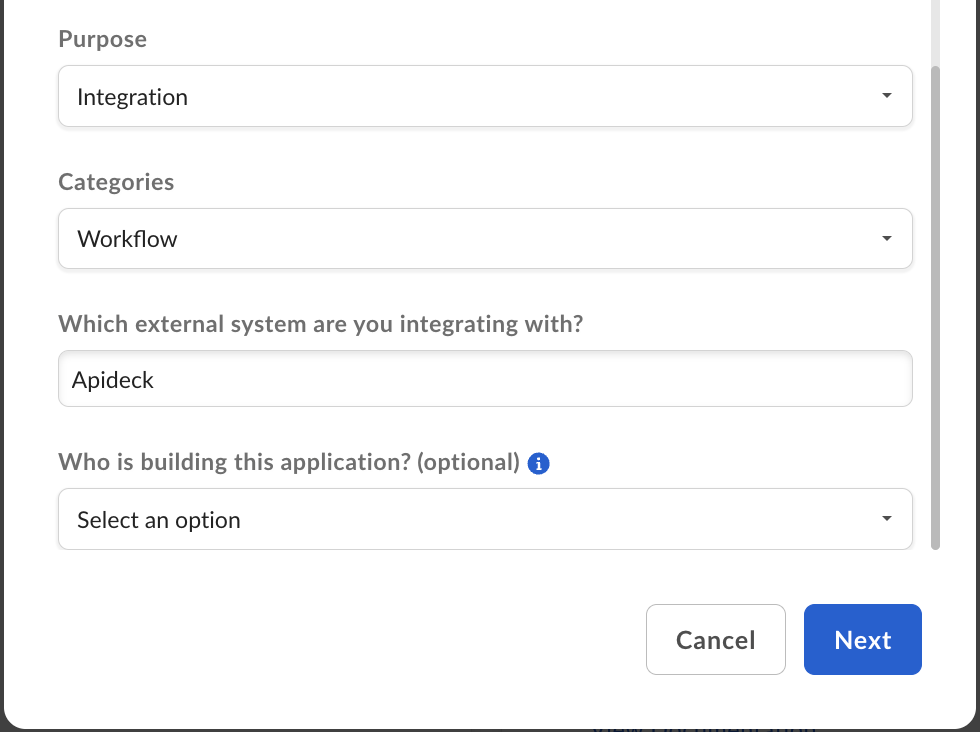
- Purpose: Select "Integration"
- Category: Select "Workflow"
- External System: Add "Apideck" to "Which external system are you integrating with?"
- Who is building this application?: This field is optional
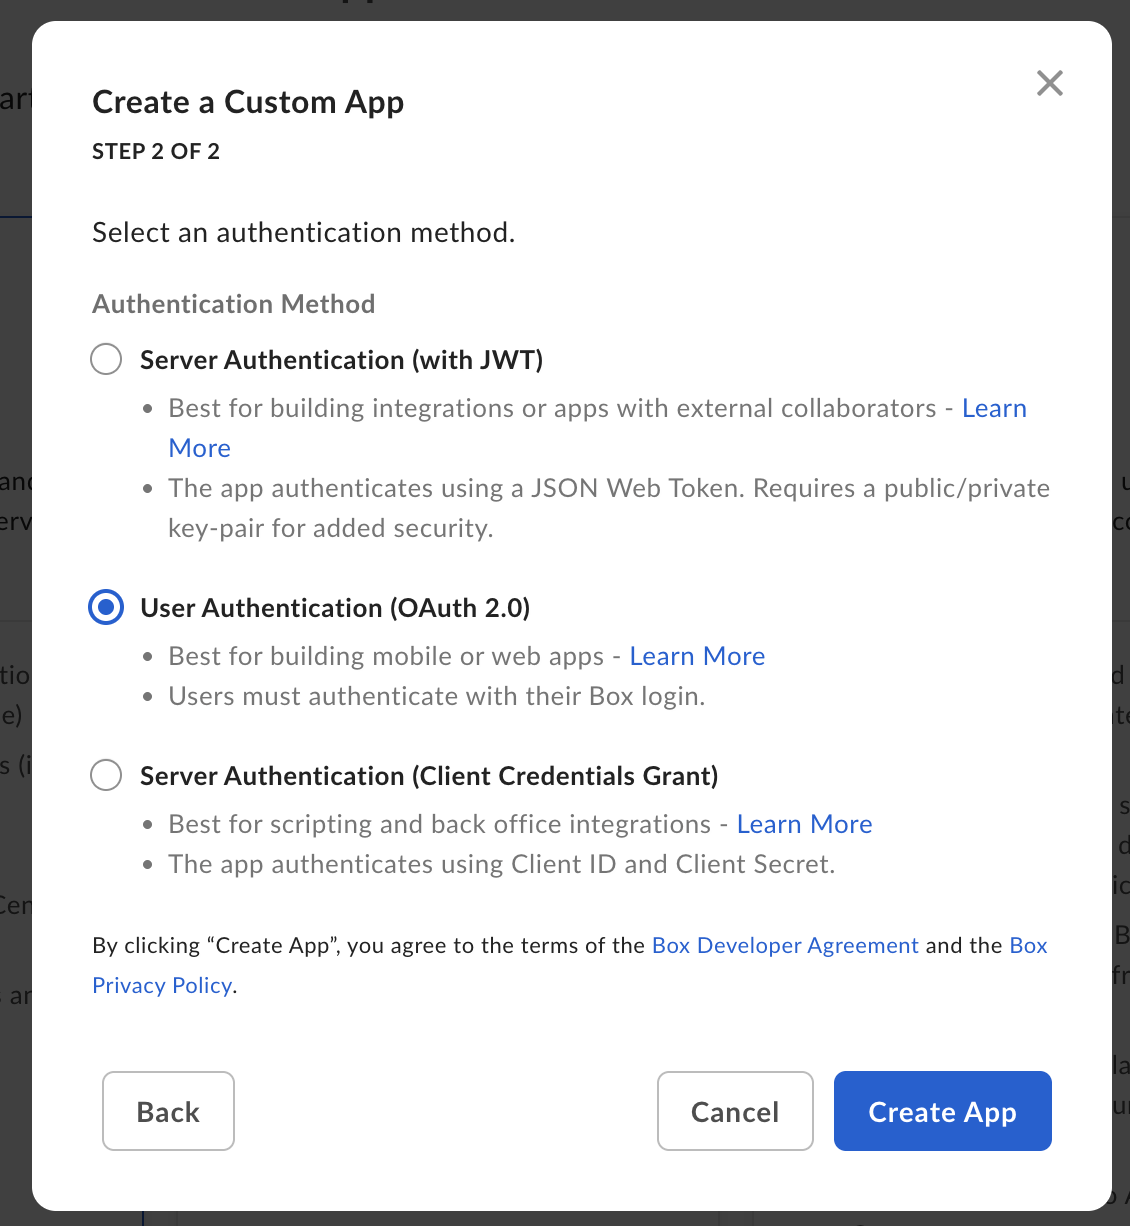
Configure Authentication
- Select OAuth 2.0 as the authentication method
- Click Create app
Copy OAuth 2 Credentials
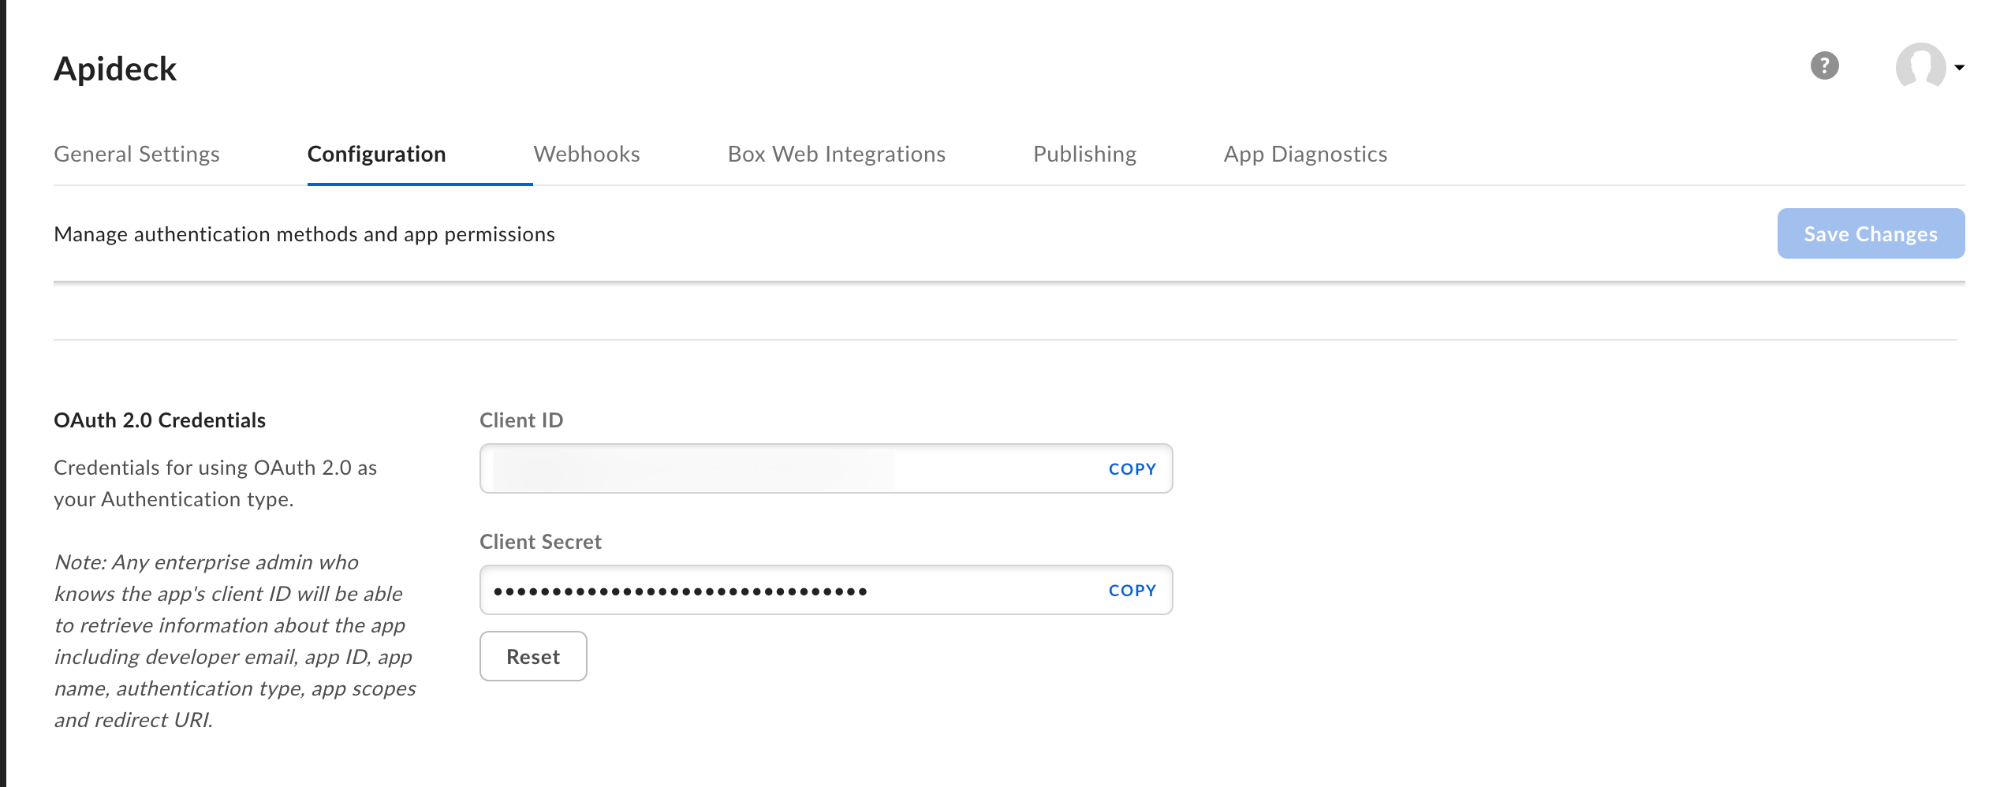
After creating your app, scroll down to the OAuth 2.0 credentials section and copy the following credentials:
- Client ID
- Client Secret
⚠️ Important: Store these credentials securely as you'll need them for the next step.
Configure Redirect URI
- Under OAuth 2.0 Redirect URIs, add the following redirect URI:
https://unify.apideck.com/vault/callback

Set Application Scopes
- Under Application Scopes, select the appropriate permissions for your integration:
- Read only: Select the first option for read-only access
- Read and Write: Select both options for full access
- Click Save changes

2. Configure connector in Apideck
Now that you've successfully created your Box OAuth app, you can add the credentials in the configuration of the connector.
Add Credentials
- Go to your Apideck dashboard at https://platform.apideck.com/
- Navigate to Configuration > Box
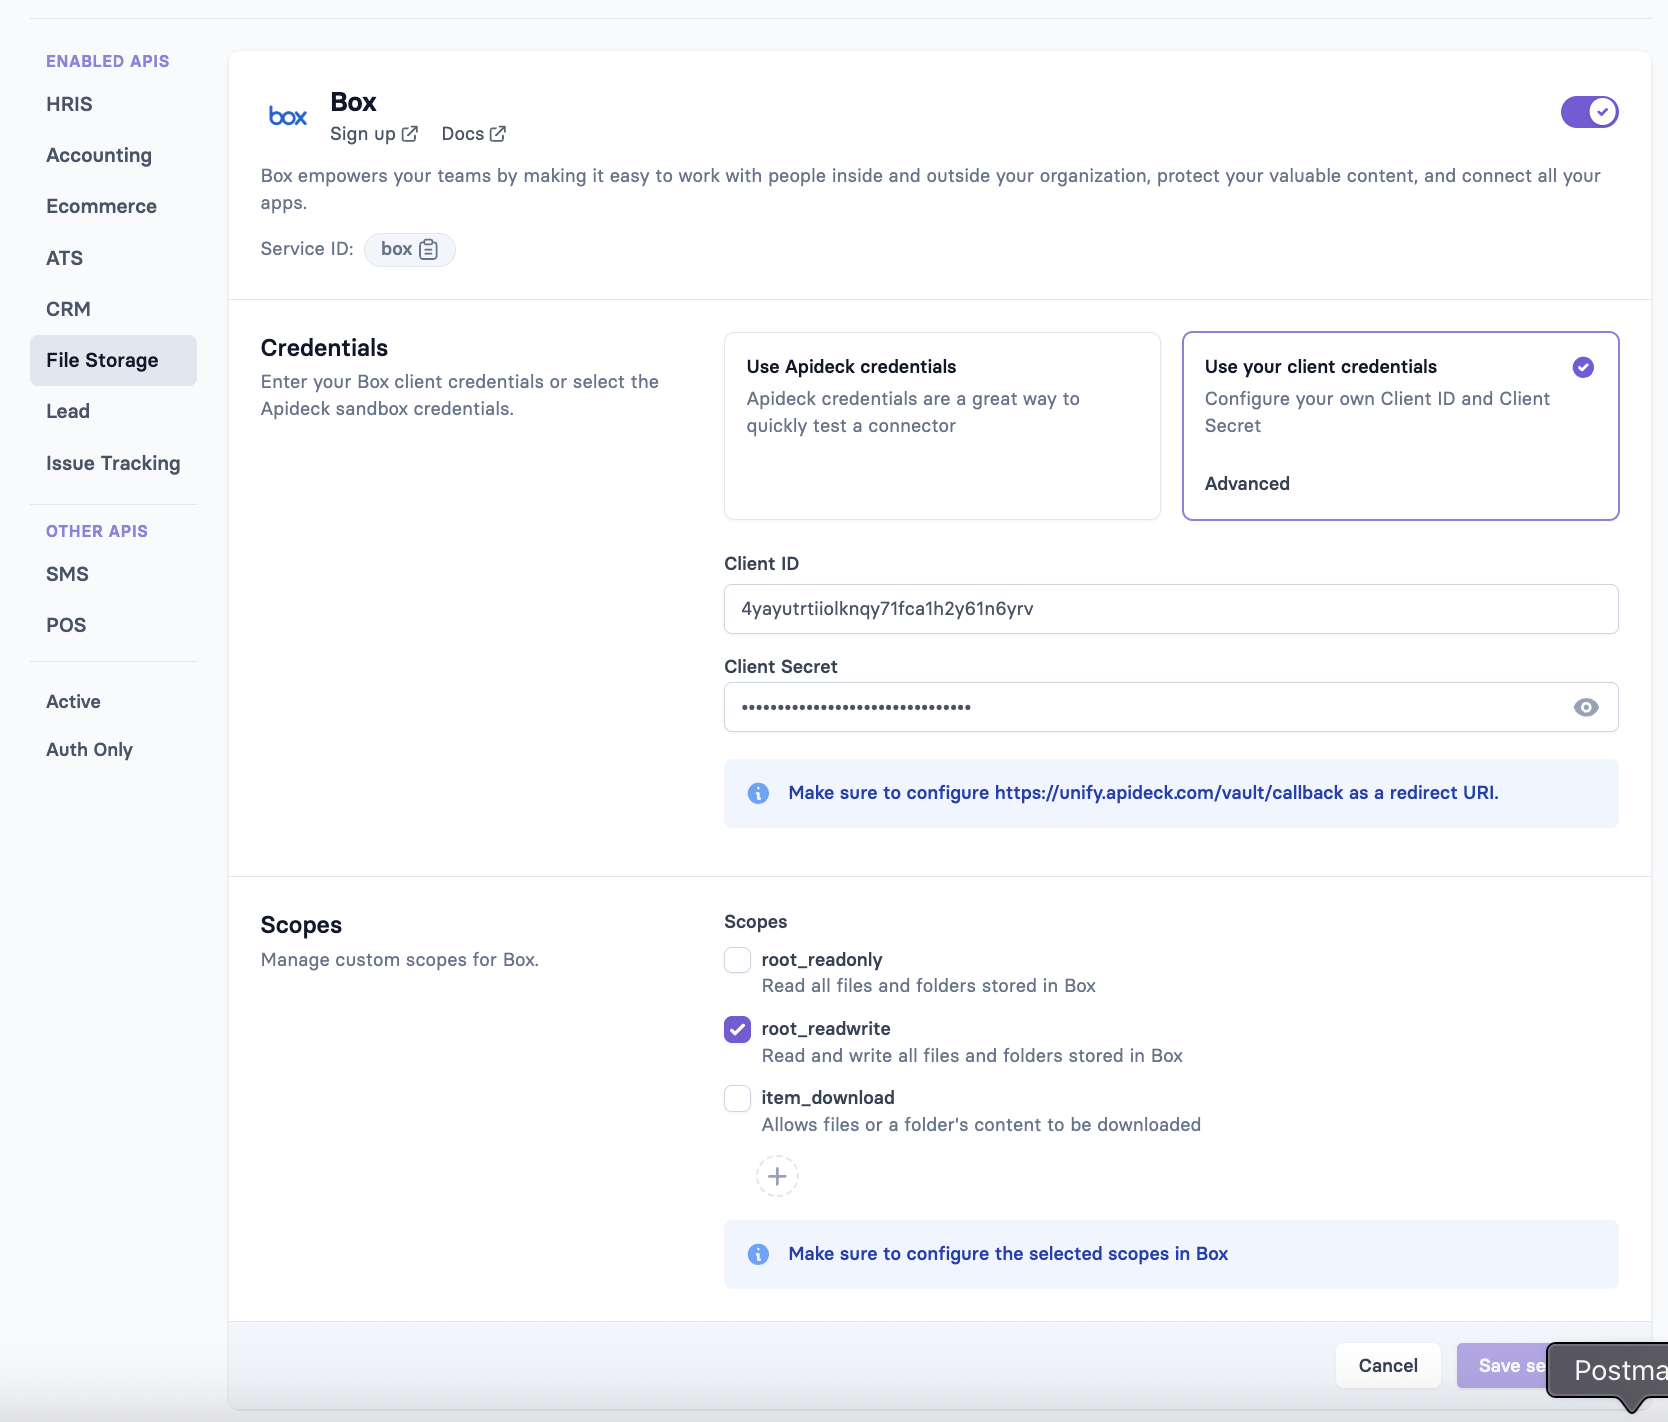
- Enter the following credentials:
- Client ID: The Client ID you copied from Box
- Client Secret: The Client Secret you copied from Box
- Select the same scopes you enabled in Box previously
- Click Save
Test the Connection
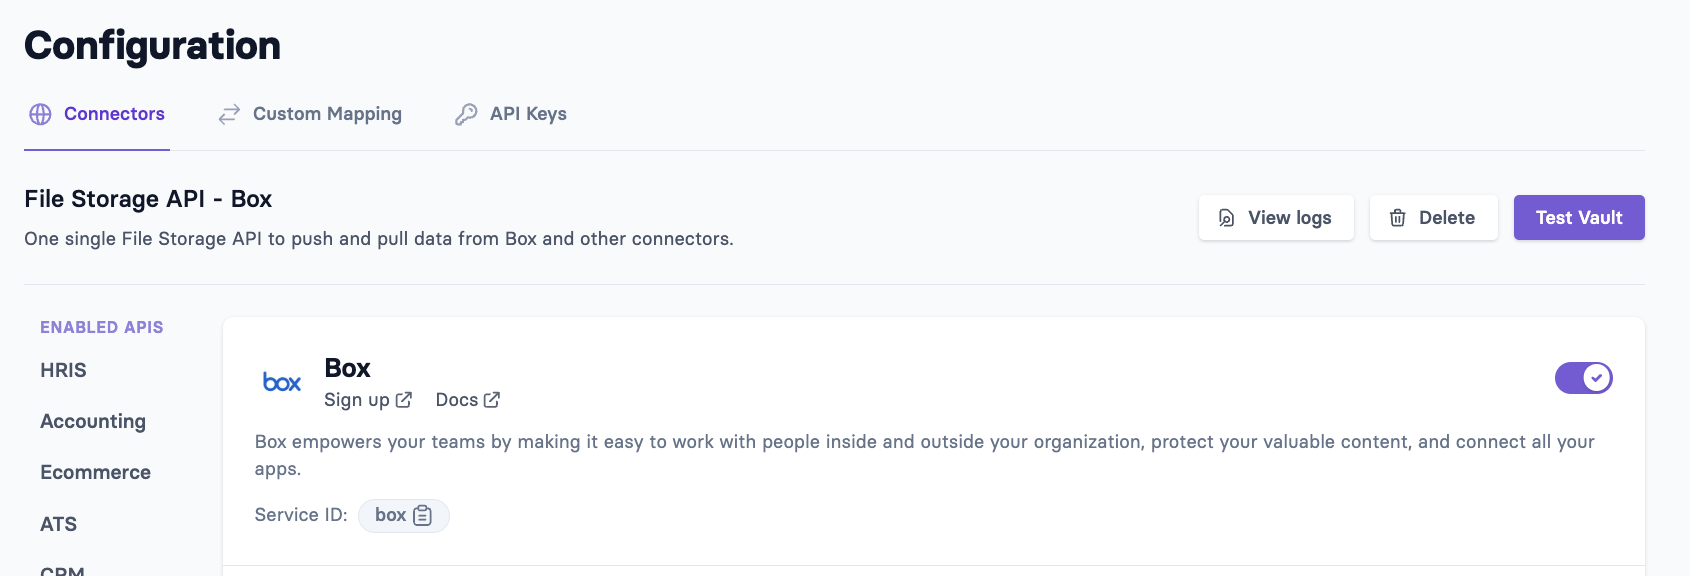
You can test your Box connector by clicking Test Vault
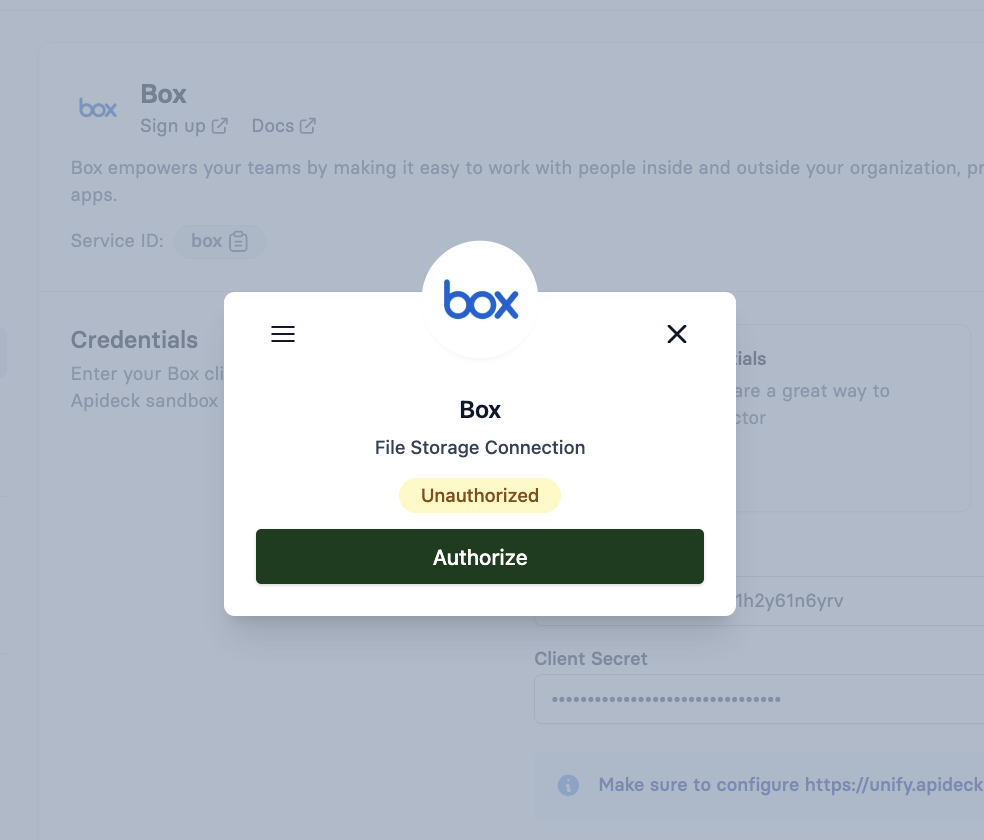
- Click Authorize to start the OAuth flow
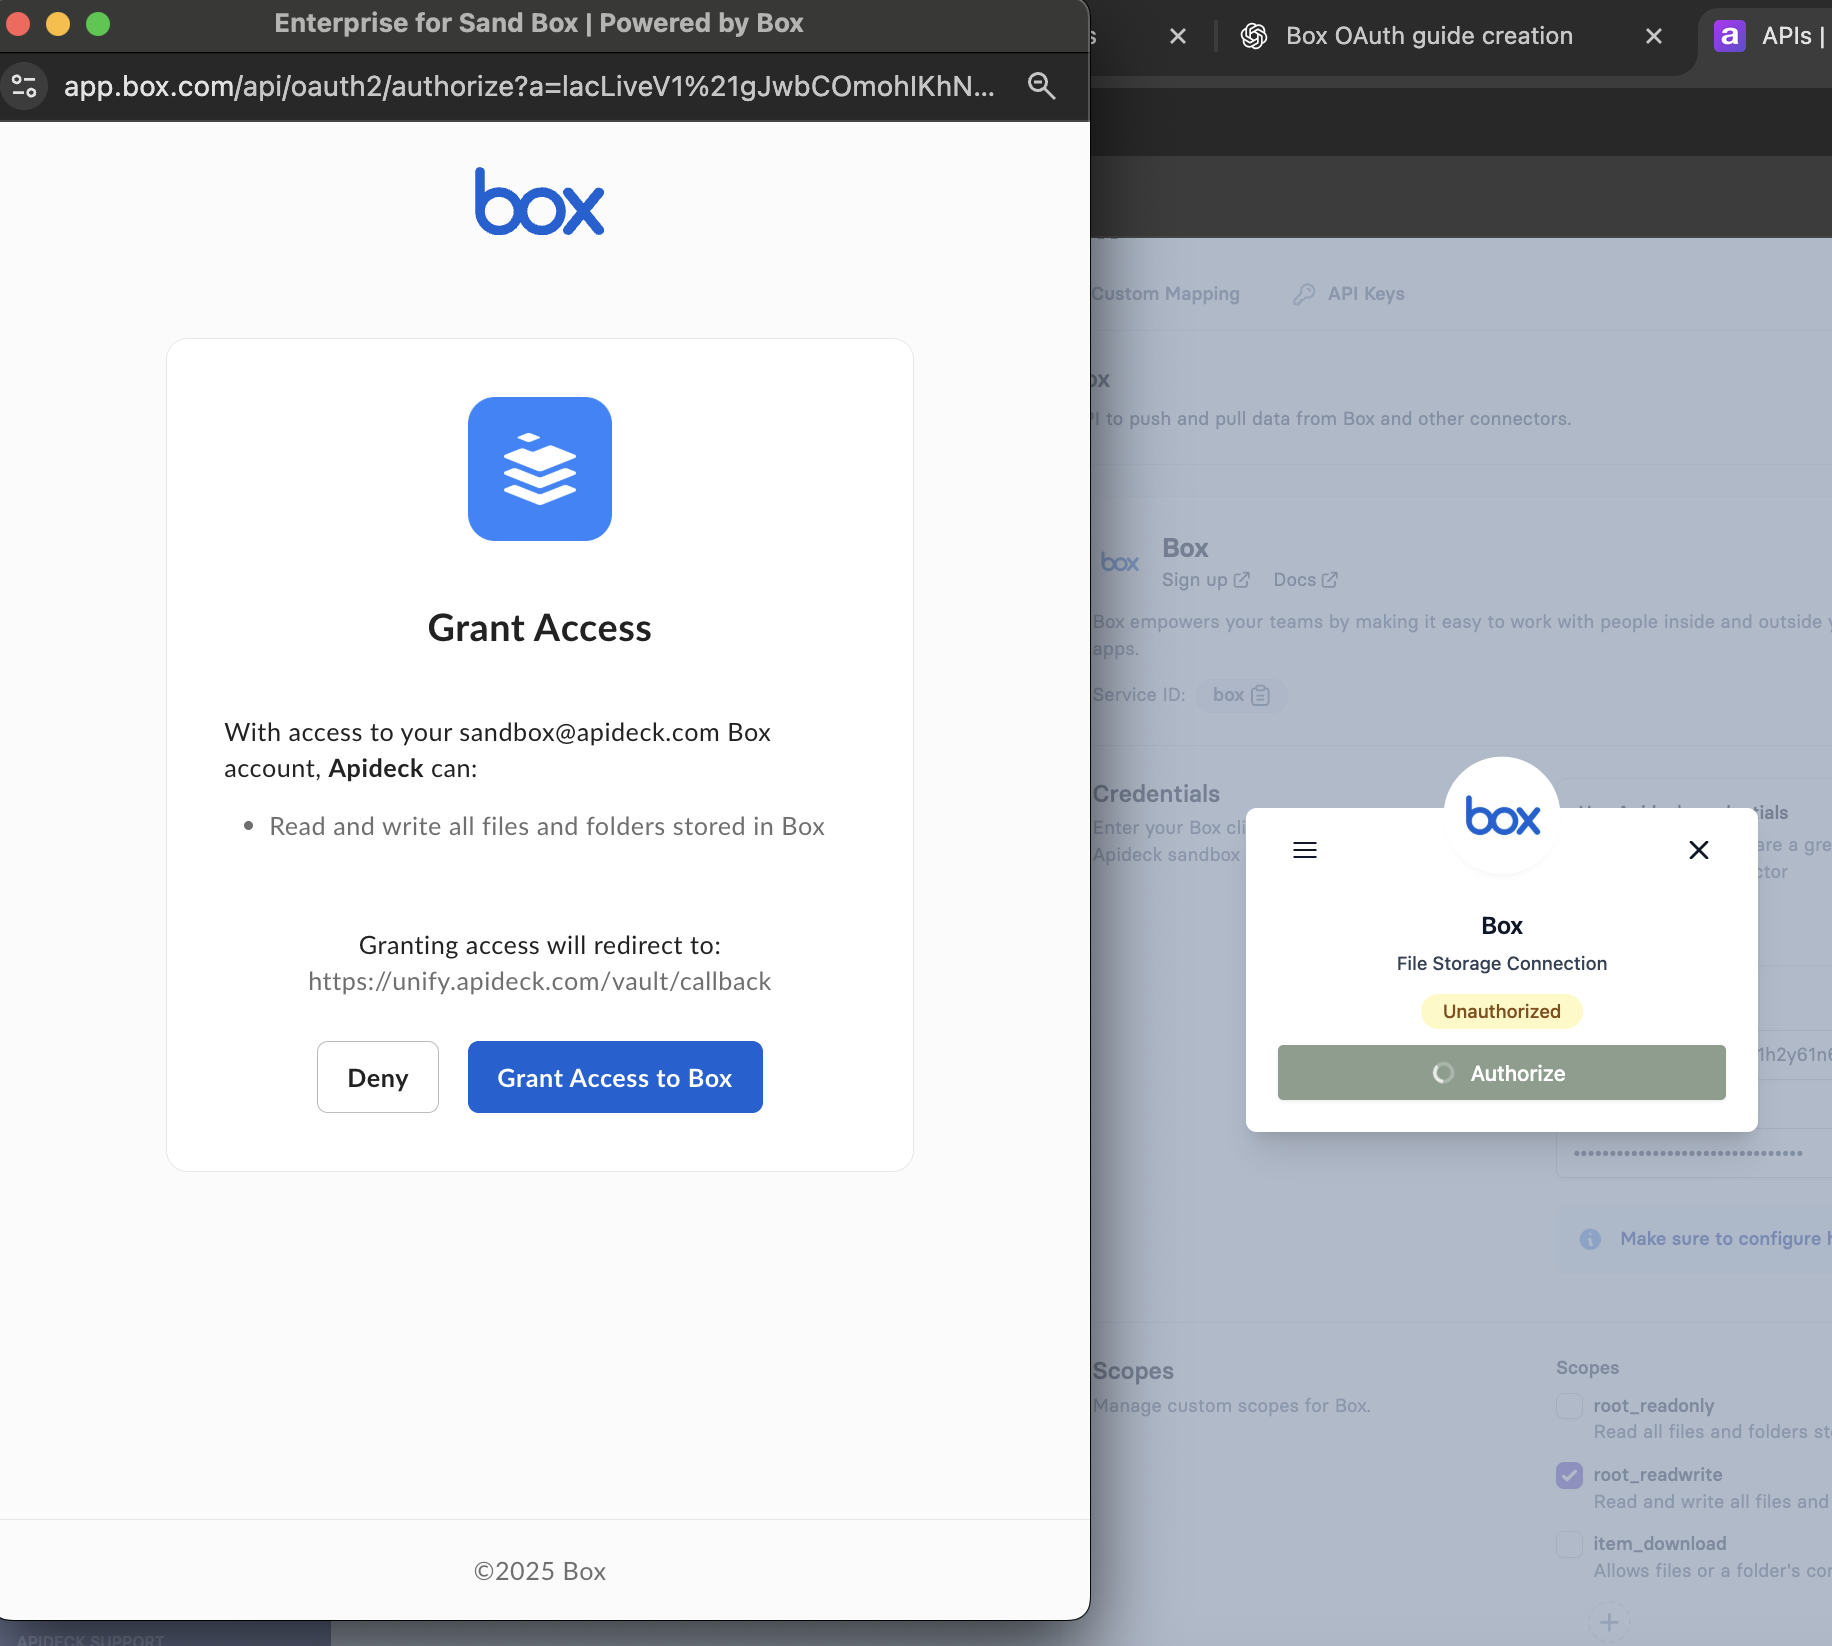
- Grant the requested permissions in the Box authorization dialog
- Your connection should now show as Connected
