How to connect to the ADP Workforce Now API
Apideck enables you to build a native integration with ADP Workforce Now. This explains guide explains how to configure the "ADP Workforce Now" connector.
Prerequisites
Before you begin, make sure you have the following:
- A partnership with ADP or purchase the ADP API Central app.
- An Apideck account
Enable the ADP Workforce Now connector in Apideck
In Apideck, go to Configuration > HRIS API and enable ADP Workforce Now in the list of connectors.

Getting credentials through a partnership with ADP
Generate a signed ADP Certificate (SSL Certificate File and SSL Key File)
- Go to your ADP Partner self-service portal.
- Click "Certificate" in the left navigation.

- Click the "Request Certificate" button.

- Fill in your app details and click "Next".

- Copy your Private Key using the "COPY" button and save it in a local file, since you need it later.

💡 TIP: copy the full key, with ---BEGIN PRIVATE KEY--- and ---END PRIVATE KEY--- included
- Continue through the certificate generation process.

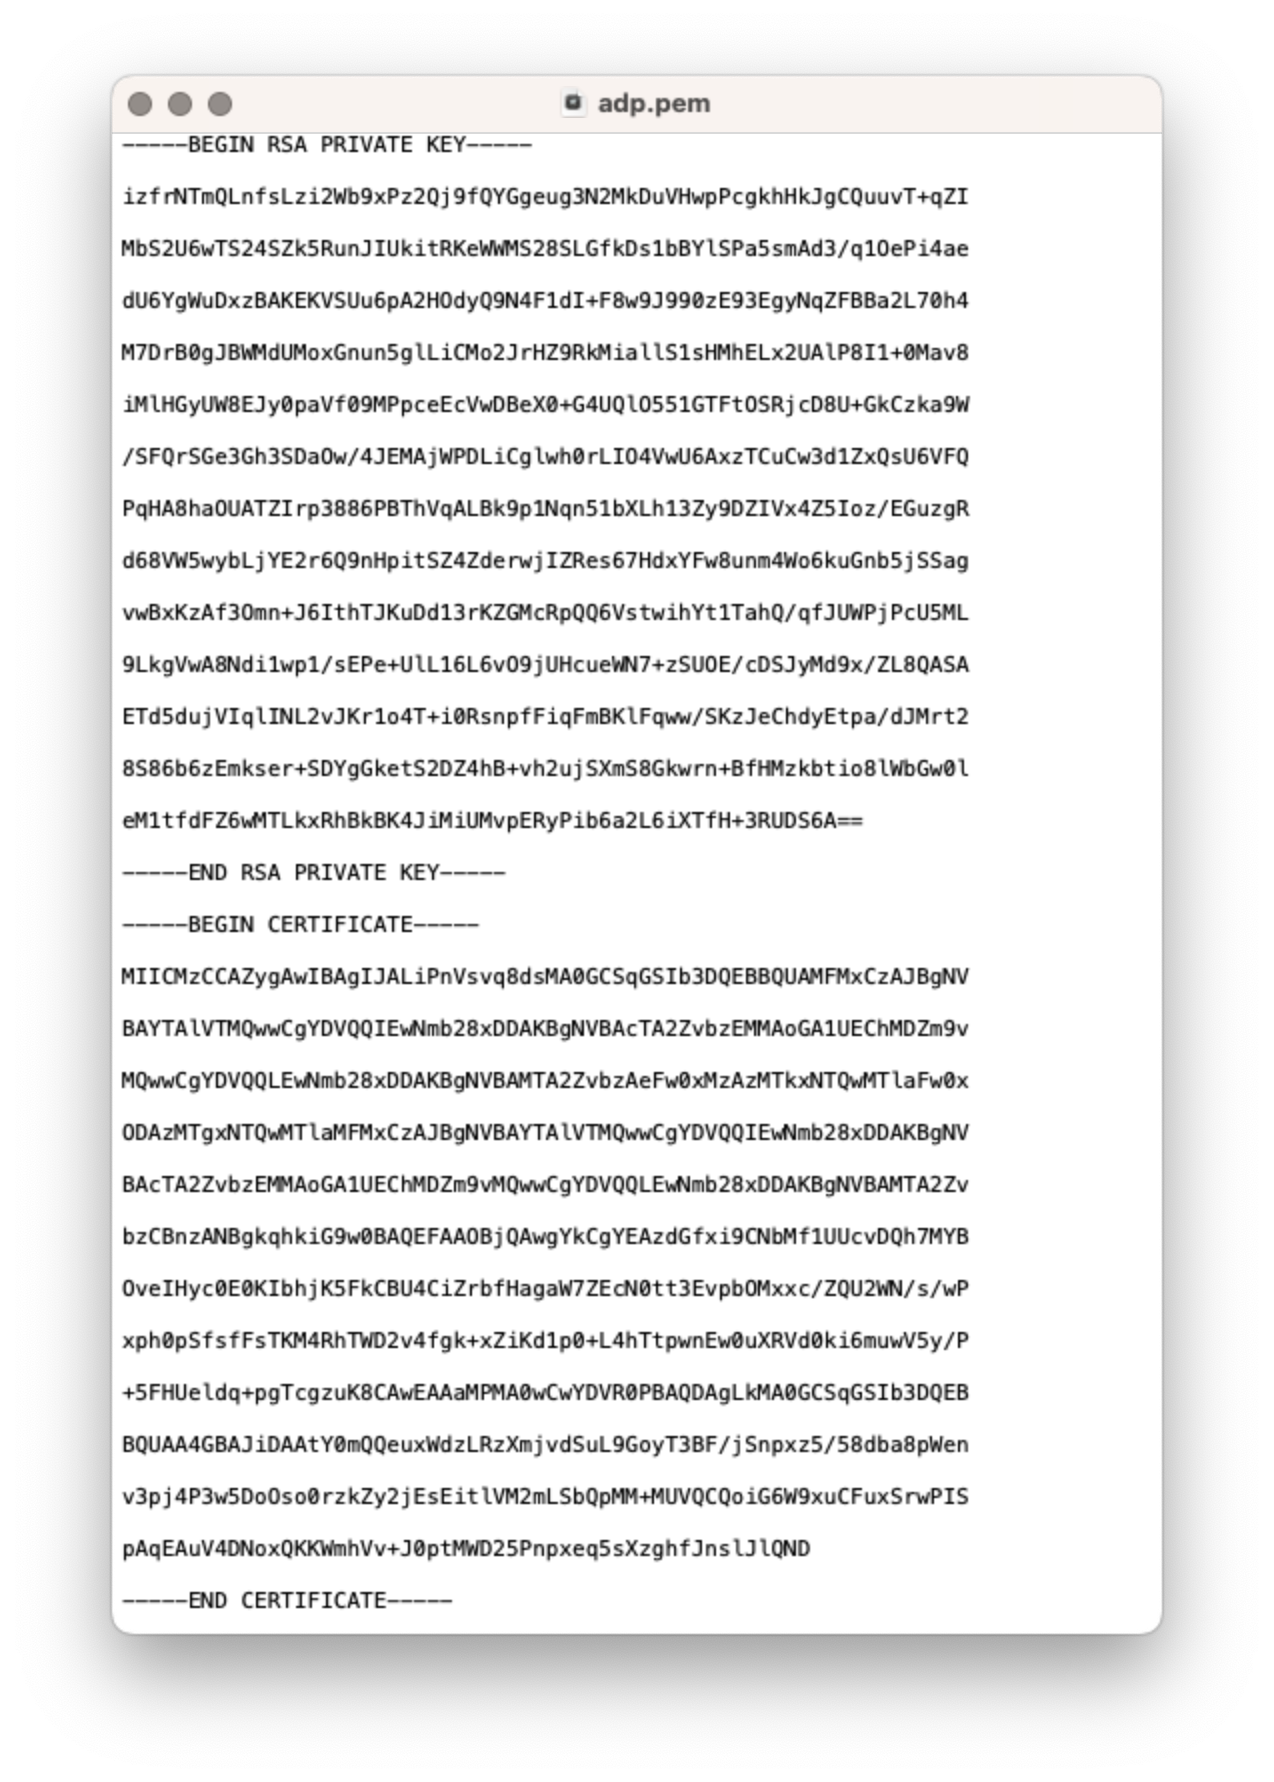
- On the "Certificate" screen, click "Download", which triggers a download of a ".pem" file. Save the ".pem" file.

- Open a text-editor, to view the content the downloaded ".pem" file

💡 TIP: copy the full content of the PEM certificate, starting with -----BEGIN RSA PRIVATE KEY----- including -----END CERTIFICATE-----
Get you OAuth Client ID & Secret
-
Login to the ADP Partner self-service portal, navigate to the "Projects" section from the left-hand navigation pane
-
Select a Project in ADP
-
Click on th "Development API Credentials" tab
-
In the first section of the page you will see the Client ID & Client Secret.
💡 TIP: Copy the "Client Id" and the "Client secret". You will need them in the next step.
Getting credentials with the ADP API Central app
-
Purchase and access the ADP API Central portal
-
Login to your ADP account
-
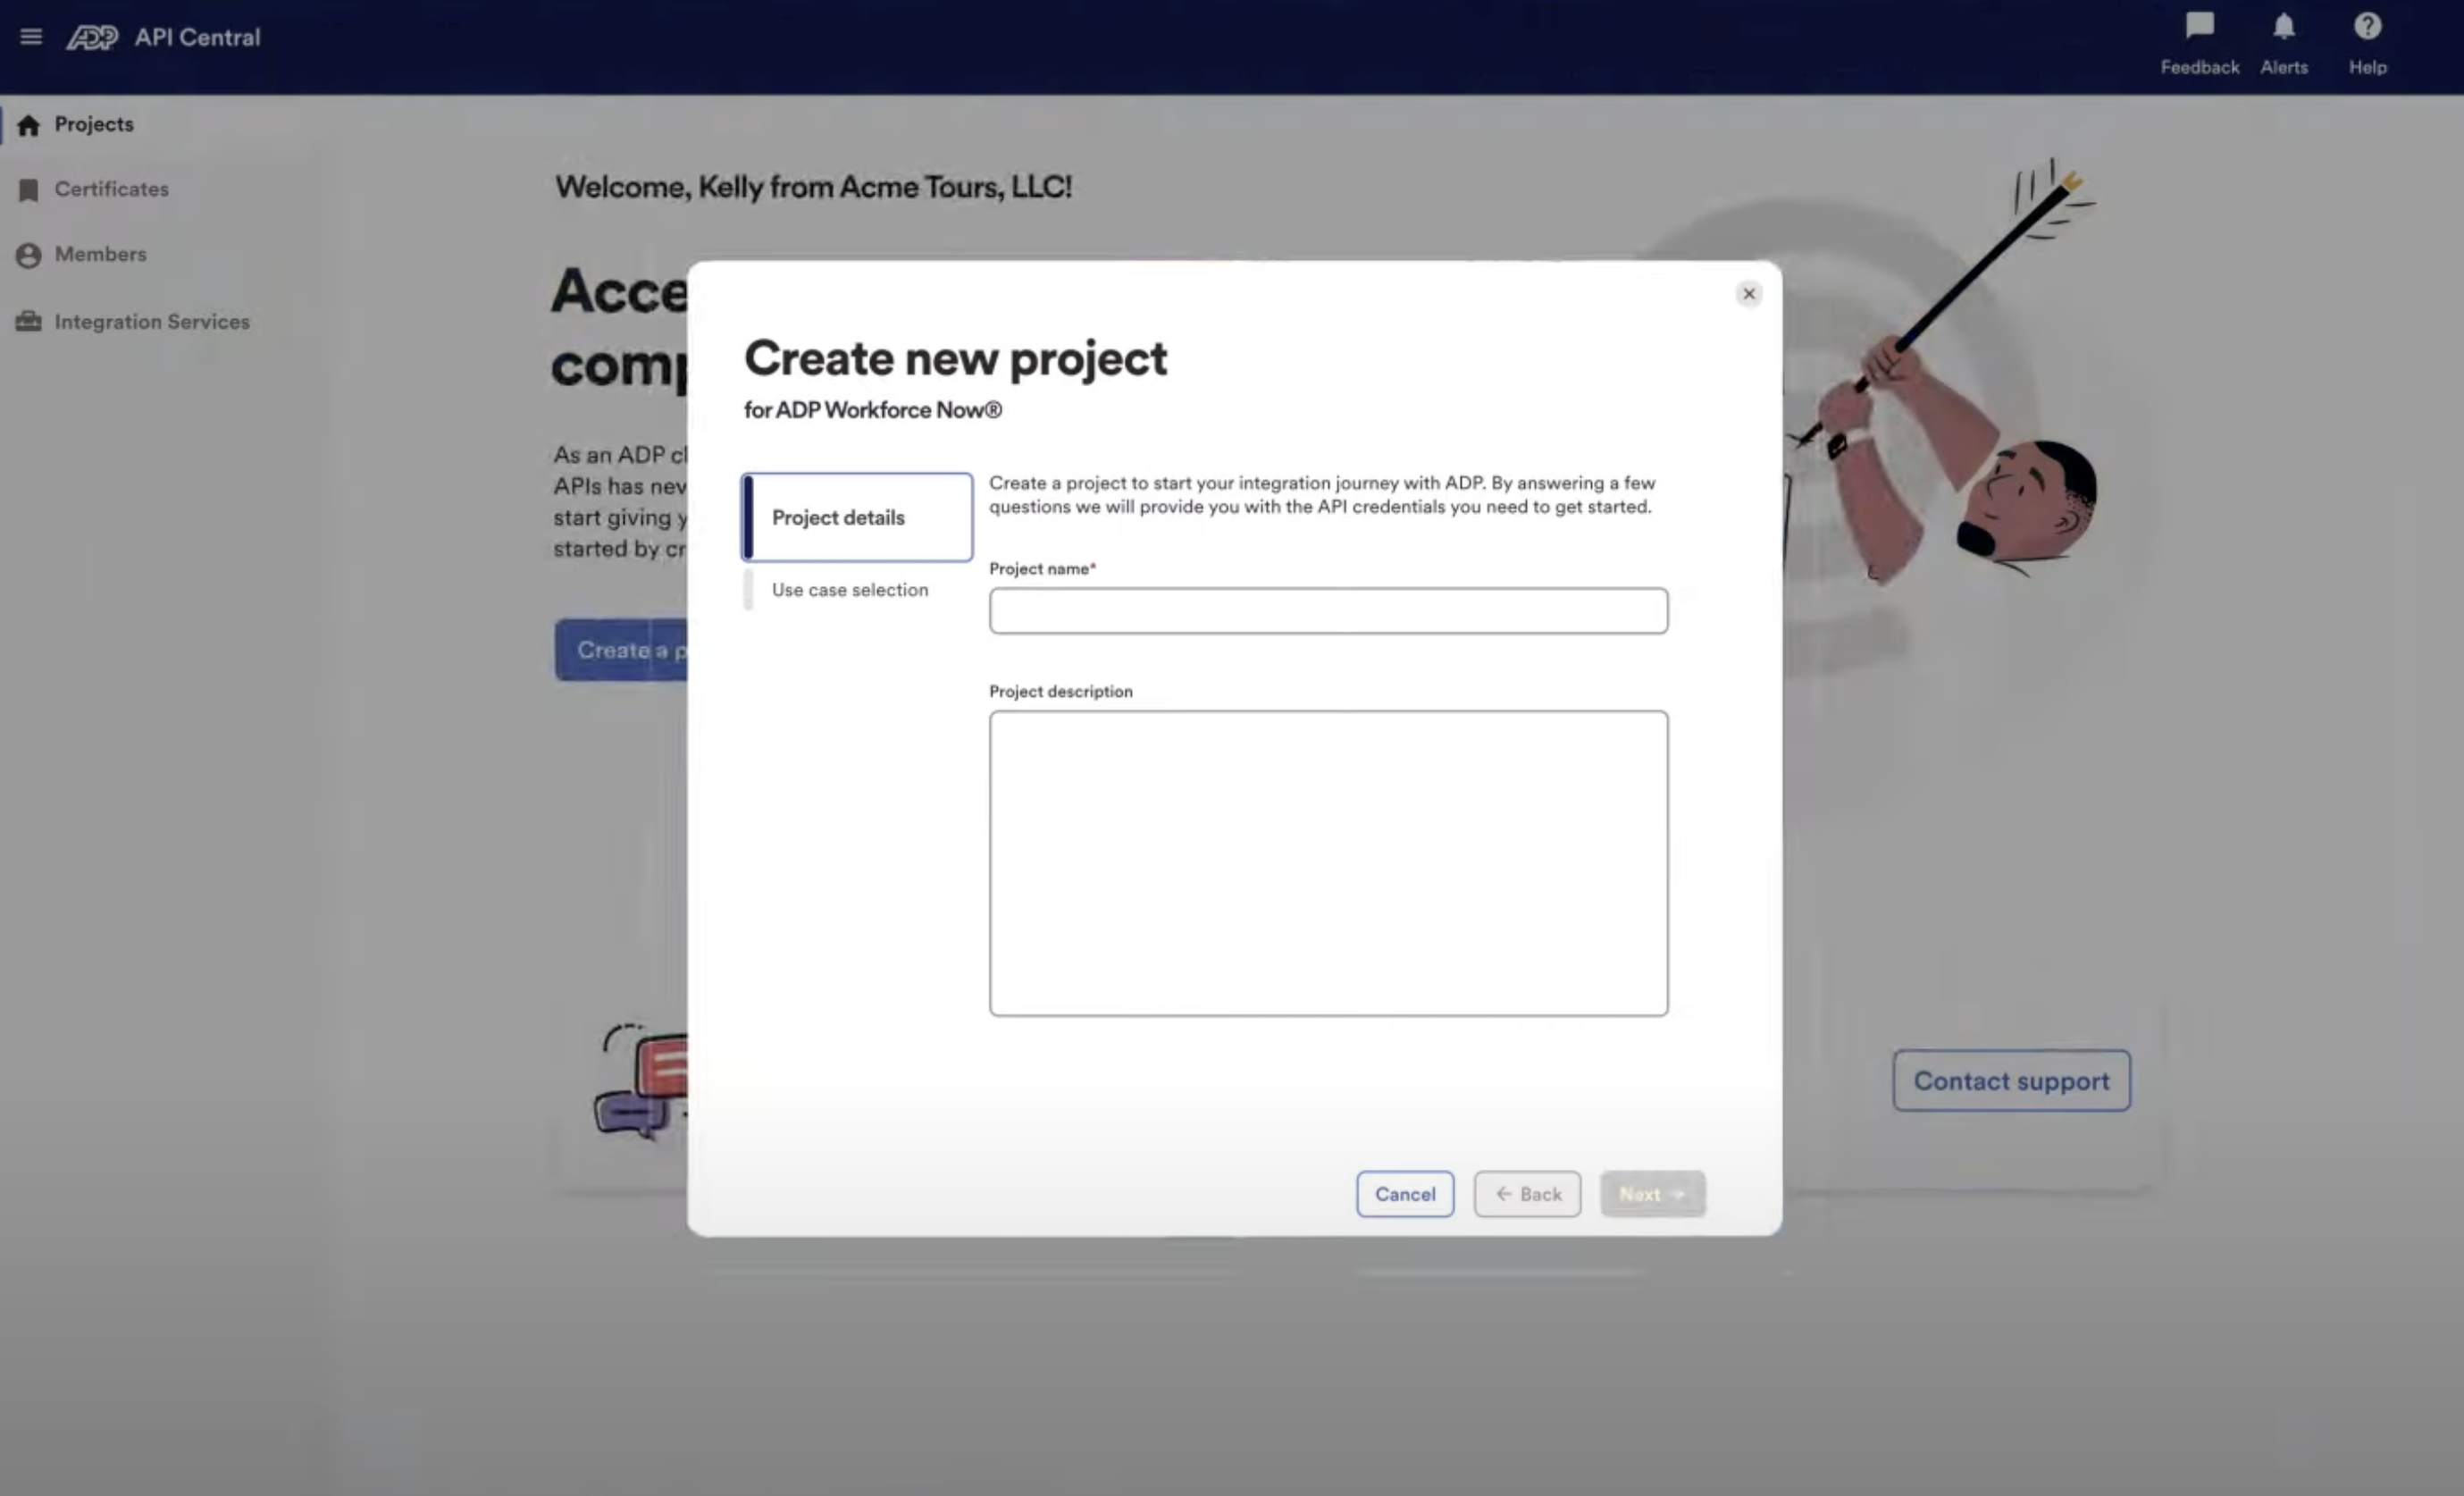
Create a new project:
- Click "Projects" in the left menu
- Click "Create Project" button
- Enter a project name and description
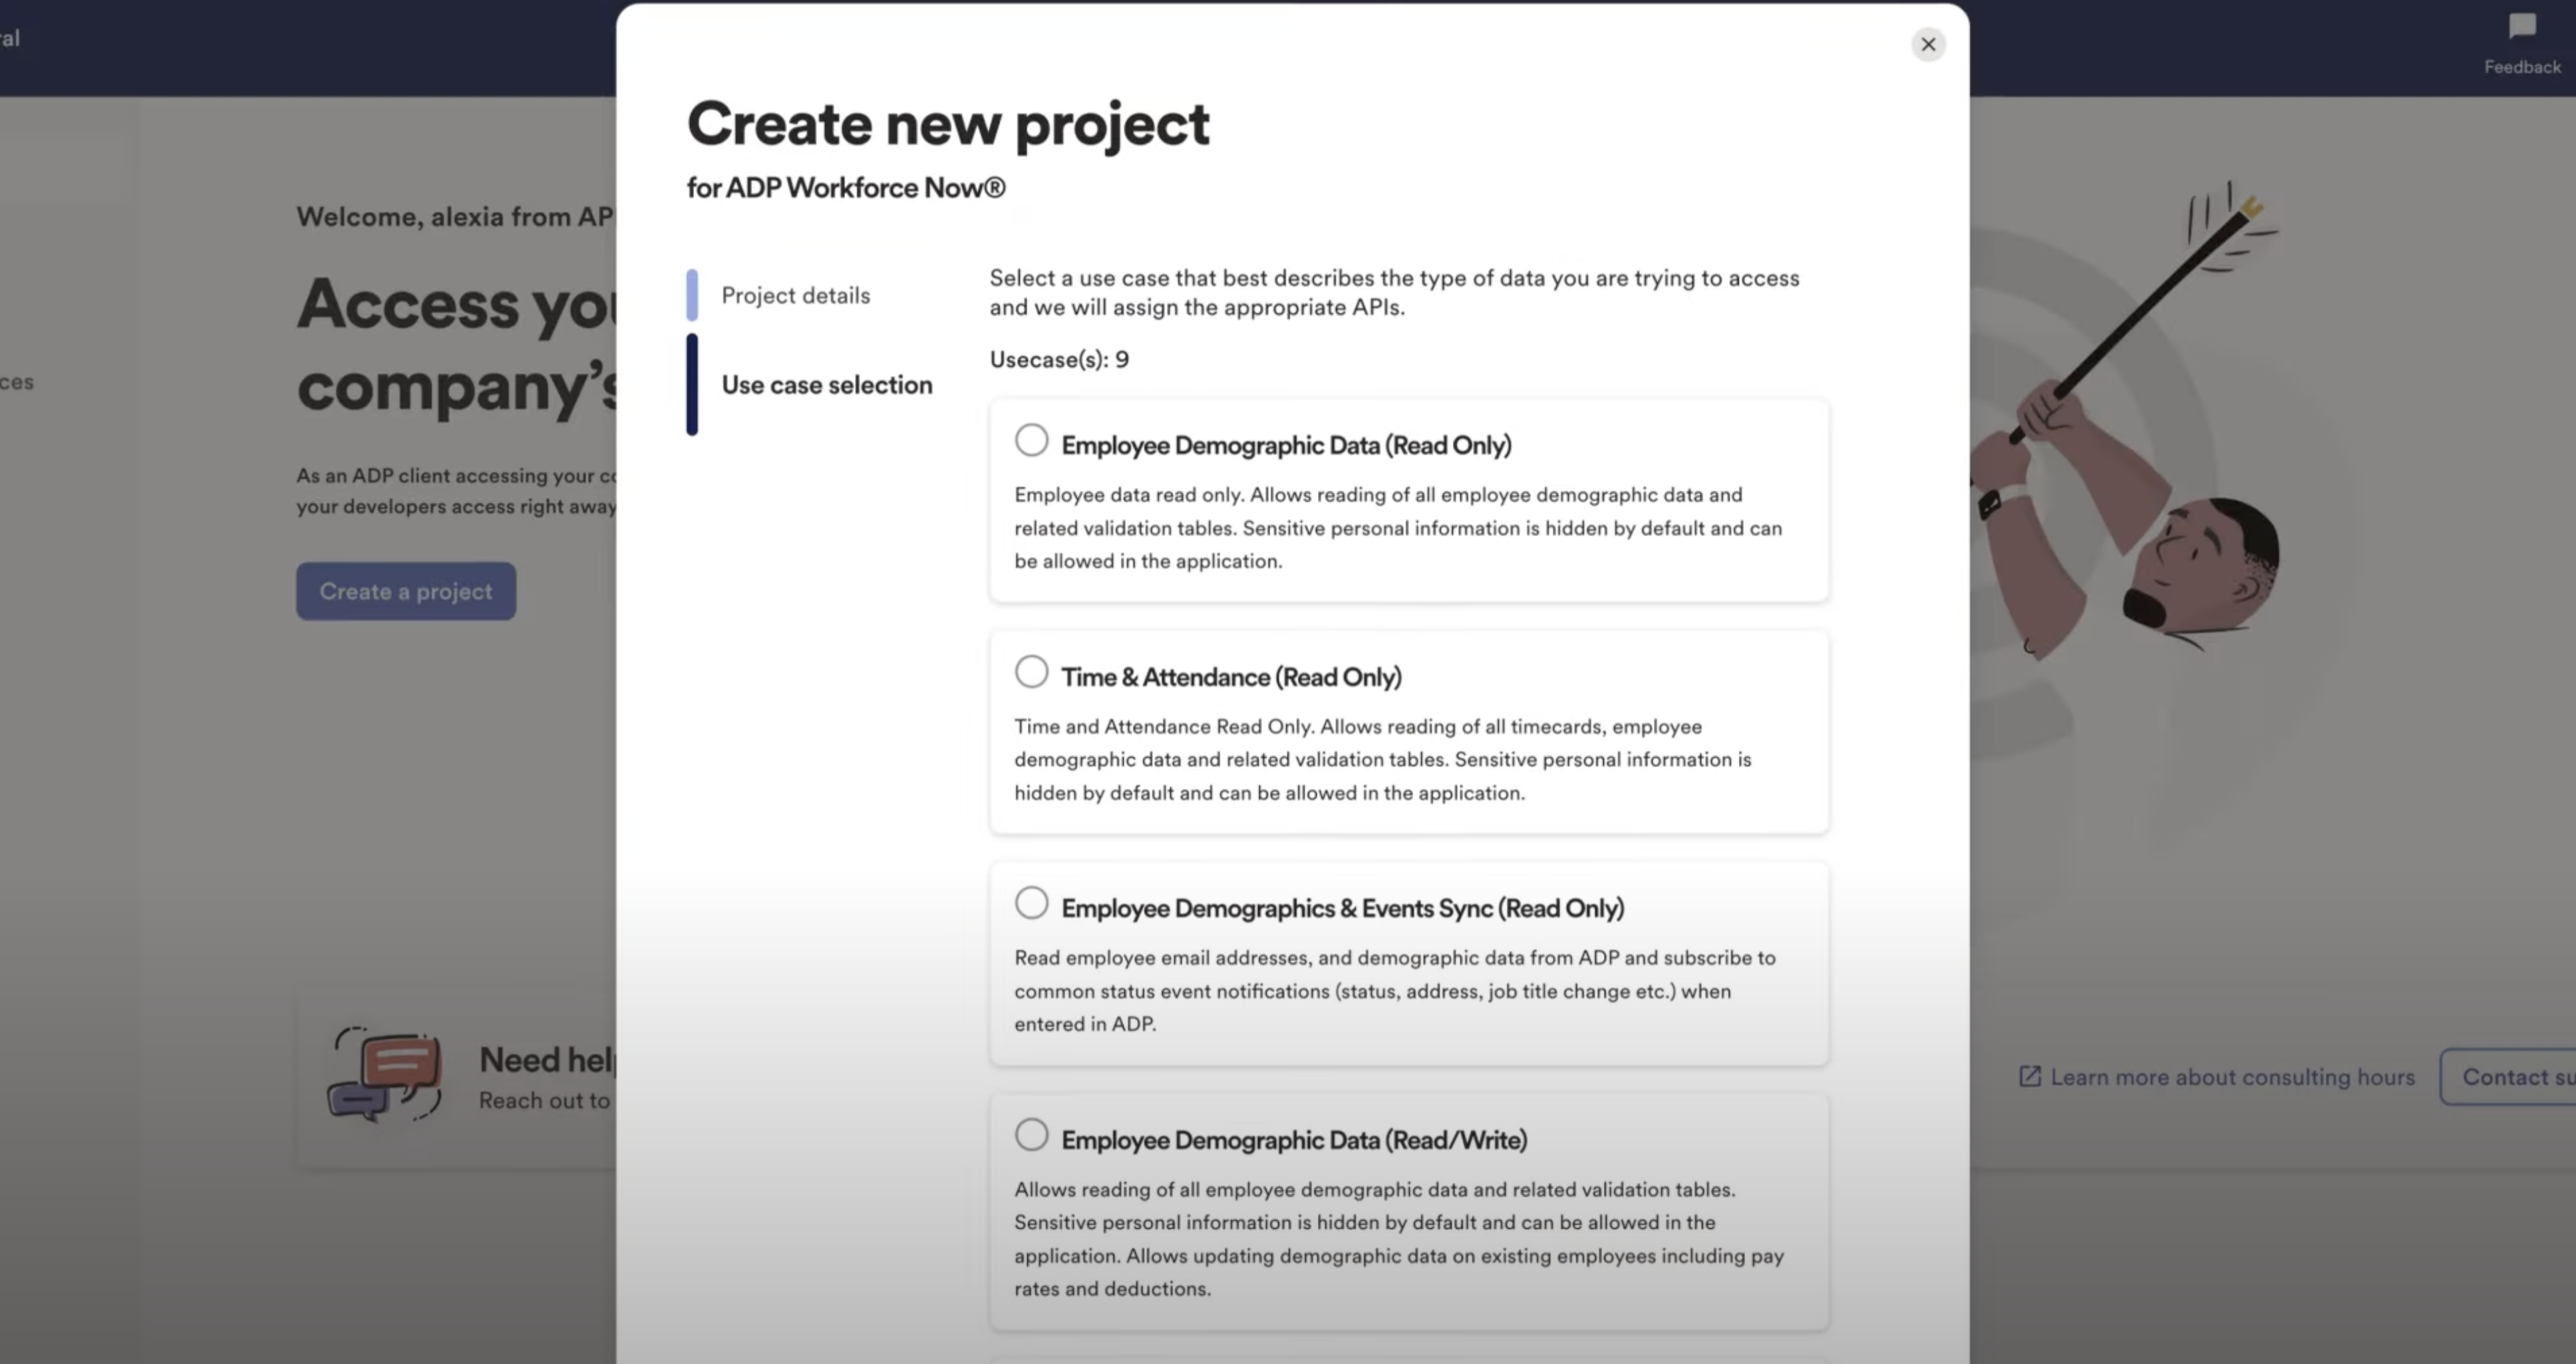
- Select "Employee Demographic Data (Read/Write)" use case
- Click "Create Project"


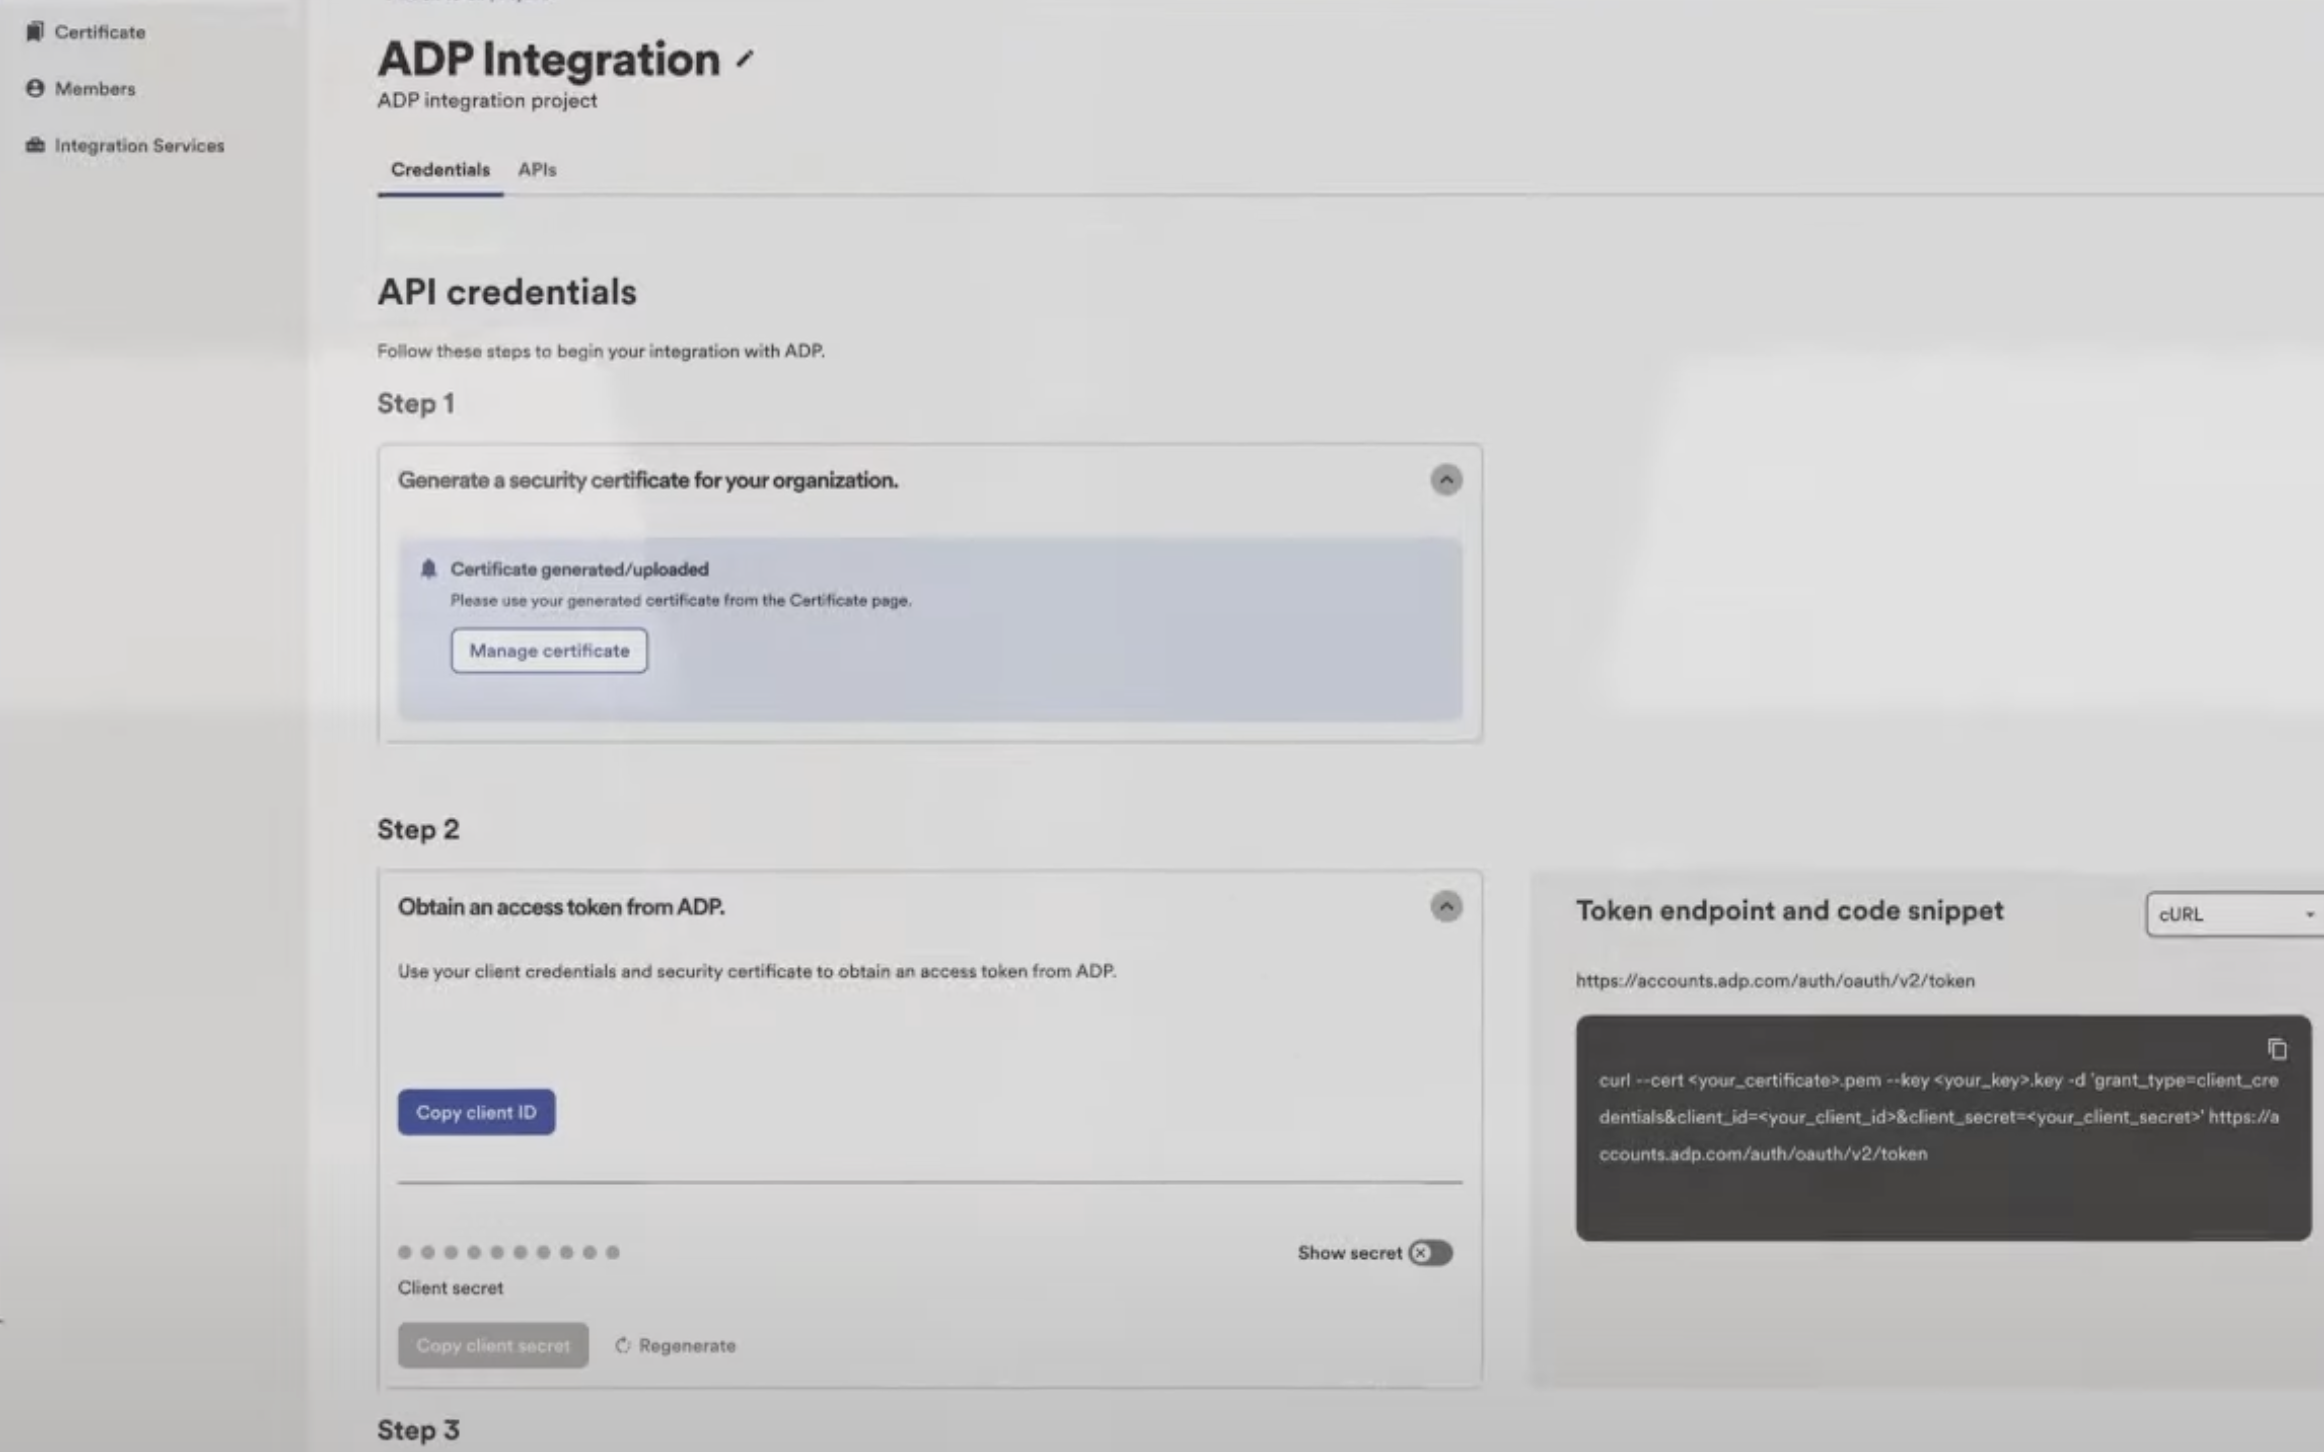
- Generate certificate:
- Click "Manage Certificate"
- Follow steps to generate certificate
- Download and save both certificate and private key files

💡 TIP: Include the full key text with ---BEGIN PRIVATE KEY--- and ---END PRIVATE KEY--- headers
- Copy the project's "Client ID" and "Client Secret" - you'll need these for the next step
Vault Connection Setup
Now that you have your ADP Workforce credentials, you can enter the integration credentials to connect to ADP instances in a secure manner.
Goto the Apideck > Configuration > HRIS > ADP Workforce Now

Enter the OAuth client ID & Secret from ADP.
Next we have to enter the content of the Client certificate & key, so Copy & paste the content of the SSL Client Certificate & Key.
Press "Save settings" to save your credentials.
Now you are ready and clients can authorize the connection to their ADP Workforce account securely.
Do your first API call to the HRIS API
-
Connect your ADP Workforce account through Vault with a test session.
-
To test the access token, make a query to get your
Employeesendpoint using the HRIS API.
curl --location --request GET 'https://unify.apideck.com/hris/employees' \
--header 'x-apideck-consumer-id: test-consumer' \
--header 'x-apideck-app-id: {APIDECK_APP_ID}' \
--header 'x-apideck-service-id: adp-workforce-now' \
--header 'Authorization: Bearer {APIDECK_API_KEY}'
--header 'Content-Type: application/json' \
Start building with the ADP Workforce API
Learn what else you can build with the ADP Workforce API.
Interested in a personalized demo? Let us know.