Hibob (OAuth) – Configuration Guide
bob is a people management platform that helps fast-growing companies bring out the best in their employees. OAuth 2.0 authorization-code flow for multi-tenant connections.
How to create an OAuth app in HiBob
This guide is for application owners — the team integrating their SaaS product with HiBob via Apideck. You will register an OAuth marketplace app in the HiBob developer portal, copy three credentials (Client ID, Client Secret, App ID), and paste them into your Apideck integration configuration. Once that is done, your end users (consumers) will be able to connect their own HiBob tenant in one click — they will never see these credentials.
Overview
To complete the setup you will:
- Get access to the HiBob developer portal (requires a Bob Partner account).
- Create a marketplace app in
https://developers.hibob.com. - Configure redirect URI and scopes.
- Copy
Client ID,Client Secret, andApp ID. - Enter them in Apideck under Configuration → HRIS → HiBob (OAuth).
- (Before going live) submit the app to HiBob's Technical Review.
Prerequisites
- A Bob Partner account — a dedicated Bob environment for build/test. Request one from HiBob after signing the partner T&Cs. The portal user is created at
https://app.hibob.com. - Access to the HiBob developer portal at
https://developers.hibob.com.
1. Create the app in the HiBob developer portal
- Sign in to
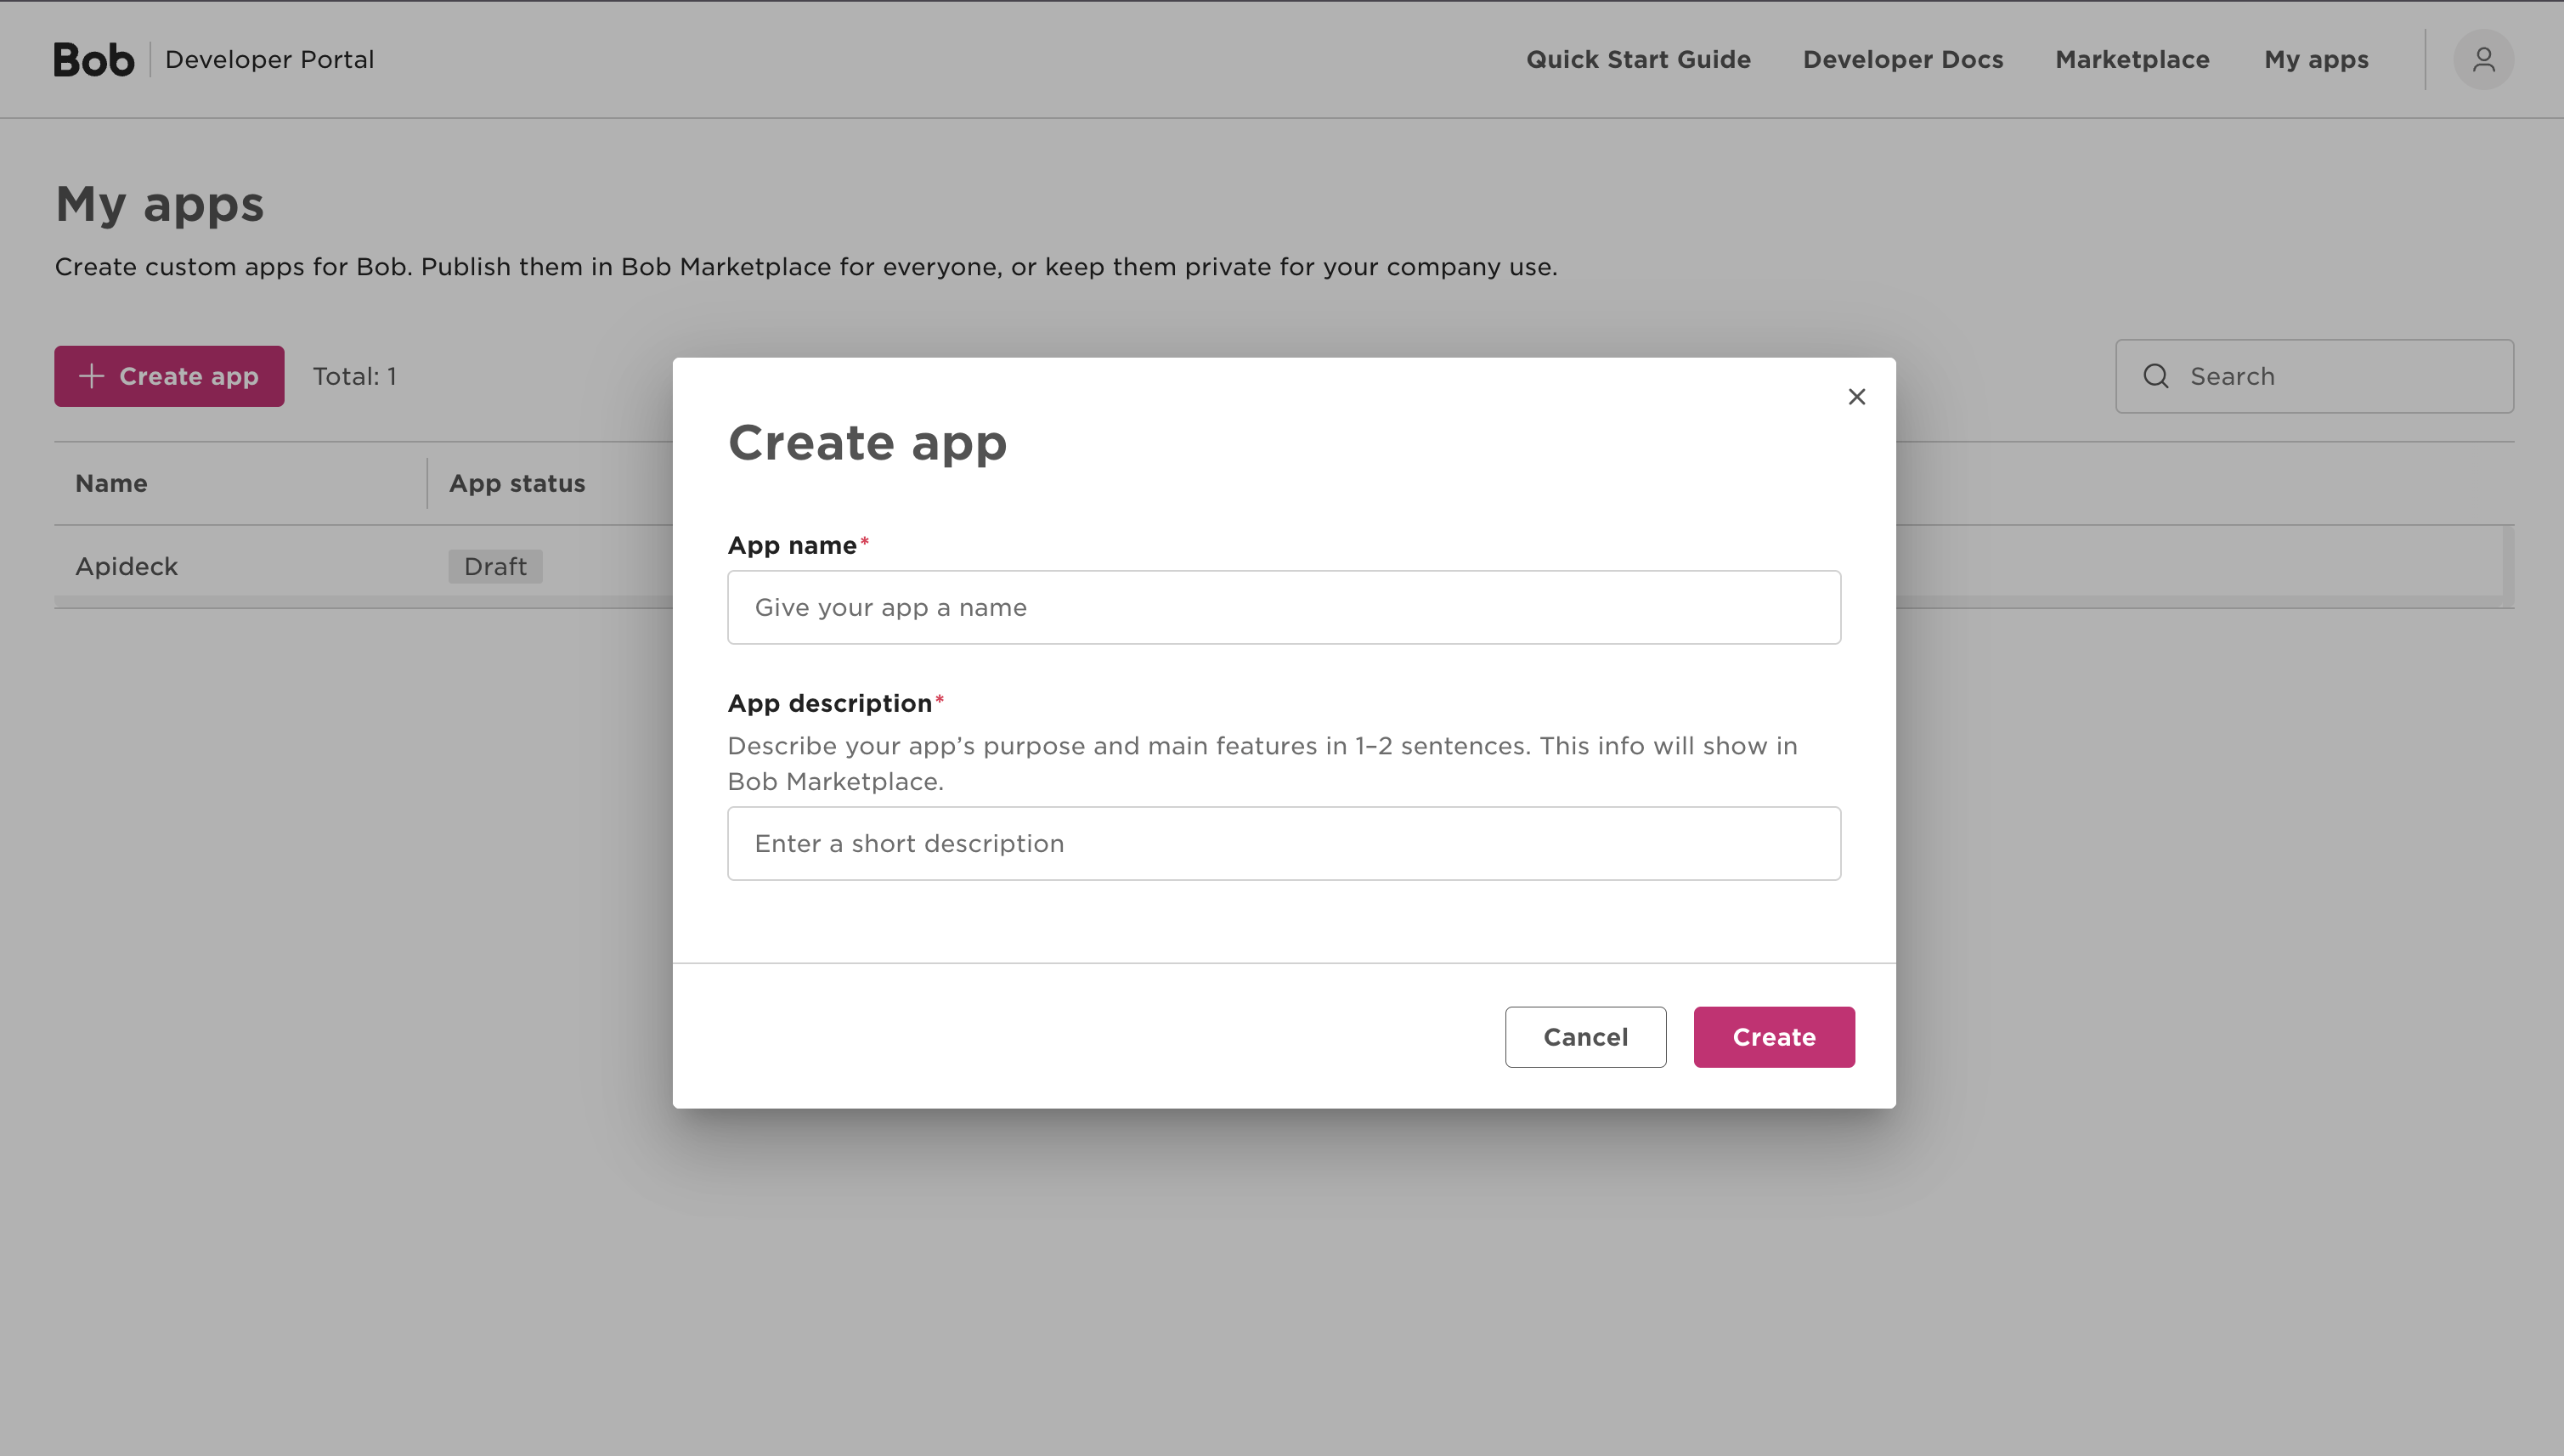
https://developers.hibob.comwith your Bob Partner account. - Open My apps in the sidebar and click Create app.
- Fill in the Basic Information section:
- App name — the name your consumers see during install (for example,
Acme Integration). - Description — a brief explanation of what the app does inside their HiBob tenant.
- Builder company name — optional; defaults to your partner organization name.
- Icon — minimum size 160×160 px, 1:1 ratio. This shows on the consent screen, so use a recognizable logo.
- App name — the name your consumers see during install (for example,
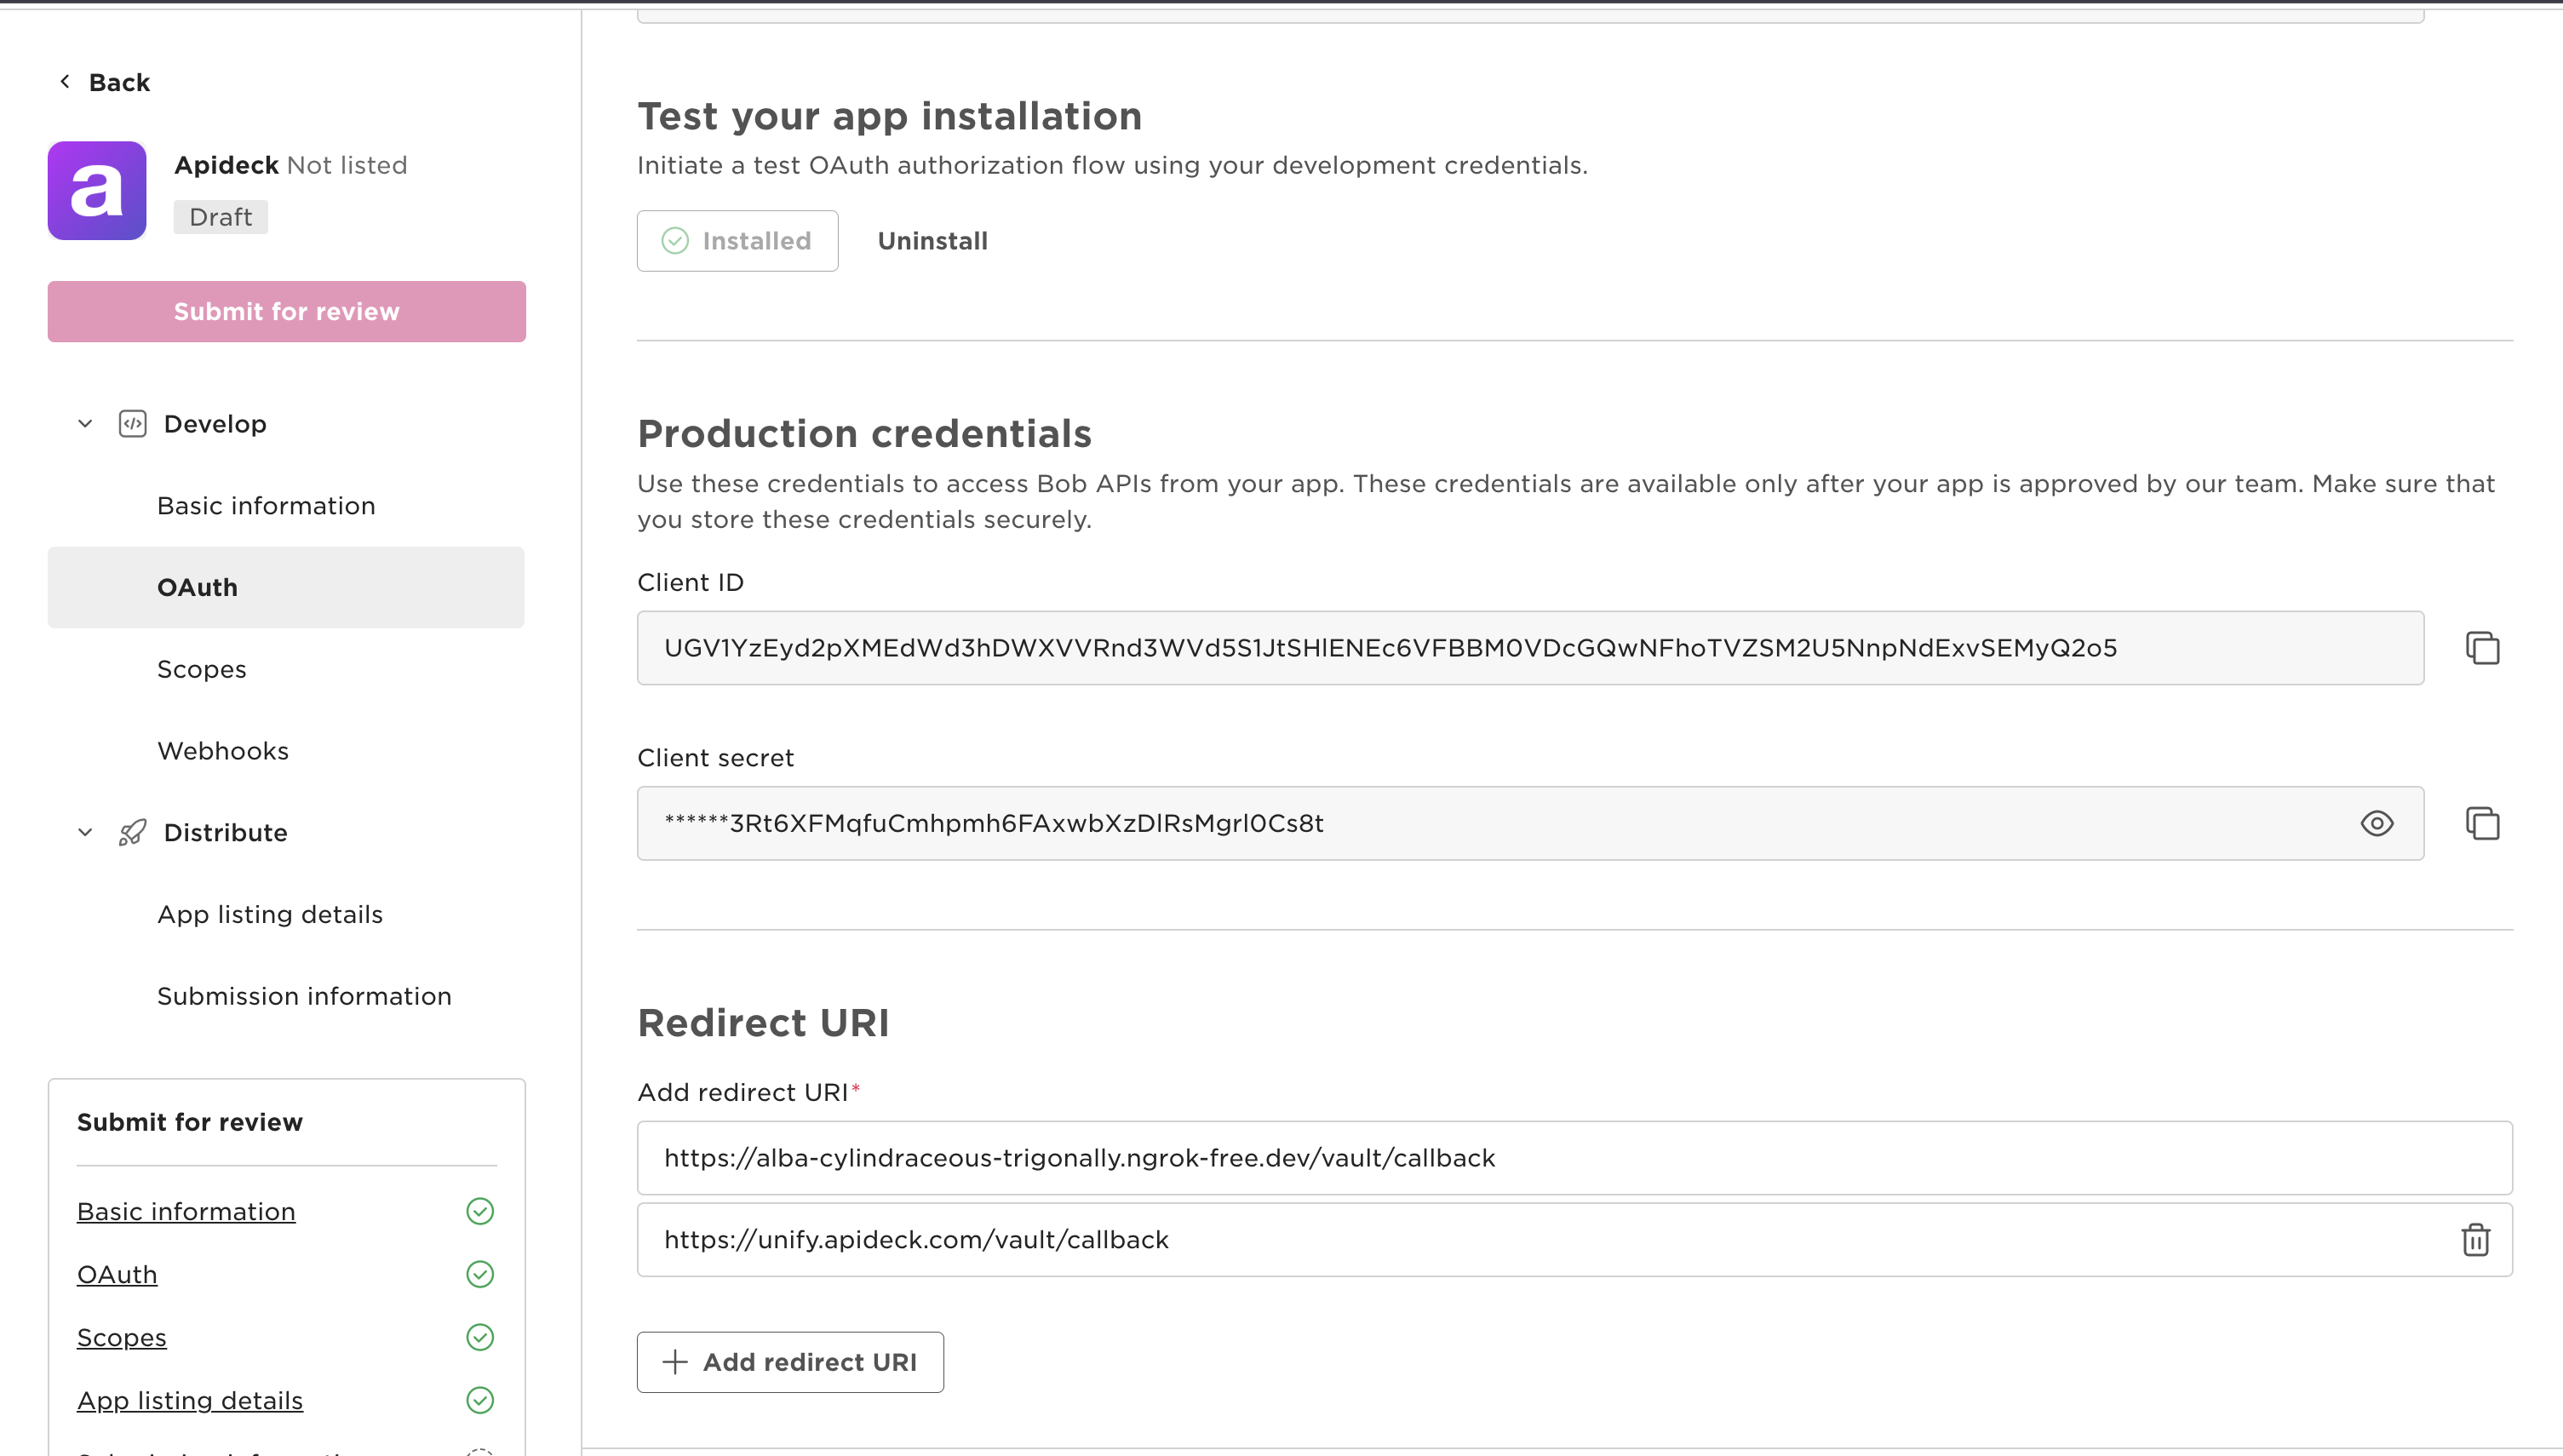
2. Configure the OAuth redirect URI
In the app's OAuth section, add the following redirect URI exactly:
https://unify.apideck.com/vault/callback
Notes:
- The value is case-sensitive and must include the
https://prefix. - No trailing slash.
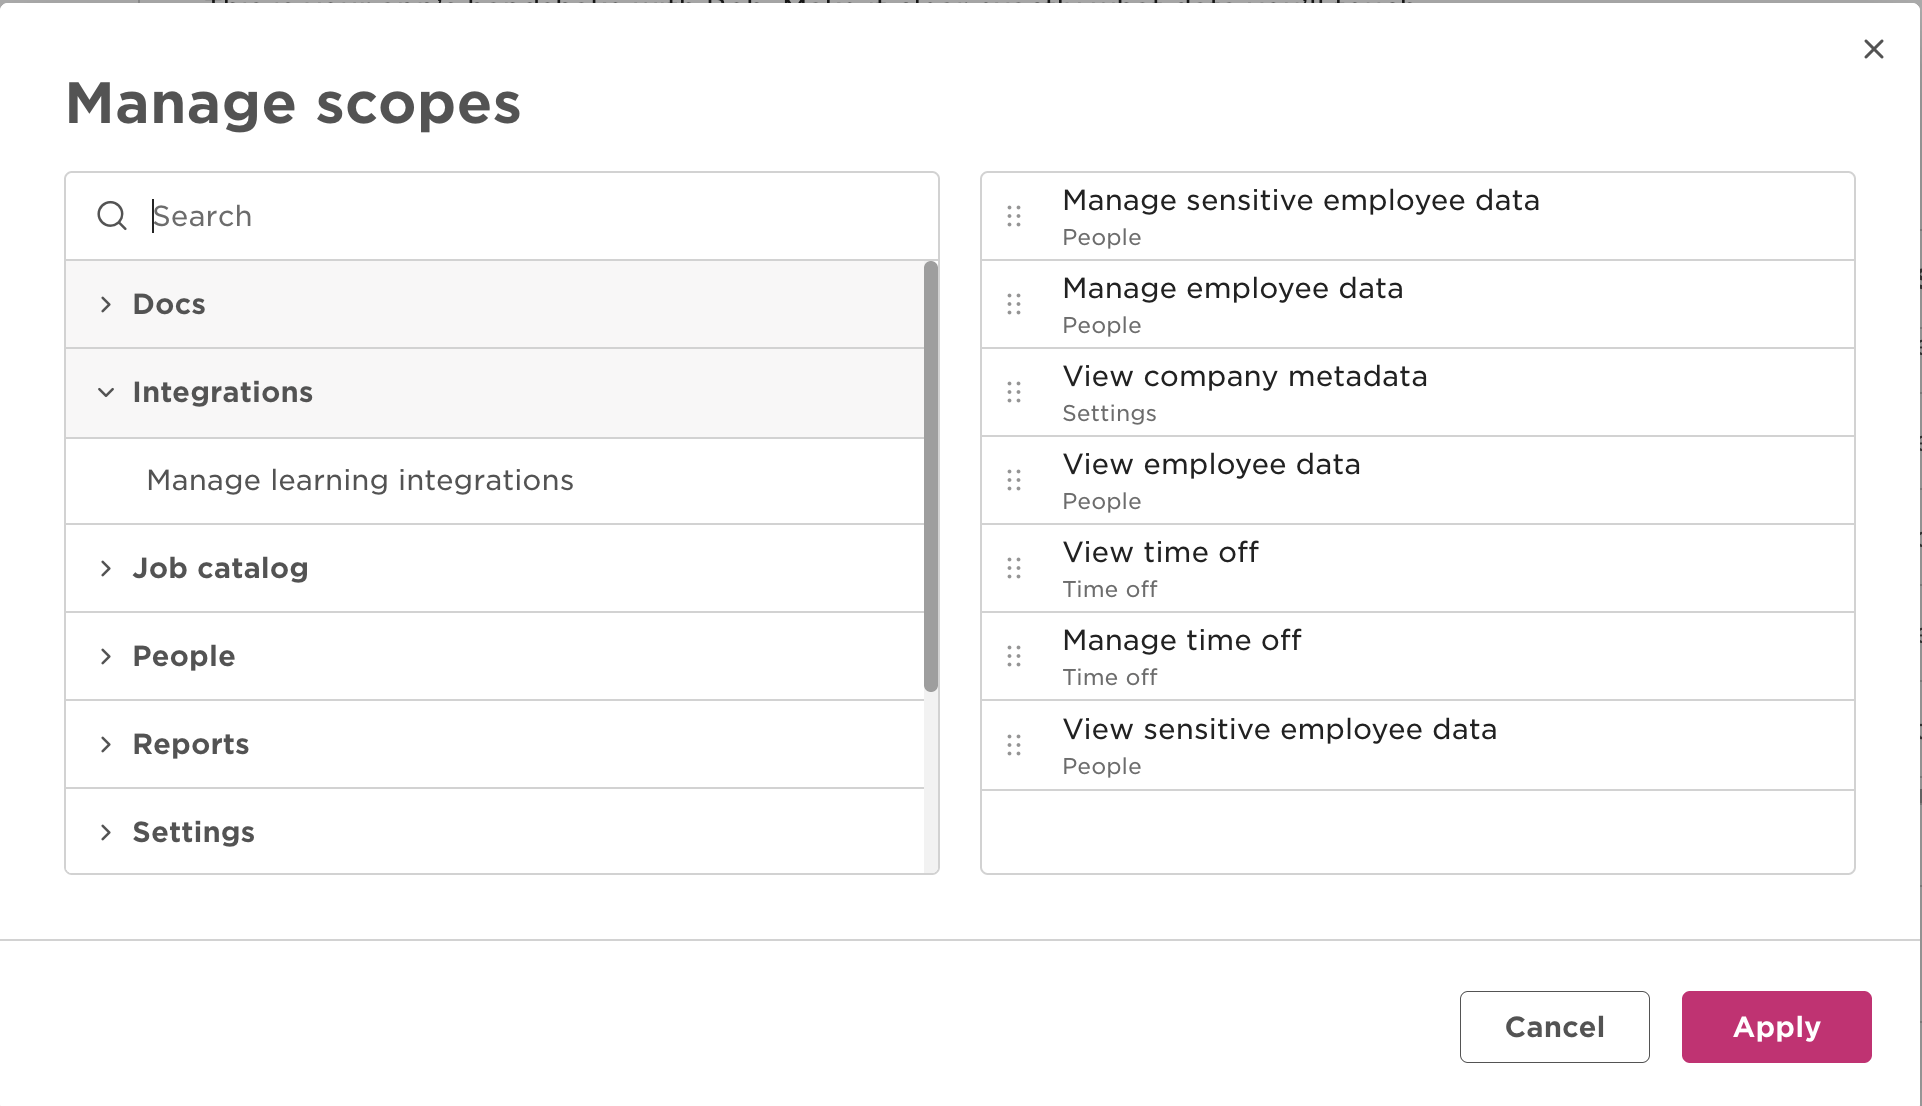
3. Select scopes
Under Scopes, enable at least the scopes that match the resources you intend to expose. For the unified HRIS resources currently supported by this connector (people, departments, time-off, titles, employee-work-history, company-fields), enable:
| Scope | Why |
|---|---|
employee_data:read | Read employee profiles and people search |
employee_data.history:read | Read employee work history |
company.metadata:read | Read departments, titles, company fields |
timeoff:read | Read time-off requests |
employee_data:write | Optional — required only for employee mutations |
timeoff:write | Optional — required only for time-off mutations |
Apply the principle of least privilege: enable only what your product needs. Consumers see this list on the install screen and adding scopes later requires re-authorization.
4. Copy your credentials
Navigate to the OAuth section of the app and copy the three values listed below. Keep them somewhere safe — Client Secret is shown once.
| Value | Where to find it | What it's used for |
|---|---|---|
| Client ID | OAuth → Development credentials (or Production credentials after review) | Token exchange (server-to-server) |
| Client Secret | OAuth → Development credentials (or Production credentials after review) | Token exchange (server-to-server) |
| App ID | OAuth → App ID (a short alphanumeric code, e.g. WH4SQ5XVL2) | Placed on the HiBob install URL so HiBob knows which app the consumer is installing |
Important:
App IDandClient IDare different values. HiBob's install URL takesapp_id; the token endpoint takesclient_id. Apideck stores both and uses them in the right place automatically — but you must enter each in the correct field.
5. Configure the connector in Apideck
- Go to your Apideck dashboard at
https://platform.apideck.com/. - Navigate to Configuration → HRIS → HiBob (OAuth).
- Under Use your HiBob client credentials, paste:
- Client ID — the OAuth
client_idfrom step 4. - Client Secret — the OAuth
client_secretfrom step 4.
- Client ID — the OAuth
- Under HiBob OAuth, paste:
- HiBob App ID — the
app_idfrom step 4 (e.g.WH4SQ5XVL2). - Credentials Type —
Developmentwhile you are still using the DevelopmentClient ID/Client Secretfrom the HiBob portal (this addsmode=devto the install URL so HiBob accepts the pre-review credentials). Switch toProductiononly after HiBob's Technical Review has issued Production credentials. This is separate fromEnvironmentabove —Environmentcontrols the API host (api.hibob.comvsapi.sandbox.hibob.com), whileCredentials Typecontrols which OAuth credential set is in use.
- HiBob App ID — the
- Under Environment Configuration:
- Environment —
Productionfor live data,Sandboxfor testing.
- Environment —
- Click Save settings.
Click Test Vault to walk through the OAuth flow yourself once — this confirms the redirect URI, scopes, and credentials are wired correctly before consumers see the app.
6. (Before going live) submit for Technical Review
HiBob requires every public marketplace app to pass a Technical Review before production credentials are issued. The review is gated by a short certification video.
- Record a 5–6 minute screen capture demonstrating, with demo data only:
- The OAuth installation flow (consent screen + redirect back to your product).
- The initial data sync (showing employees, departments, etc. appearing in your product).
- Any lifecycle events your app handles (webhooks, status changes).
- The uninstall flow (consumer revoking the app from HiBob).
- Use the same app ID as the submission.
- Submit the video to HiBob no later than 14 days after the initial app submission.
- Provide a customer-facing user guide alongside the submission.
Once approved, HiBob issues Production credentials in the OAuth section. Replace the development Client ID / Client Secret in Apideck with the production ones and switch Credentials Type from Development to Production (this drops mode=dev from the install URL). Leave Environment on Production unless you specifically want to point at the sandbox API host.
Troubleshooting
invalid redirect_uri on the consent screen
HiBob is comparing the redirect_uri query parameter against the URI registered on the app. Ensure it is exactly https://unify.apideck.com/vault/callback (no trailing slash, no extra path components, https not http).
invalid_client from the token endpoint
The Client ID or Client Secret does not match. Re-copy both from the OAuth section in the HiBob portal — make sure you are looking at the right environment (Development vs Production) and that you have not pasted the App ID into the Client ID field by mistake.
Install URL returns "App not found"
The app_id query parameter is wrong. In Apideck, verify the HiBob App ID field matches the short alphanumeric code shown in the HiBob portal's OAuth section (e.g. WH4SQ5XVL2). This is not the same as Client ID.
Consumer sees fewer scopes than expected on the consent screen
Apideck only requests the scopes you enabled in the HiBob portal. Open the app in the portal, add the missing scopes, and have the consumer reconnect (the existing token does not auto-upgrade).
Production credentials show as locked
Production credentials are only issued after the Technical Review passes. Keep Credentials Type set to Development until approval — Apideck will continue to send mode=dev on the install URL so HiBob accepts the development credentials.