Dropbox – Configuration Guide
Dropbox is a modern workspace designed to reduce busywork-so you can focus on the things that matter. Sign in and put your creative energy to work.

Creating an OAuth App for Dropbox
This guide will walk you through creating a Dropbox app, retrieving your Client ID and Client Secret, and adding them to your Apideck dashboard so you can sync files securely.
Step 1: Create a Dropbox App
-
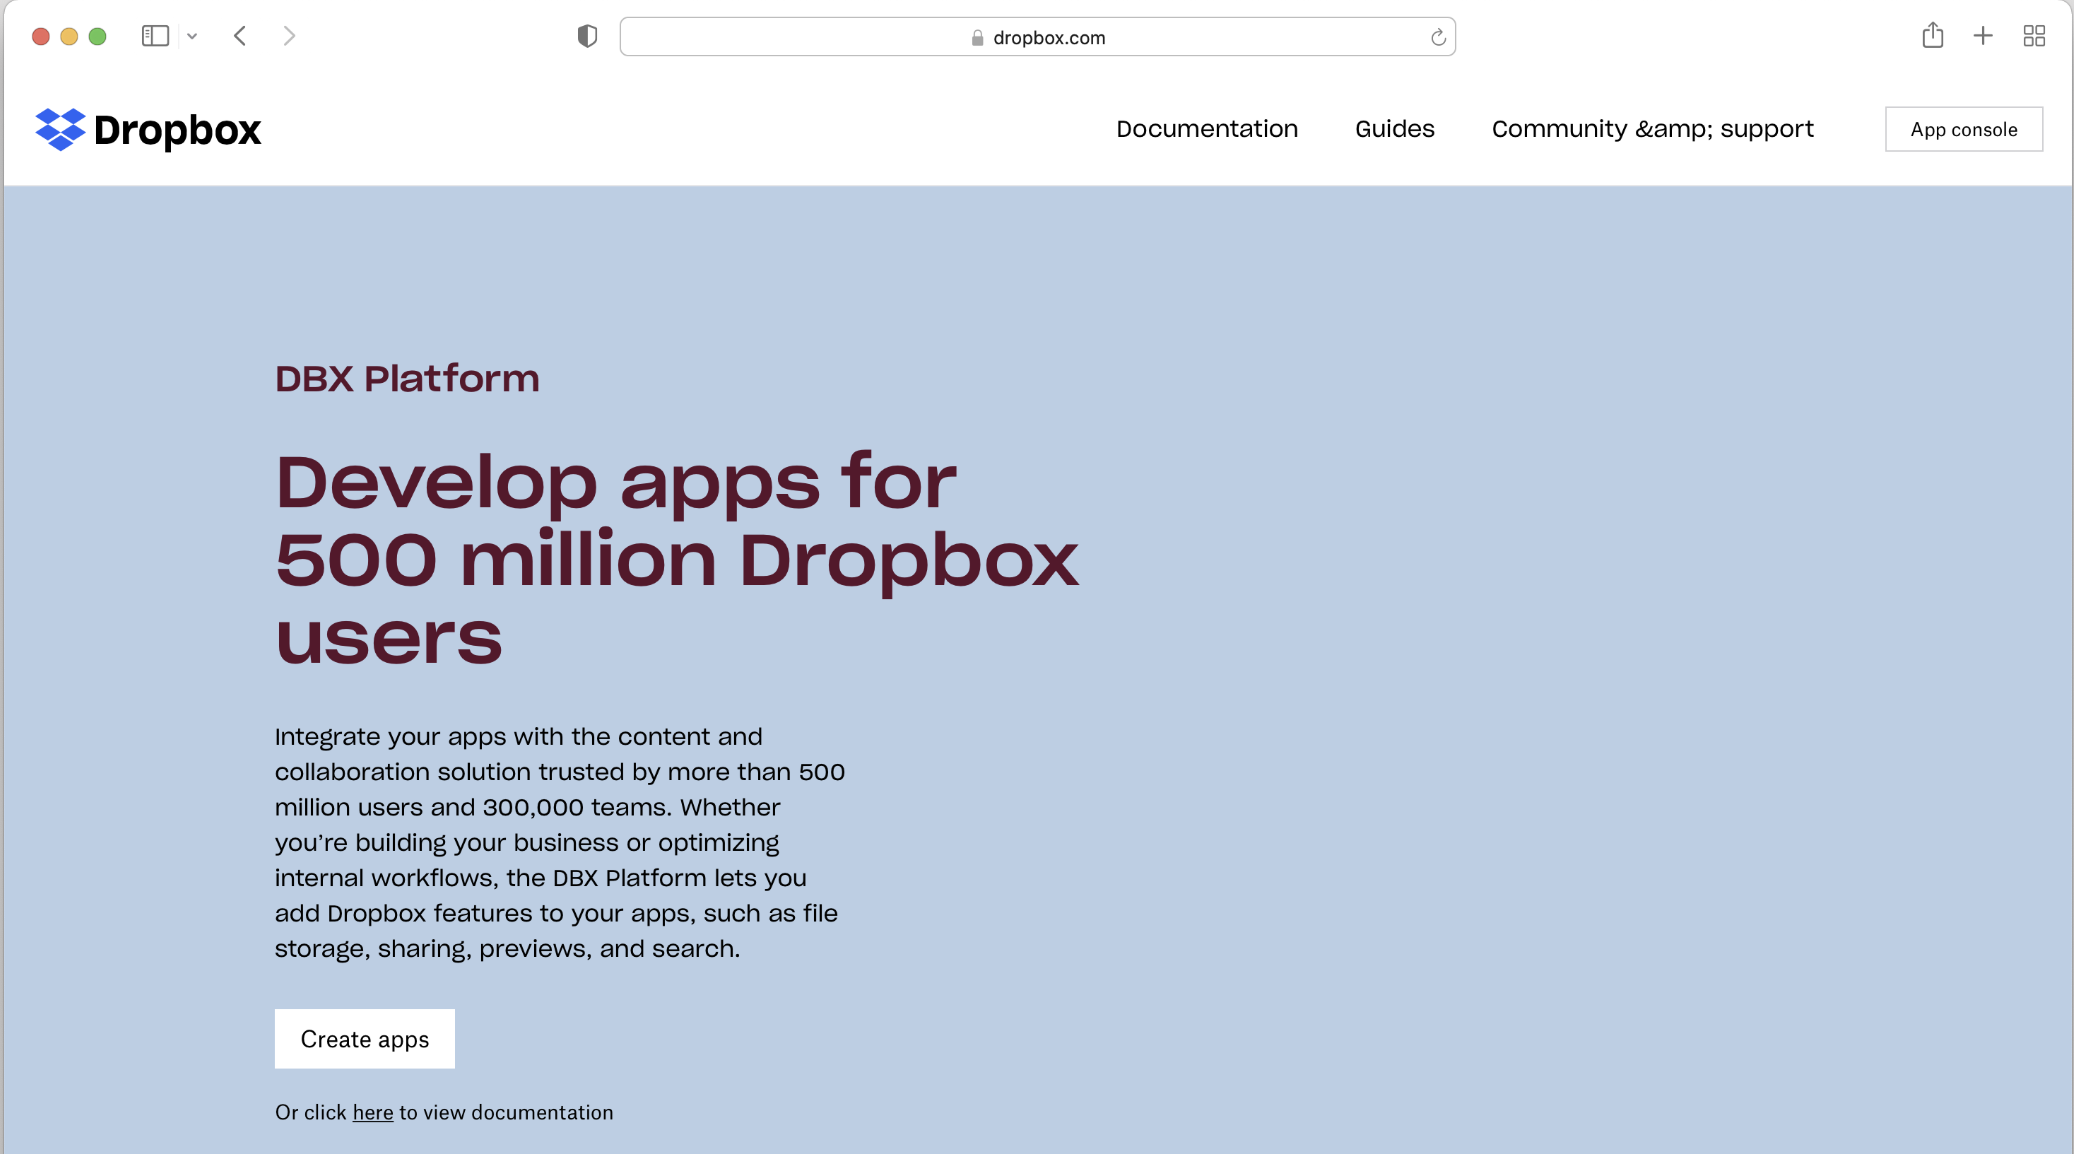
Access the Dropbox developers page at https://www.dropbox.com/developers
-
Click Create App
-
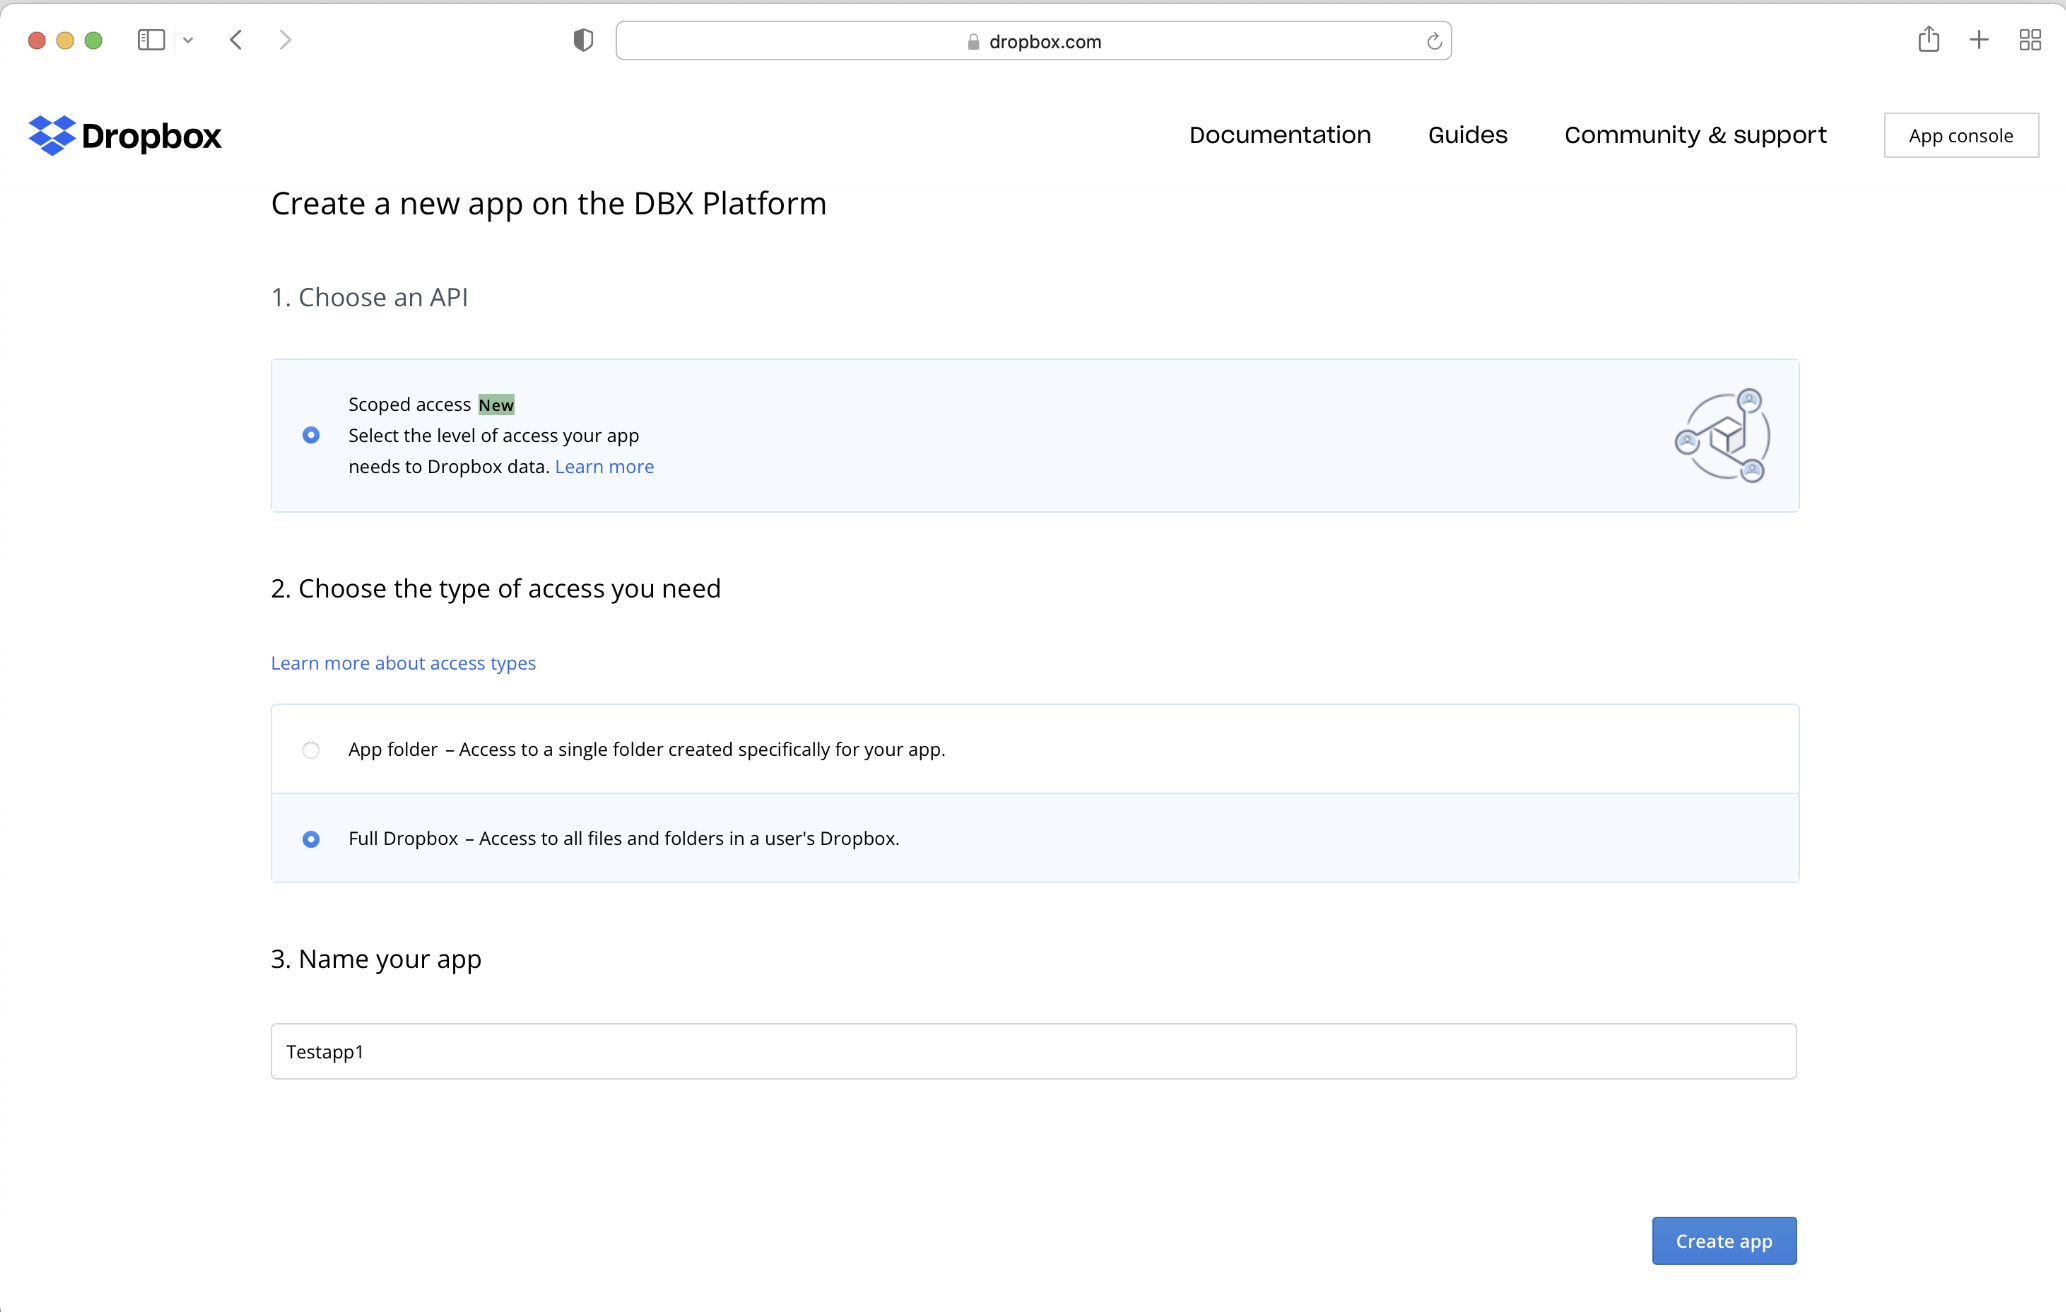
Select the following options:
- API: Choose Scoped Access
- Type of Access: Select Full Dropbox (or App Folder if you only want access to a specific folder)
- Name your app: Enter a unique name (e.g., YourCompany-Integration)
-
Click Create App
Step 2: Configure App Settings
-
On the App Settings page:
- Copy the App Key (this will be your Client ID)
- Copy the App Secret (this will be your Client Secret)
-
Under OAuth 2, add a redirect URI:
- Use the callback URL:
https://unify.apideck.com/callback - Click Add to save it
- Use the callback URL:
-
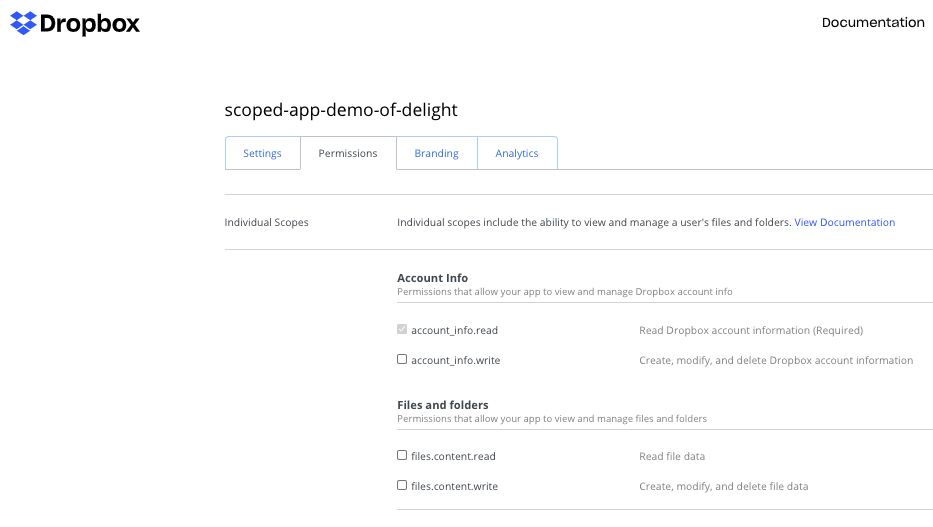
Under Permissions, make sure to assign these scopes:
-
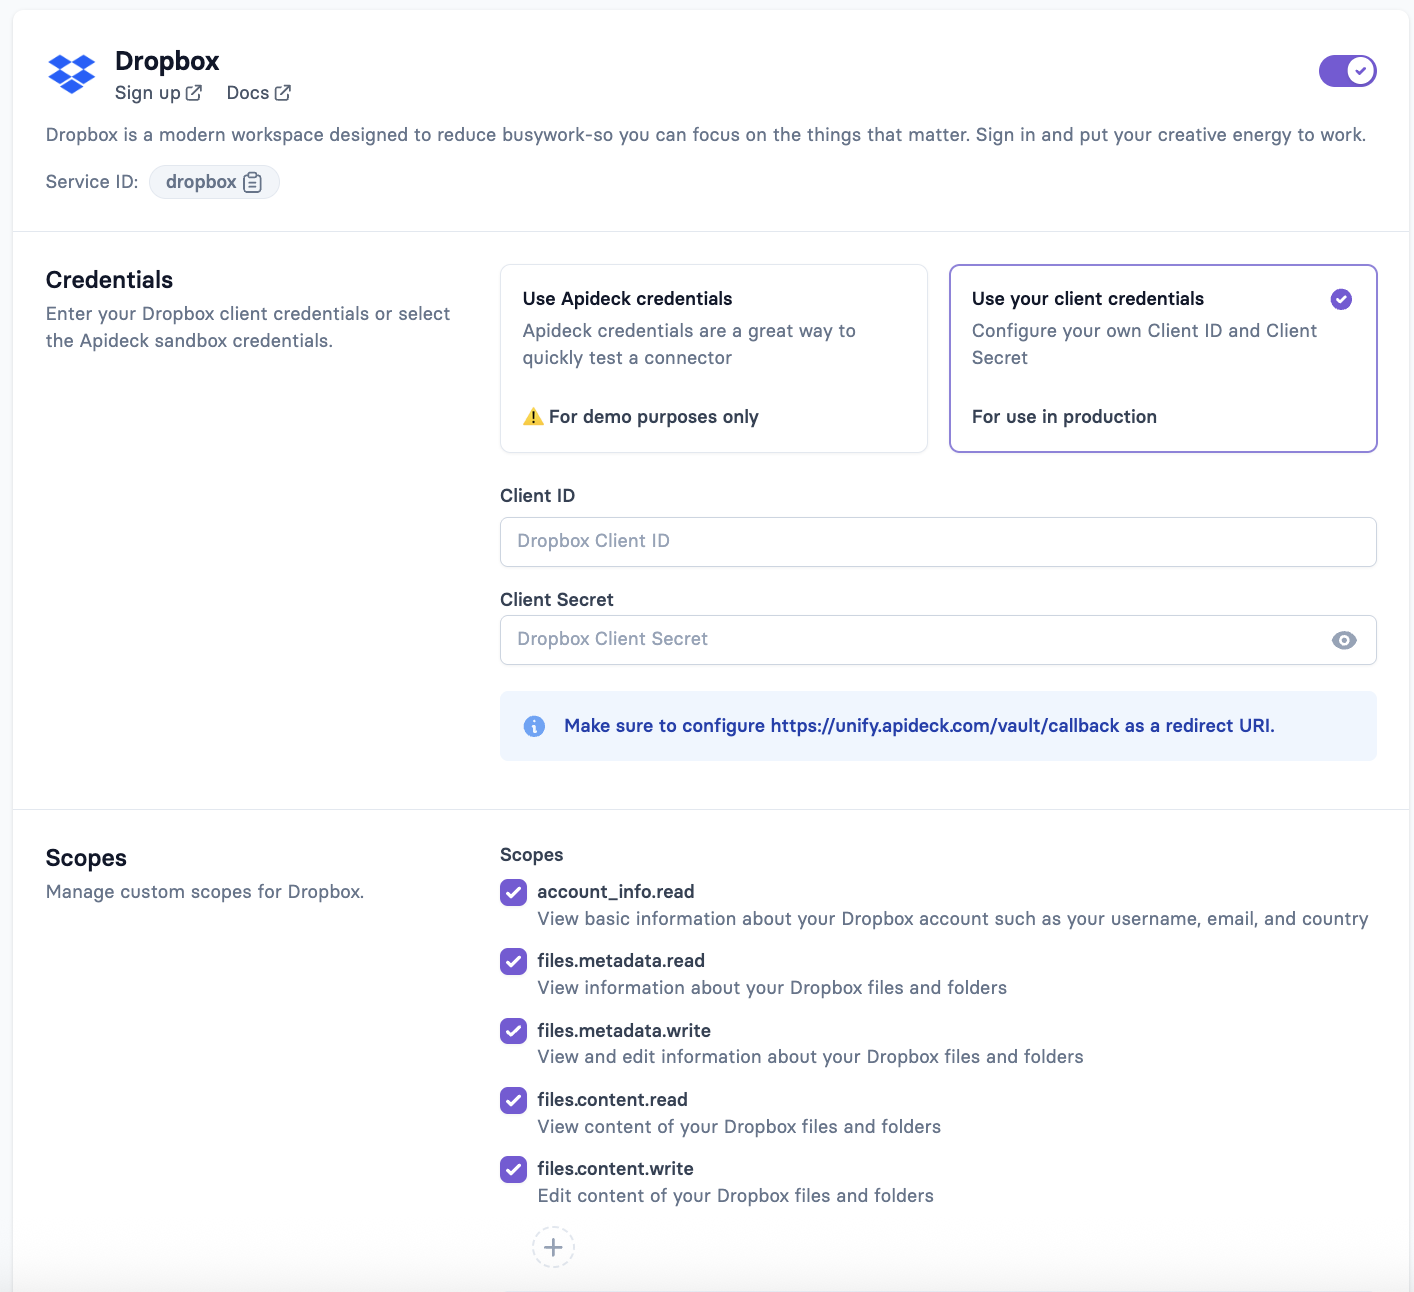
account_info.read
View basic information about your Dropbox account such as your username, email, and country -
files.metadata.read
View information about your Dropbox files and folders -
files.metadata.write
View and edit information about your Dropbox files and folders -
files.content.read
View content of your Dropbox files and folders -
files.content.write
Edit content of your Dropbox files and folders
-
-
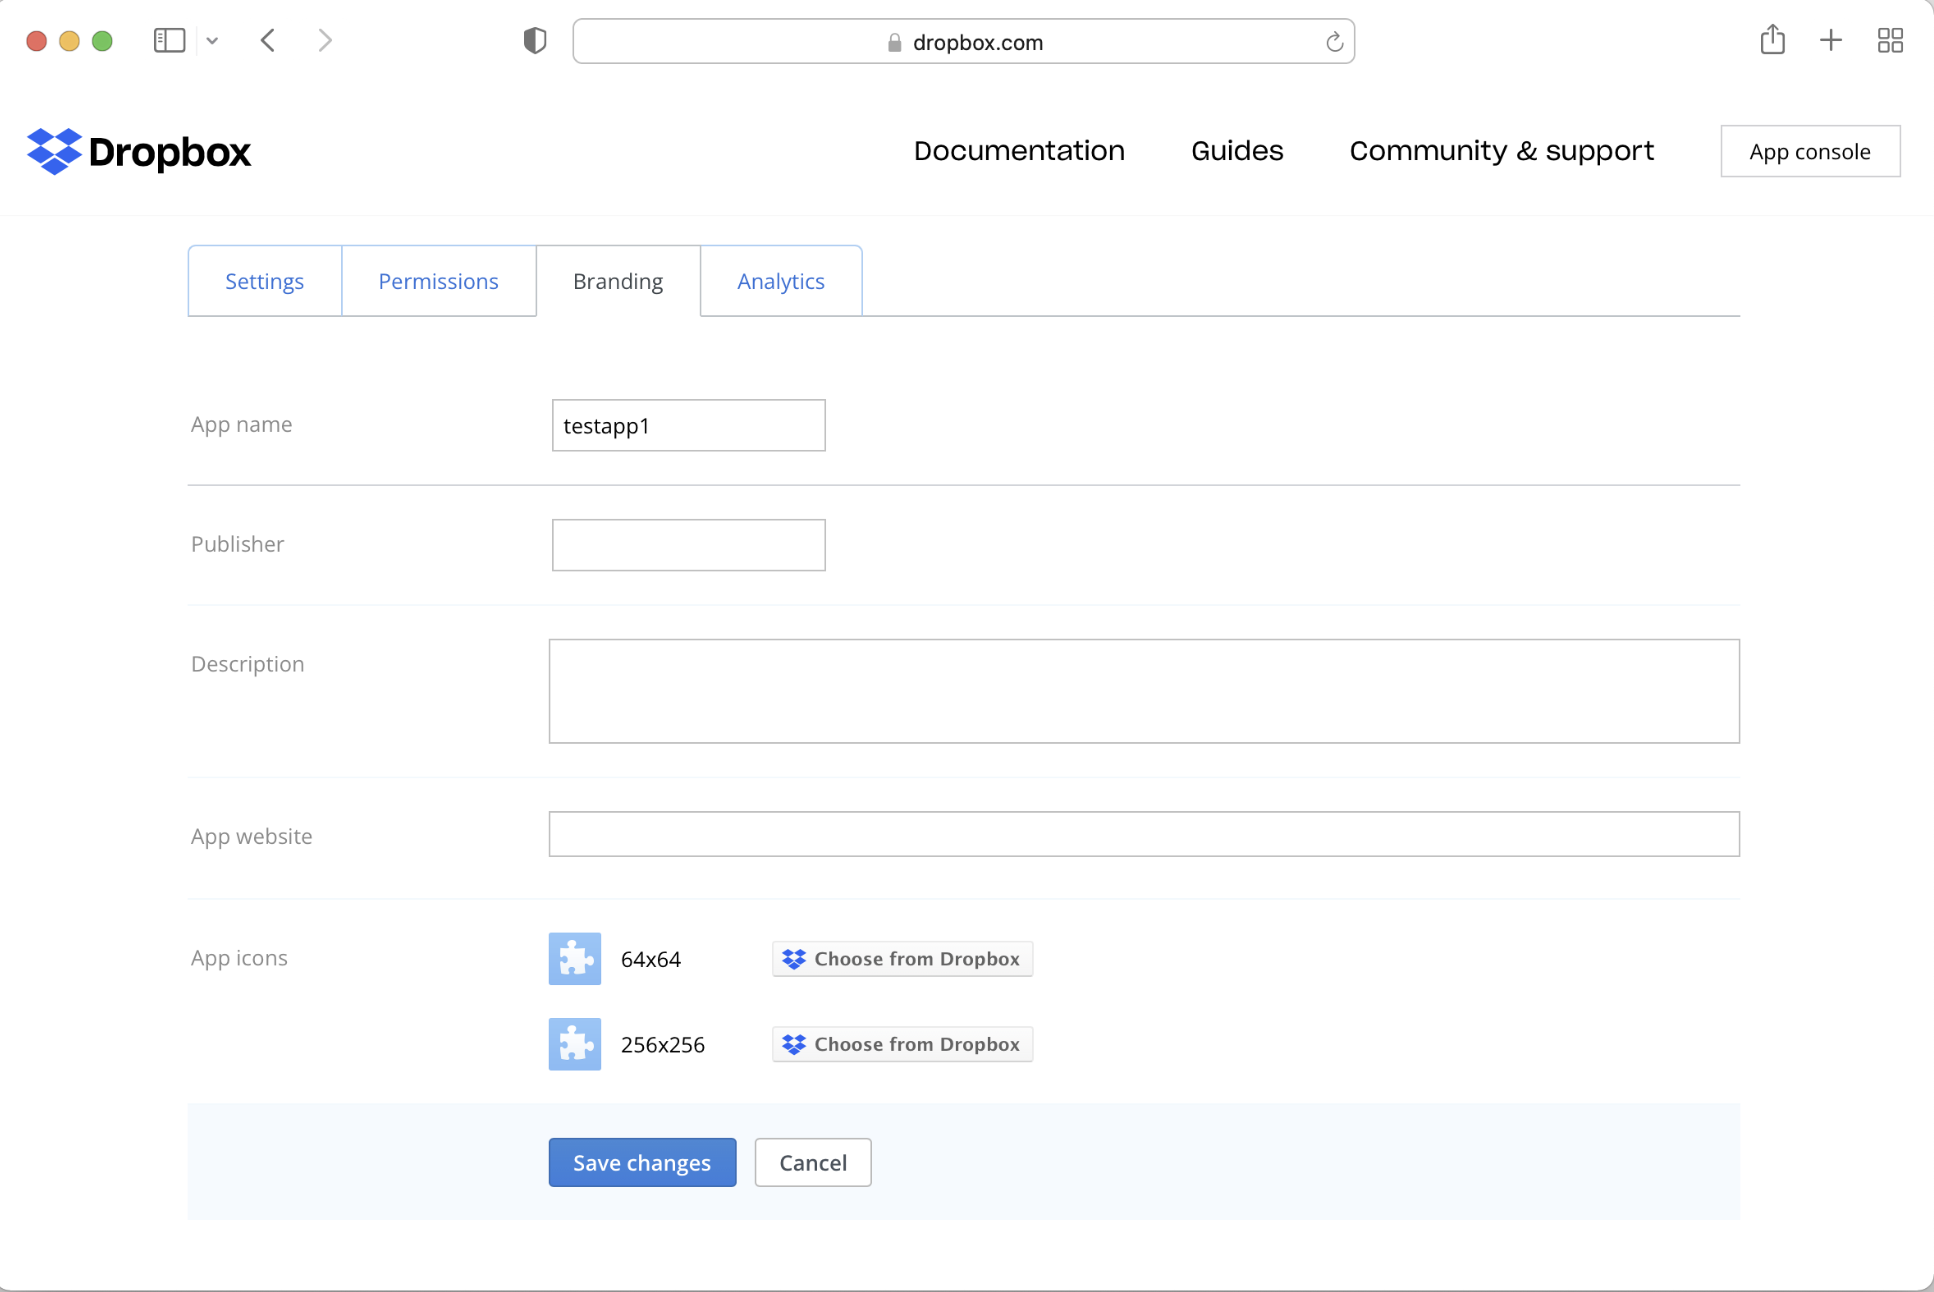
(Optional) Configure your domain name and logo on the Branding tab
Step 3: Enable Additional Users
By default, a newly created Dropbox app is in Development status and can only be linked to the account that created it (the app's settings page shows Development users: Only you). To allow other Dropbox accounts to connect through Apideck, you must raise this limit:
-
On the app's Settings page, find the Development users row
-
Click Enable additional users — this raises the development limit to 500 users
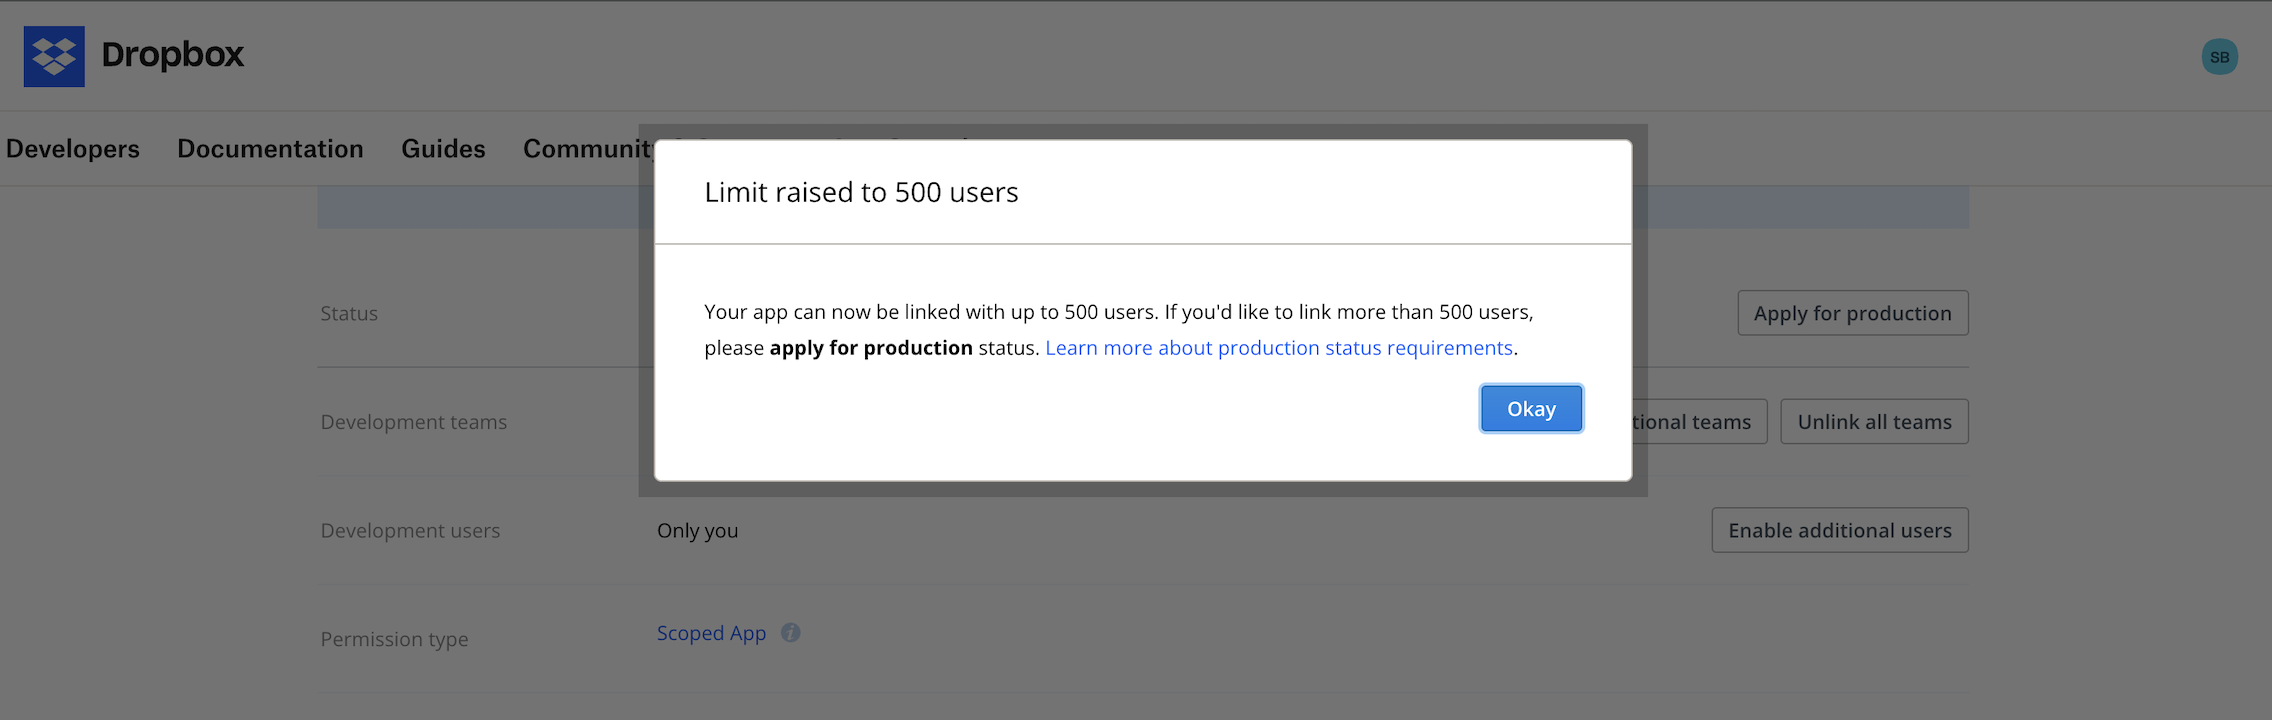
⚠️ Apply for production before going live. A development-status app can link a maximum of 500 users, and once it links 50 users, Dropbox gives you a two-week window to apply for and receive production approval — after which the app can no longer link new users (existing connections keep working). To avoid disruption, click Apply for production on the app's settings page before rolling the connection out to real users. You can monitor your current linked-user count under the app's Analytics tab; Dropbox does not expose this count via API.
Step 4: Add Credentials to Your Apideck Dashboard
-
Log in to your Apideck Dashboard
-
Navigate to Configuration → Dropbox
-
Enter the Client ID and Client Secret you copied earlier
-
Save your changes
Step 5: Test the Connection
-
Go back to the Dropbox integration in your dashboard
-
Click Test Vault to launch a Dropbox sign-in window
-
You’ll be redirected to Dropbox to authorize the connection
-
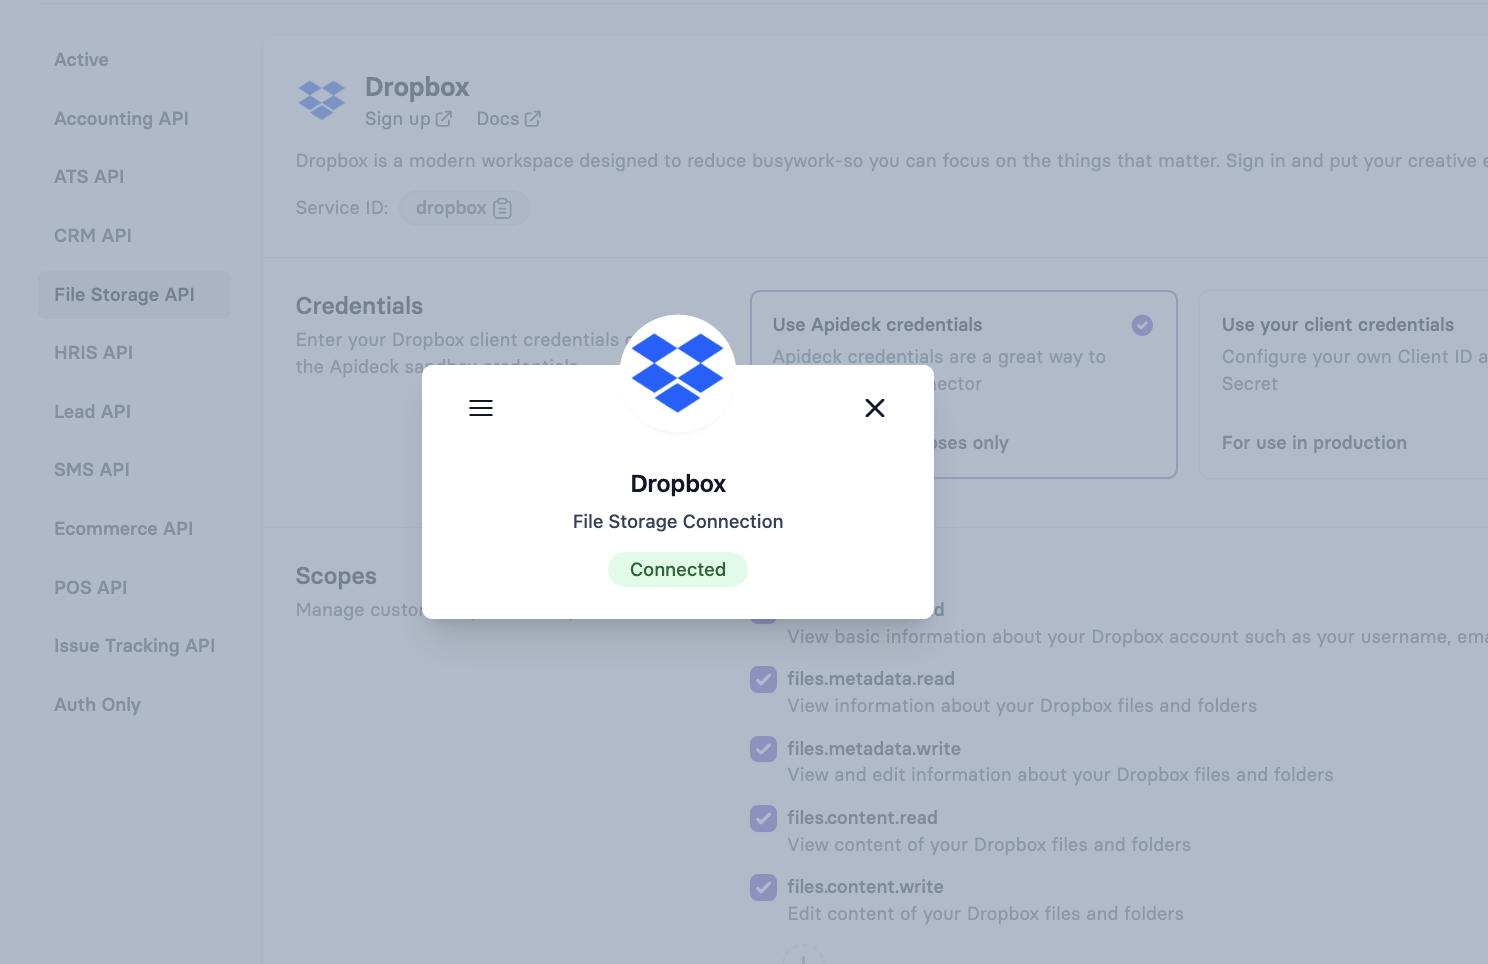
After granting access, you should see the integration status as Connected
🎉 You’re Done!
Your Dropbox integration is now set up and ready to use through Apideck.