Box – Configuration Guide
Box empowers your teams by making it easy to work with people inside and outside your organization, protect your valuable content, and connect all your apps.

How to Create OAuth Credentials for Box
This guide will help you set up your Box OAuth app to connect with Apideck.
Before you start
- A free Box account is enough to create the app and use the API.
- There is no Box review, no partnership and no certification for private use. Box reviews an app only if you choose to publish it to the Box integrations marketplace, which is optional and separate: a marketplace listing is not required to use your app with Apideck.
- Testing and production share one environment. A true Box developer sandbox is provisioned by an enterprise administrator and inherits that enterprise's plan, so it is not available on a plain free account; a free account gets the Developer Console and full API access instead.
To create a connection with Box, you need to complete the following steps:
1. Create OAuth App in Box
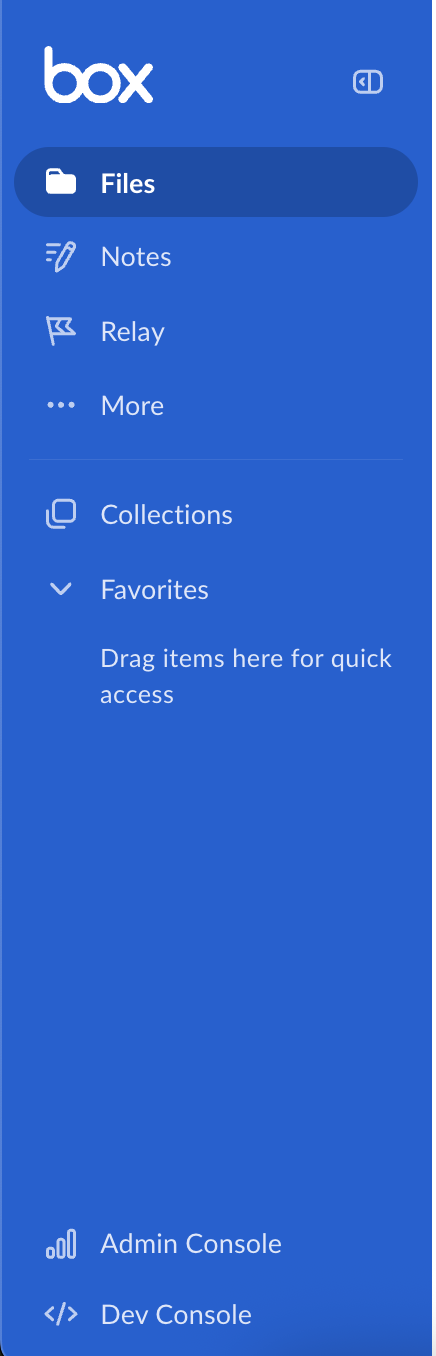
Login to Box Developer Console
- Go to https://app.box.com/ and log in to your Box account
- Navigate to the Developer Console at https://app.box.com/developers/console
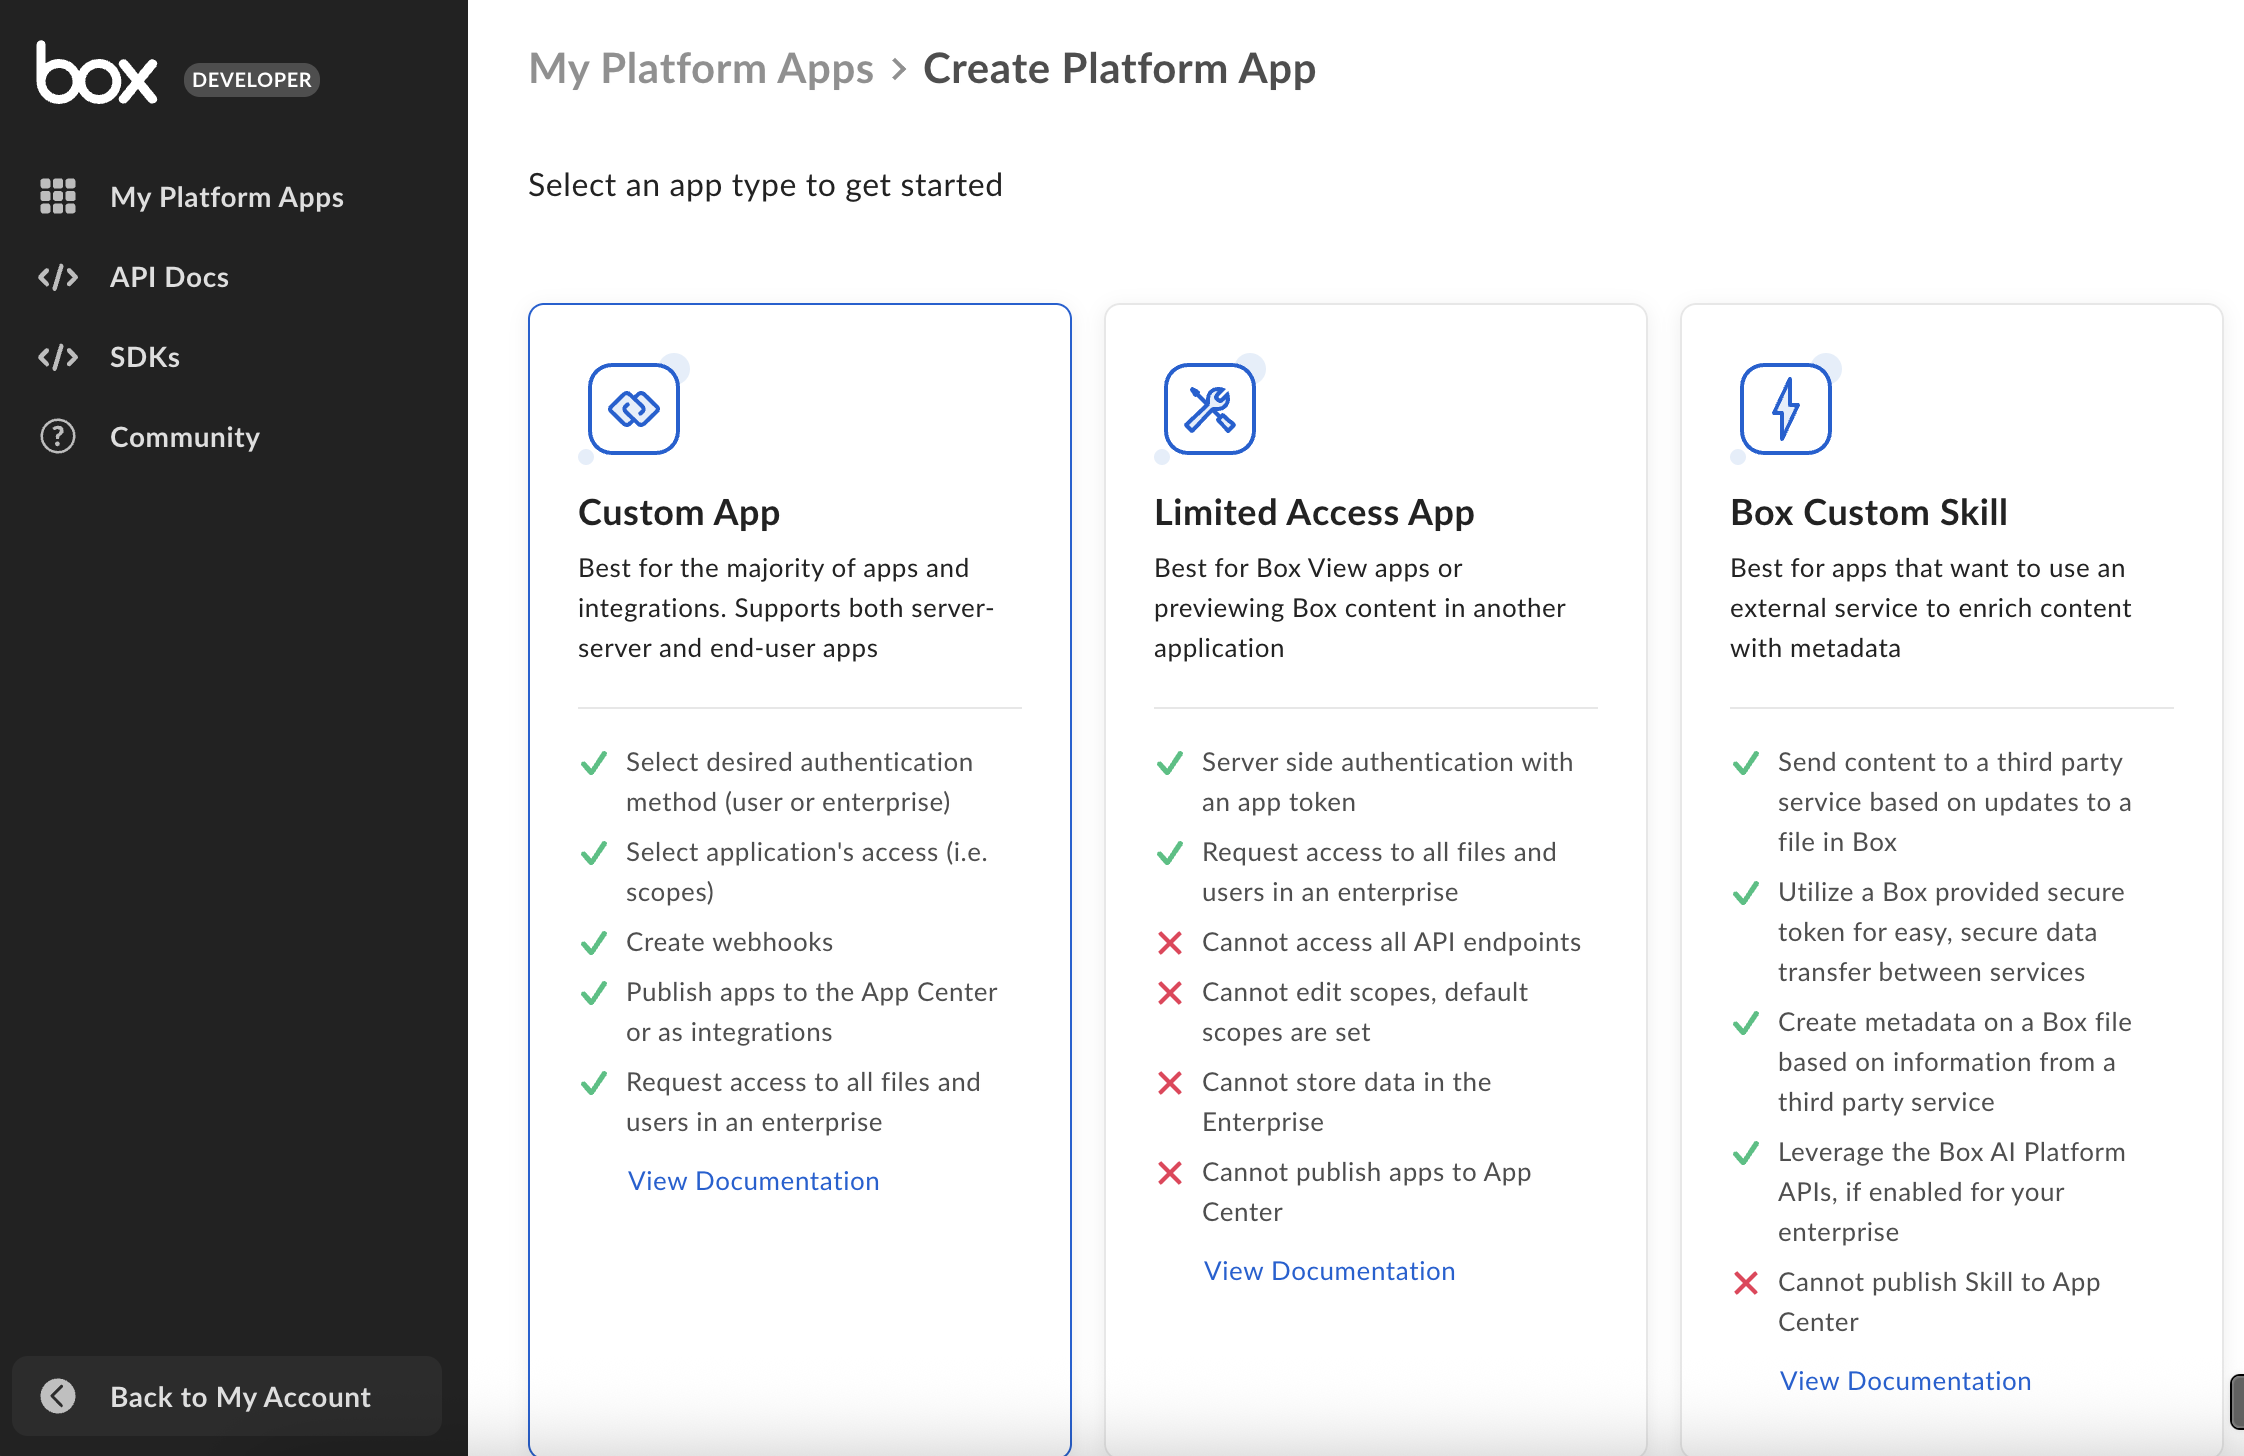
Create Platform App
- Click Create Platform App to start creating your application

Choose Custom App
- Select Custom App as the app type
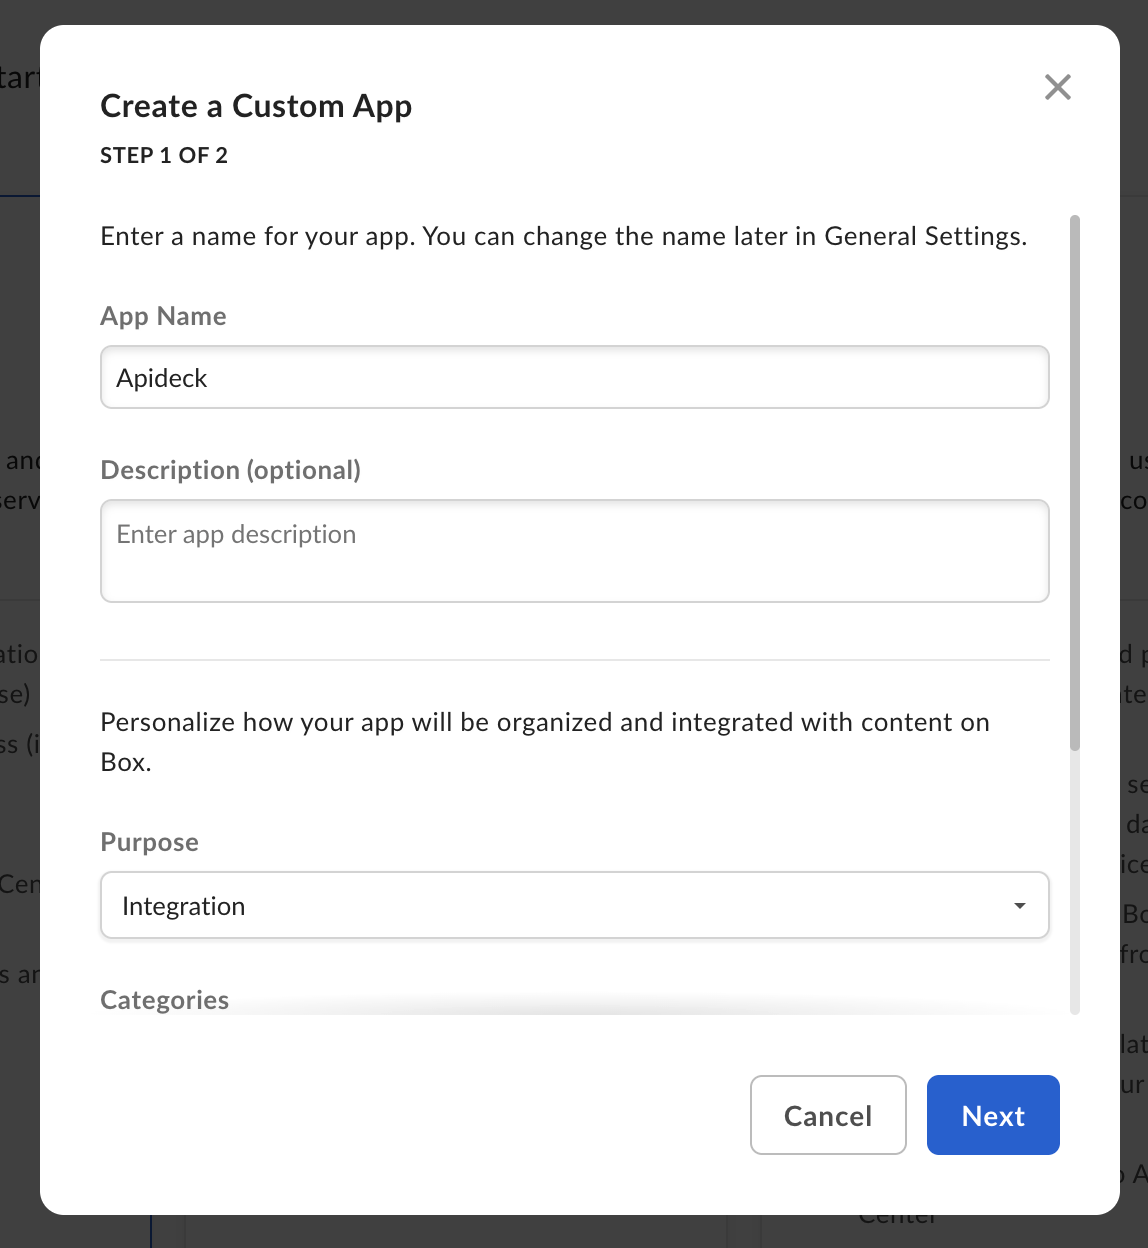
Configure App Details
Fill out the basic information for your app:
- App Name: Enter a descriptive name (e.g., "Apideck")
- Description: Provide a brief description of your integration
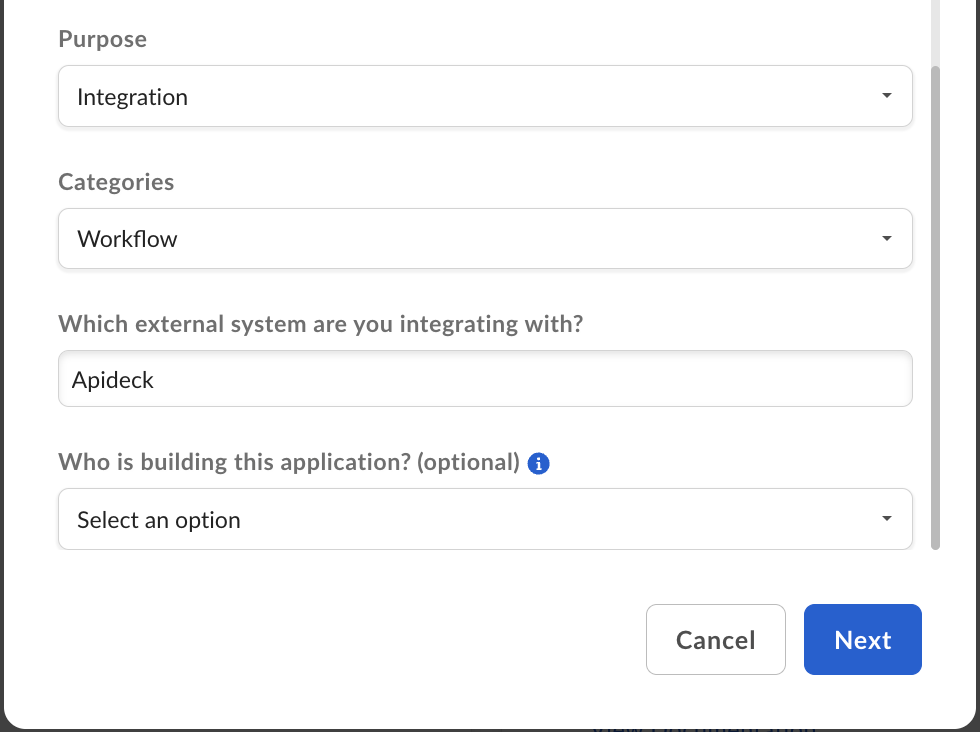
- Purpose: Select "Integration"
- Category: Select "Workflow"
- External System: Add "Apideck" to "Which external system are you integrating with?"
- Who is building this application?: This field is optional
Configure Authentication
- Select OAuth 2.0 as the authentication method
- Click Create app
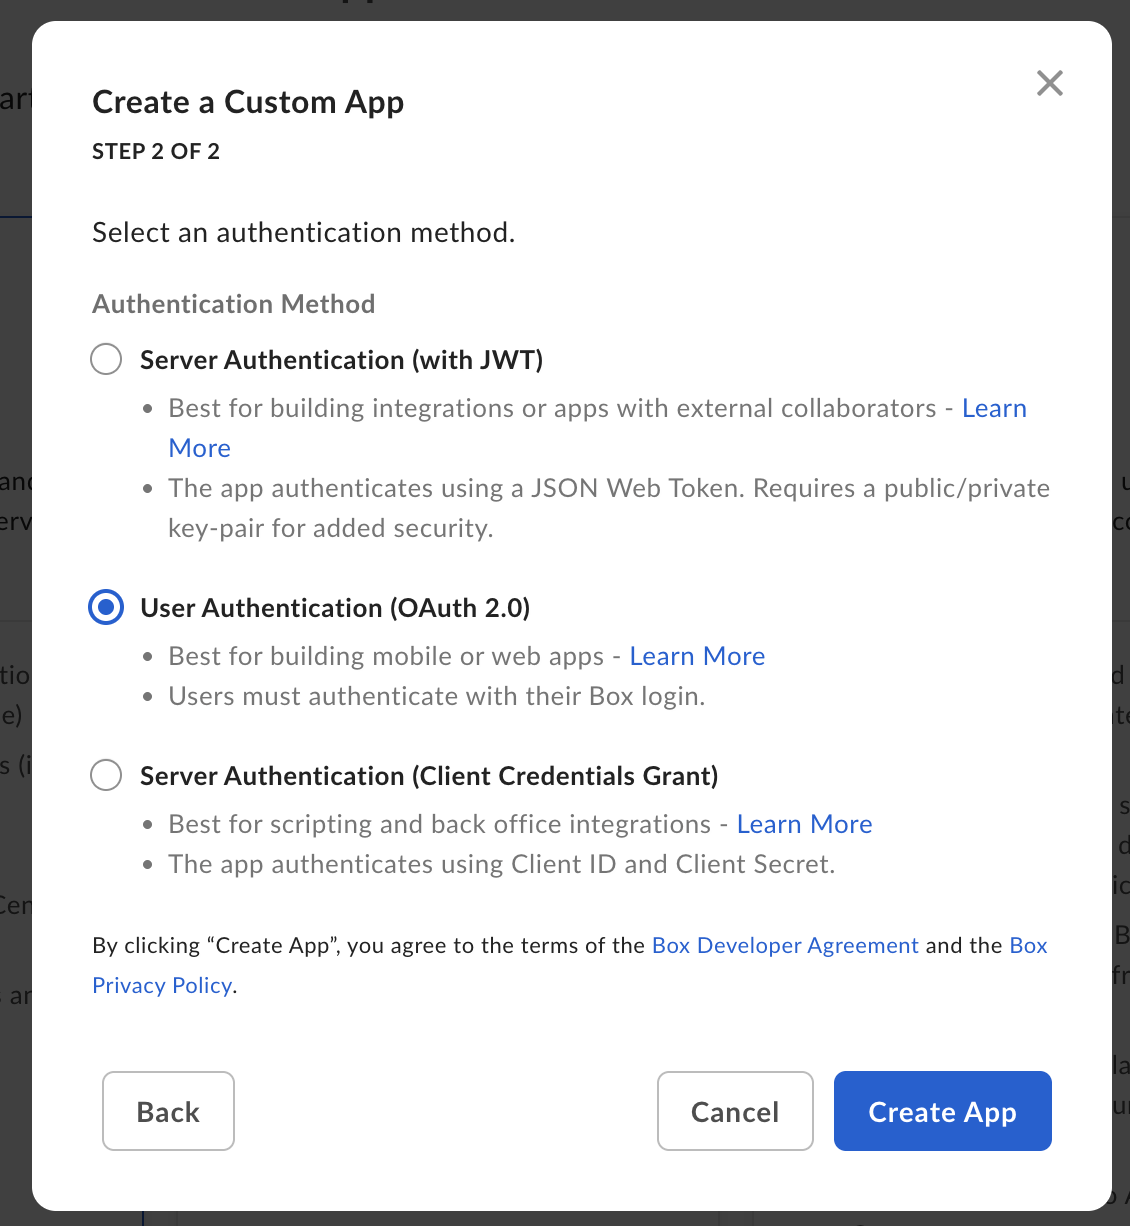
Copy OAuth 2 Credentials
After creating your app, scroll down to the OAuth 2.0 credentials section and copy the following credentials:
- Client ID
- Client Secret
⚠️ Important: Store these credentials securely as you'll need them for the next step. Keep the Client ID to hand as well: administrators at enterprise customers identify your app by its Client ID (see Enterprise customers and unpublished apps).
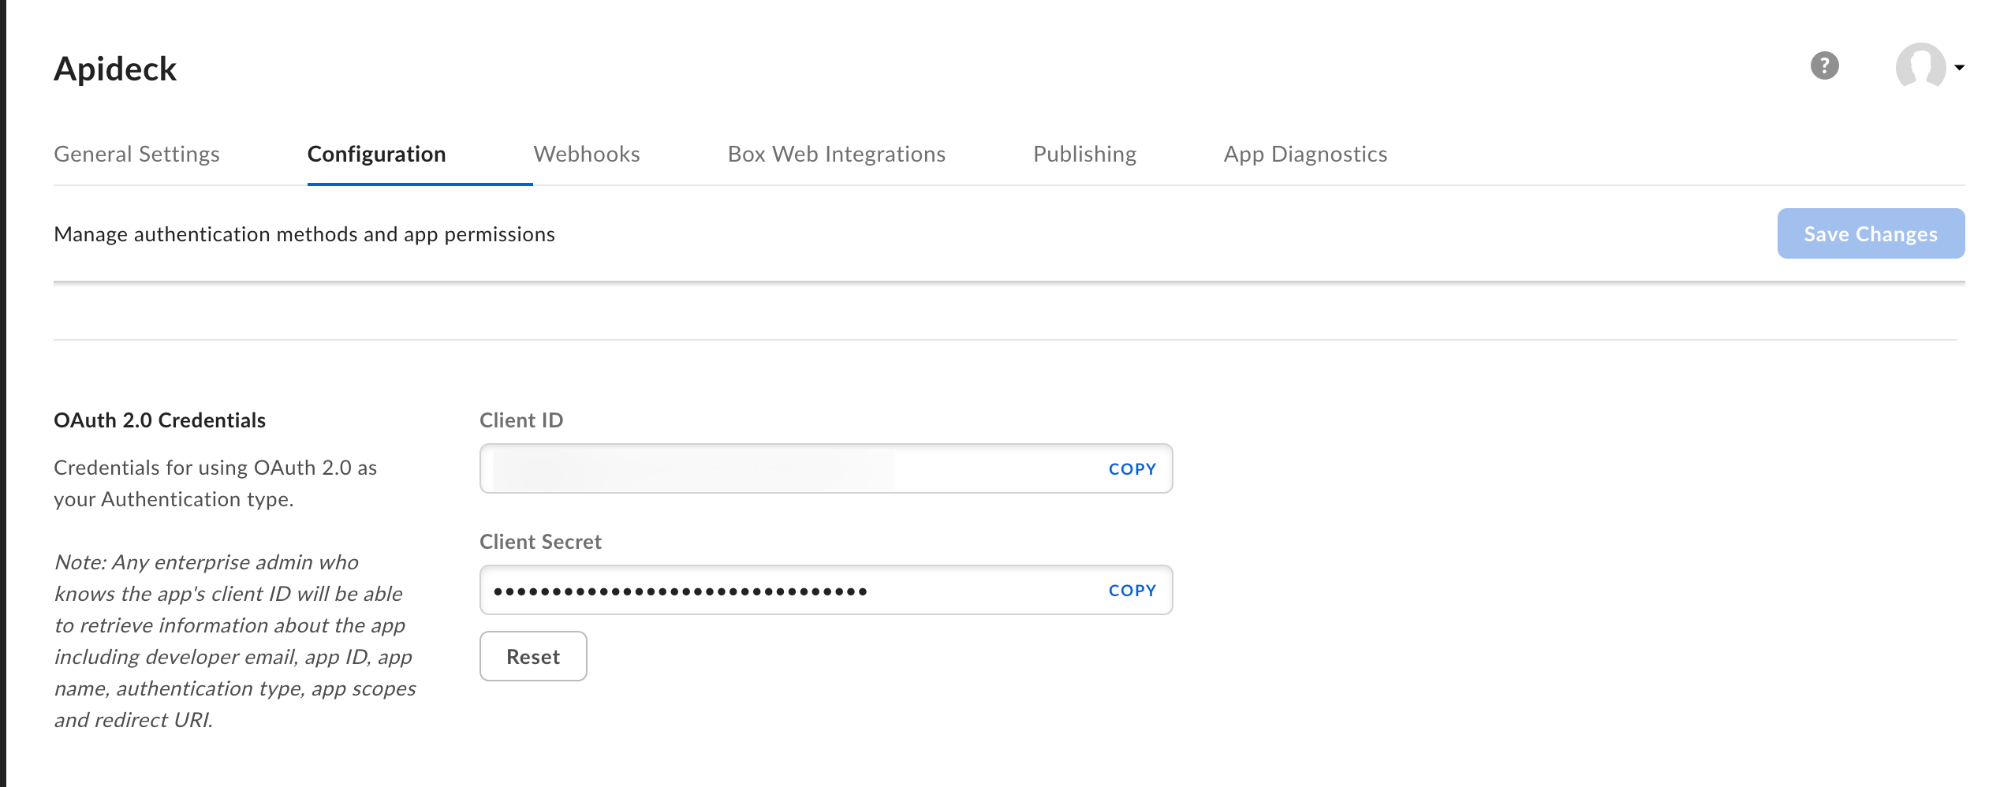
Configure Redirect URI
- Under OAuth 2.0 Redirect URIs, add the following redirect URI:
https://unify.apideck.com/vault/callback
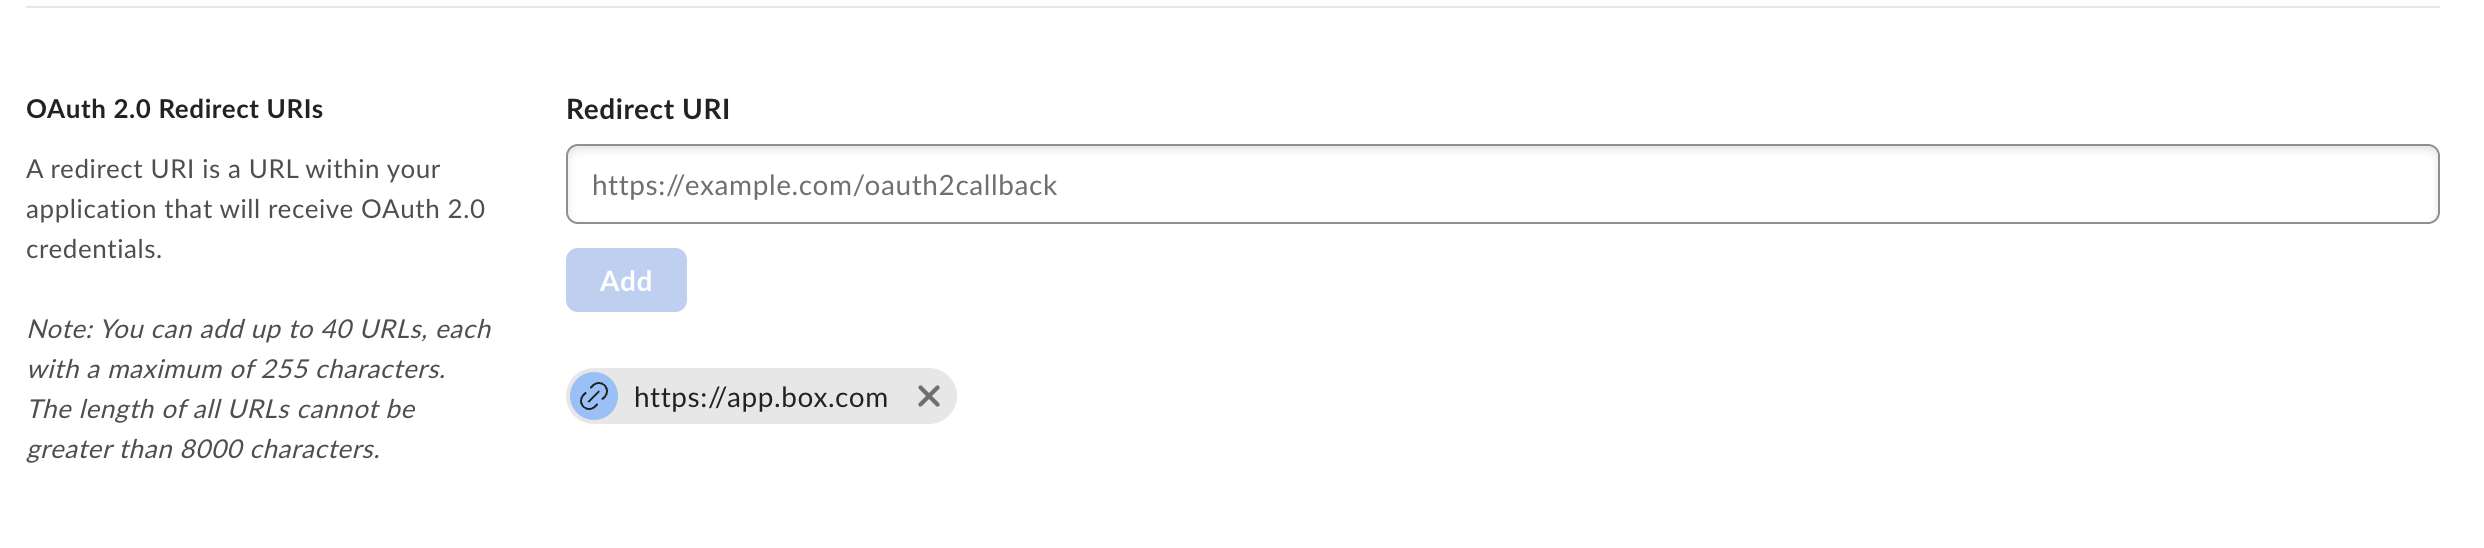
Set Application Scopes
- Under Application Scopes, select the permissions your integration needs:
- Read all files and folders stored in Box: read-only access
- Read and write all files and folders stored in Box: read and write access
- Click Save changes

What the scope choice grants
If you set this up before and ticked both boxes, nothing is broken: read and write already includes reading, so the connector behaves the same. Untick read and write only if you want to drop write access deliberately.
Box application scopes are account-wide:
- Read-only reaches everything the connecting user can already see in Box.
- Read and write reaches all of the same content, with write access as well.
There is no way to confine the app to a single folder. Box's own model is that two things gate every call: the scope your application asks for, and the permissions the connecting user already holds in Box. A user can therefore never grant your app more than they themselves can reach, but within their own reach the grant is not narrowed by folder.
The Apideck connector requests read and write by default. If your integration only reads, select read-only deliberately in both Box and the Apideck connector settings rather than accepting the default.
2. Configure connector in Apideck
Now that you've successfully created your Box OAuth app, you can add the credentials in the configuration of the connector.
Add Credentials
- Go to the Apideck Box connector settings in your Apideck Dashboard
- Under Use your own client credentials, enter the following:
- Client ID: The Client ID you copied from Box
- Client Secret: The Client Secret you copied from Box
- Select the same scopes you enabled in Box previously
- Click Save
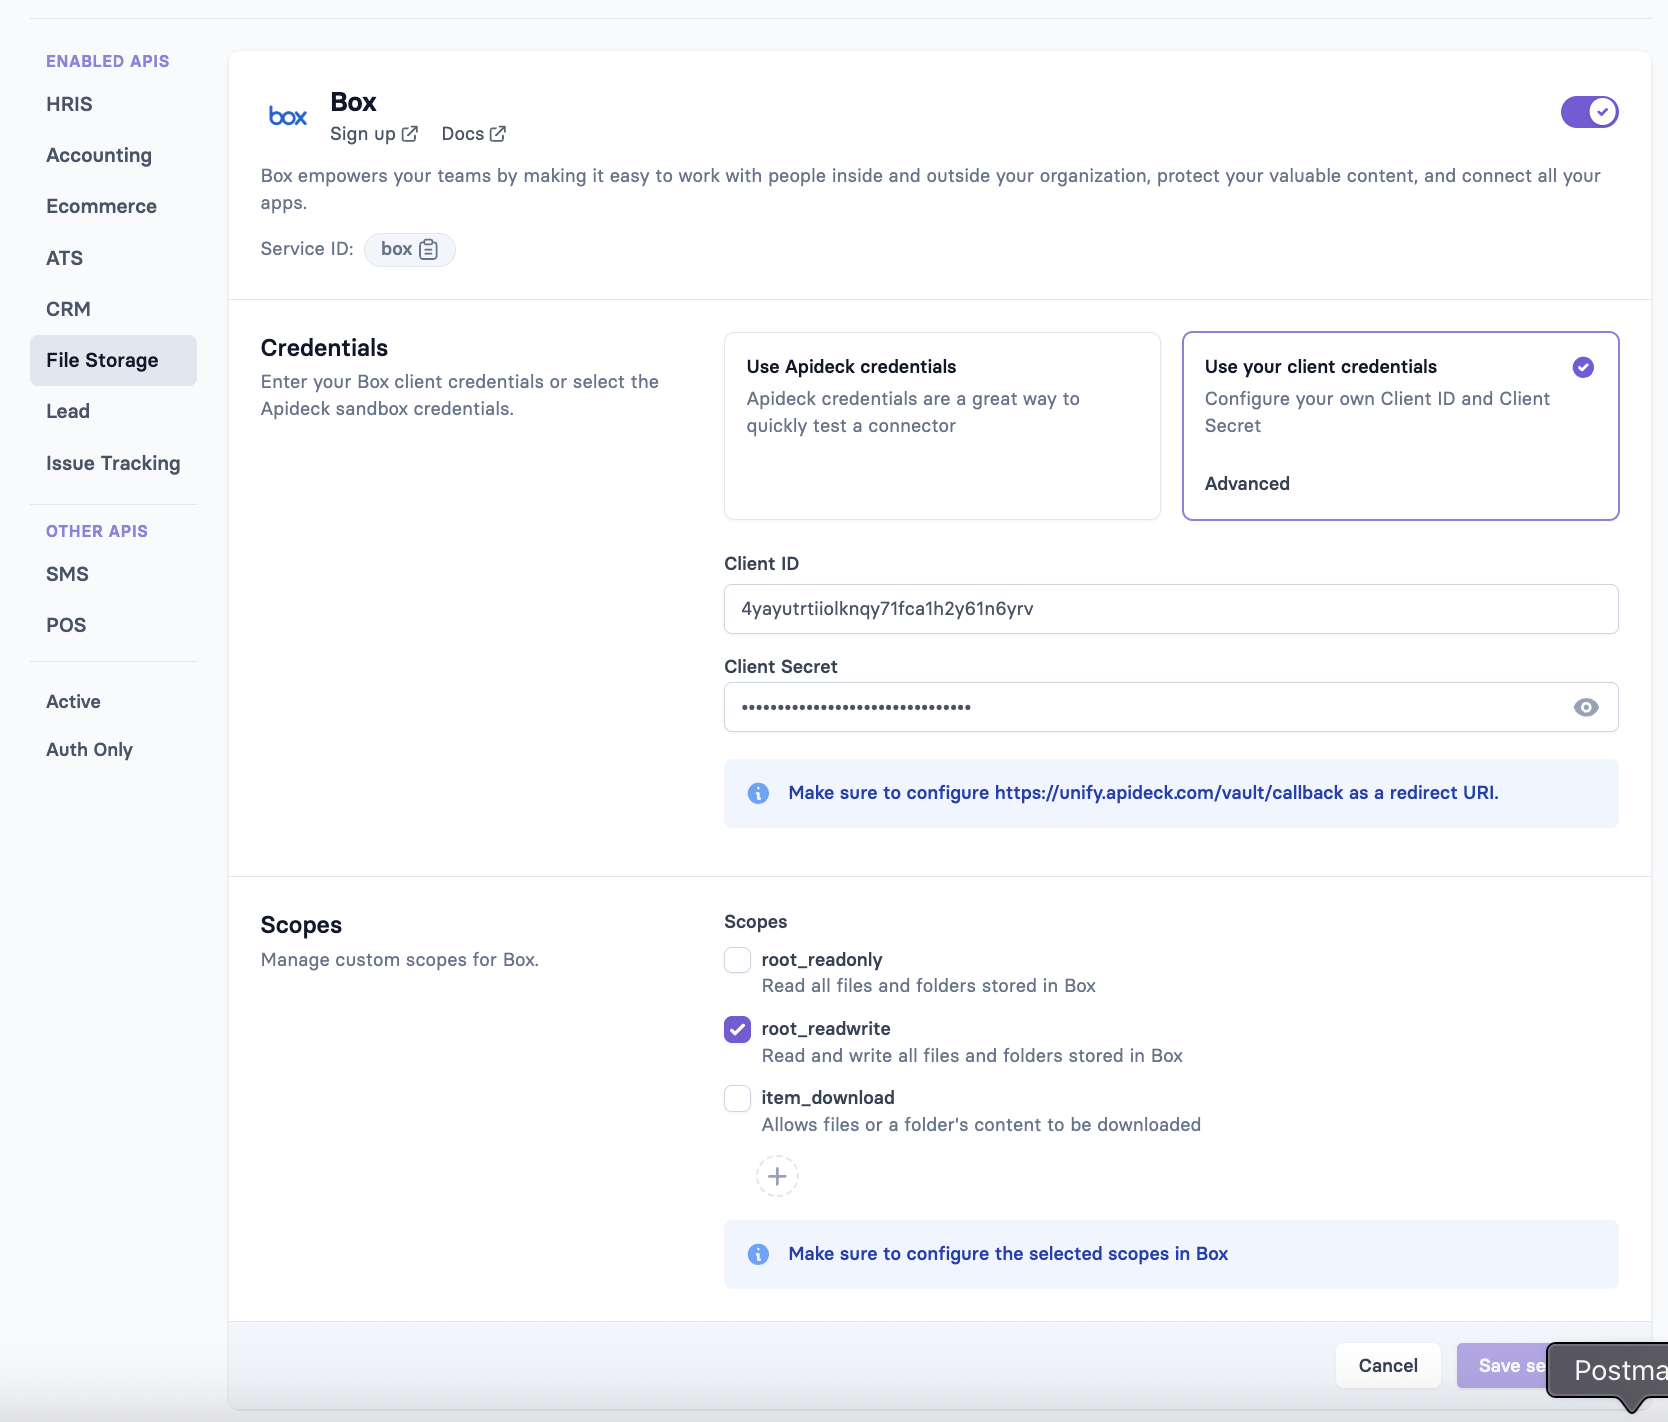
Test the Connection
You can test your Box connector by clicking Test Vault
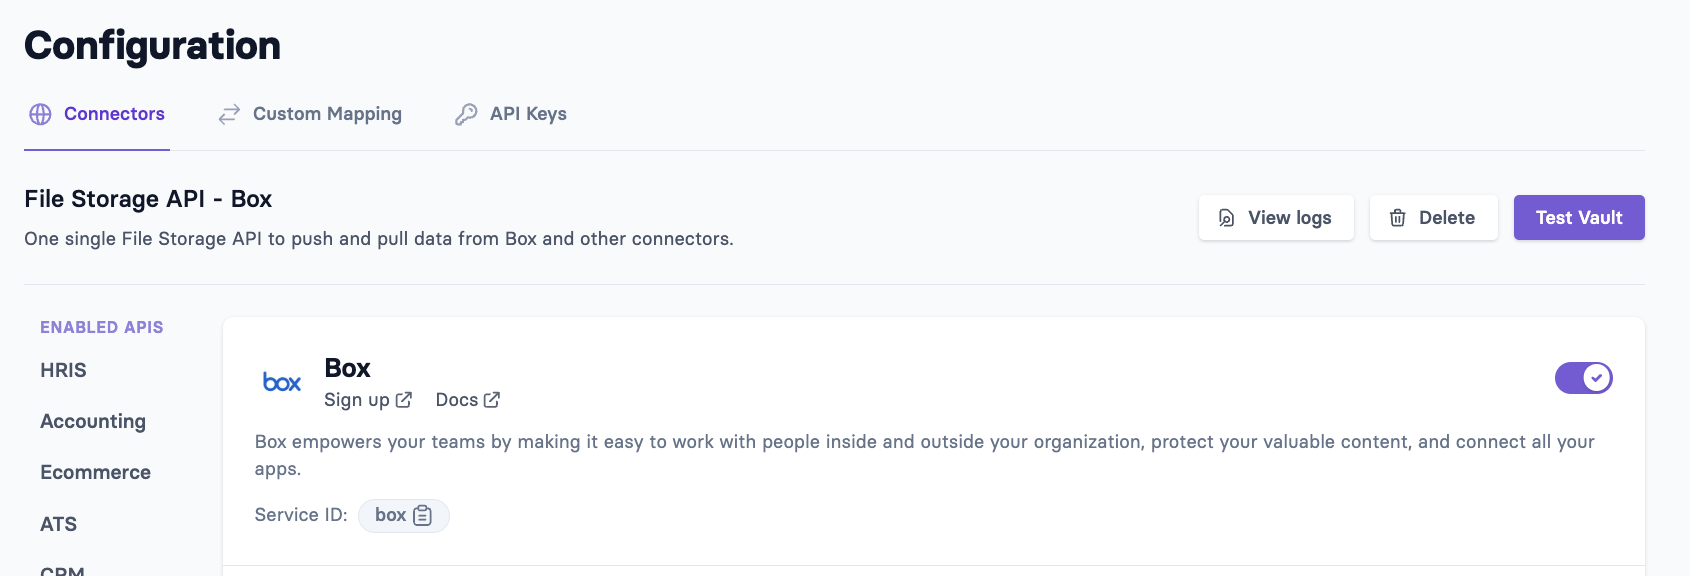
- Click Authorize to start the OAuth flow
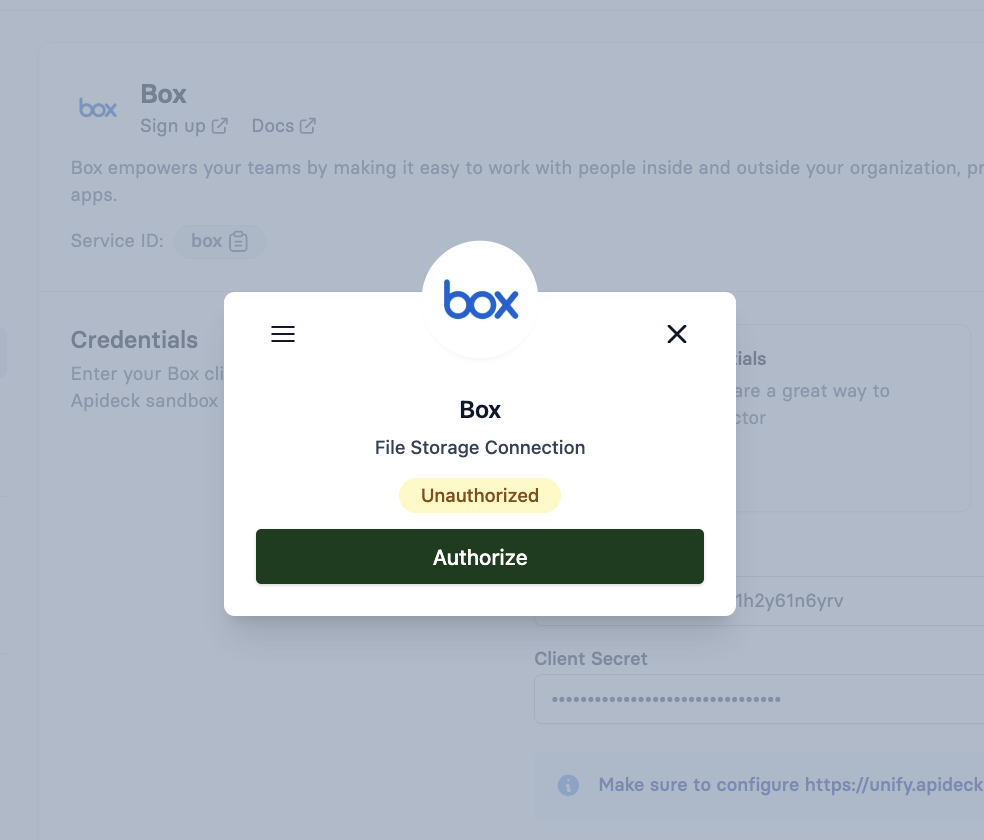
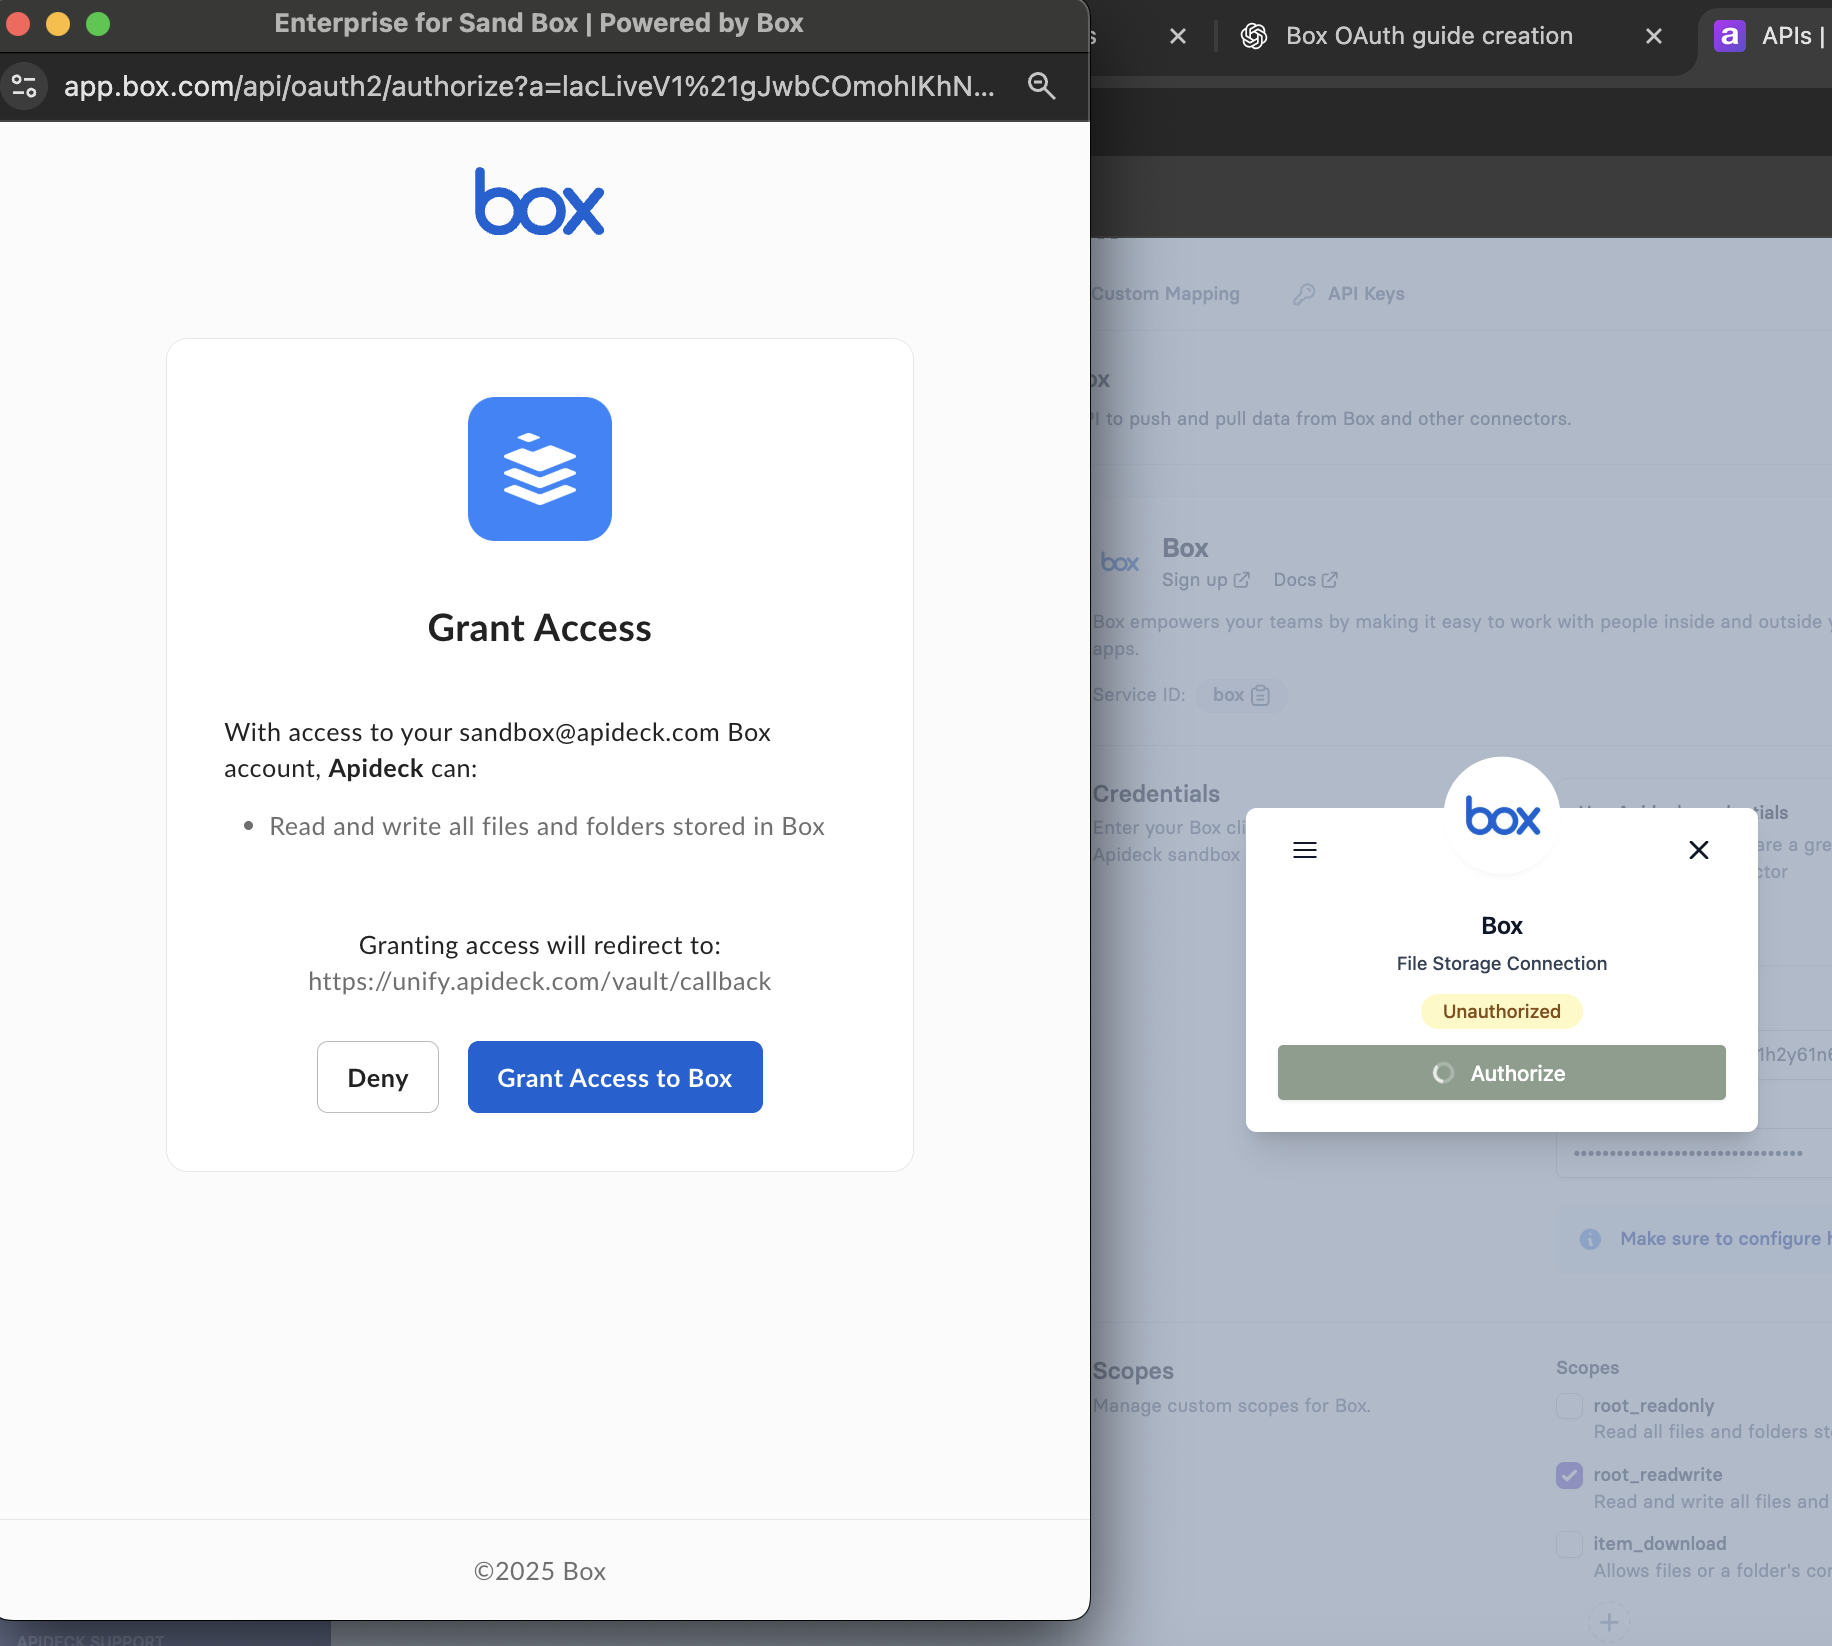
- Grant the requested permissions in the Box authorization dialog
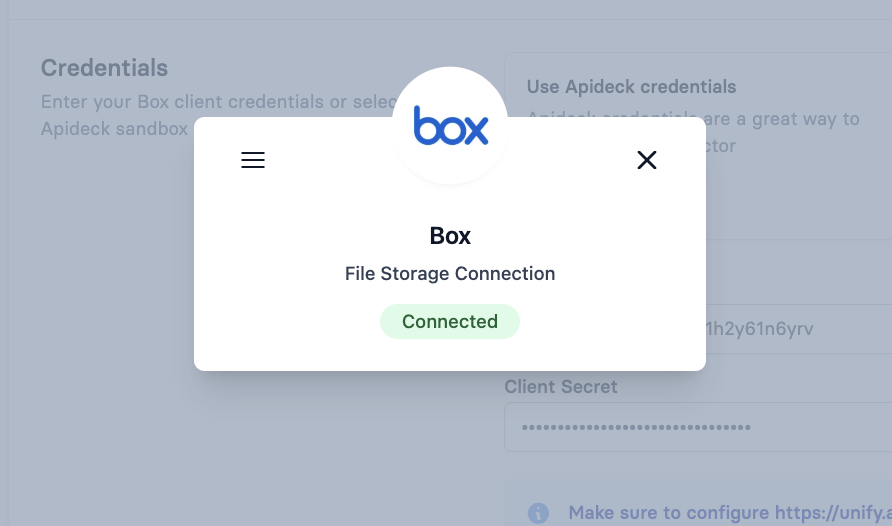
- Your connection should now show as Connected
Enterprise customers and unpublished apps
A Box enterprise can switch on a setting called Disable unpublished apps by default. Most leave it off, which is the default, and where it is off nobody but the connecting user is involved: they authorise your app themselves and the connection works.
Where the setting is on, a user in that enterprise cannot authorise your app until their own Box administrator enables it once:
- In the Box Admin Console, go to Integrations > Platform Apps Manager > User Authentication Apps.
- Find your app by its Client ID.
- Choose Enable from the More menu.
Two points worth being precise about:
- This is a per-enterprise allow decision made by your customer. It is not a Box review, and there is nothing to submit to Box. The administrator toggles it and the user can connect.
- Box documents a blanket administrator-authorisation requirement for Server Authentication apps (JWT and Client Credentials), because those provision a service account that acts on its own. That requirement does not apply to the OAuth 2.0 user-authentication app this guide describes, where the requirement is conditional on the enterprise's own setting.
If you sell to enterprises, expect to be asked for your Client ID so an administrator can find your app in that list. Box's Authorization guide is the page to point an administrator at.
Rate limits
Box applies these limits per user, except where a row says otherwise (see Box's rate limits guide):
| Limit | Value |
|---|---|
| General API calls | 1,000 per minute per user |
| Uploads | 240 per minute per user |
| Search | 6 per second and 60 per minute per user, plus 12 per second across the whole enterprise |
Exceeding one of these returns 429 Too Many Requests with a retry-after header.
Paid Box plans separately carry a monthly licensed API-call allowance: 50,000 on Business, 100,000 on Enterprise and 200,000 on Enterprise Advanced, with extra capacity sold at a published per-thousand-calls rate (see Box pricing). That allowance is a billing ceiling on the Box plan, not the per-minute throttle above. The two are commonly confused: staying inside 1,000 calls per minute says nothing about staying inside the monthly allowance, and the other way round.
Token refresh and the 60-day lapse
Box expires a refresh token 60 days after it was issued, or after a single use, whichever comes first: every refresh returns a new refresh token and invalidates the previous one. Apideck captures that rotation, so you never manage refresh tokens yourself.
Apideck does not wait for that window to run out: it schedules a renewal ahead of the expiry date, so a connection does not lapse simply because nobody has used it. Reauthorisation is needed when the authorisation is actually withdrawn, by the connecting user from their own Box account or by an administrator, or if a renewal cannot complete.
FAQ and troubleshooting
A user says they cannot authorise the app, or the Box authorisation screen refuses them. Their enterprise most likely has Disable unpublished apps by default switched on. Give them your Client ID and point their Box administrator at Enterprise customers and unpublished apps above.
A connection that used to work has stopped, after a quiet period. The authorisation was withdrawn in Box, by the connecting user or by an administrator, or a token renewal could not complete. The connecting user authorises again from Vault to restore it.
Calls start failing with 429.
You are over one of Box's per-minute limits. Respect the retry-after header on the response and spread the traffic; note that uploads and search have tighter limits than general API calls.
Do I need to publish the app to the Box marketplace? No. Publishing is optional and triggers a Box review; using your app privately with Apideck does not.
Why does Box show read and write when I only need to read? The connector requests read and write by default. Change the selection in both the Box Developer Console and the Apideck Box connector settings to read-only.
Still stuck? Contact Apideck Support.