TikTok Shop – Configuration Guide
TikTok is the destination for short-form mobile videos. Our mission is to capture and present the world's creativity, knowledge, and precious life moments, directly from the mobile phone. TikTok enables everyone to be a creator, and encourages users to share their passion and creative expression through their videos.
How to register an OAuth app to connect to the Tiktok-shop API
Apideck enables you to build a native integration with Tiktok-shop. This guide explains how to configure the Tiktok connector.
Before you start, you'll need Tiktok-shop partner account
To create your Tiktok shop Partner account, follow the steps mentioned below:
- Navigate to Tiktok-shop
- Sign up on the portal by providing the details mentioned there.
- When sign up is complete, login to the partner account and follow the doc for onboarding as a developer. Make sure to register as an APP developer.
- After registering as a developer, navigate to the
App & Servicesection from the left menu of the partner account.
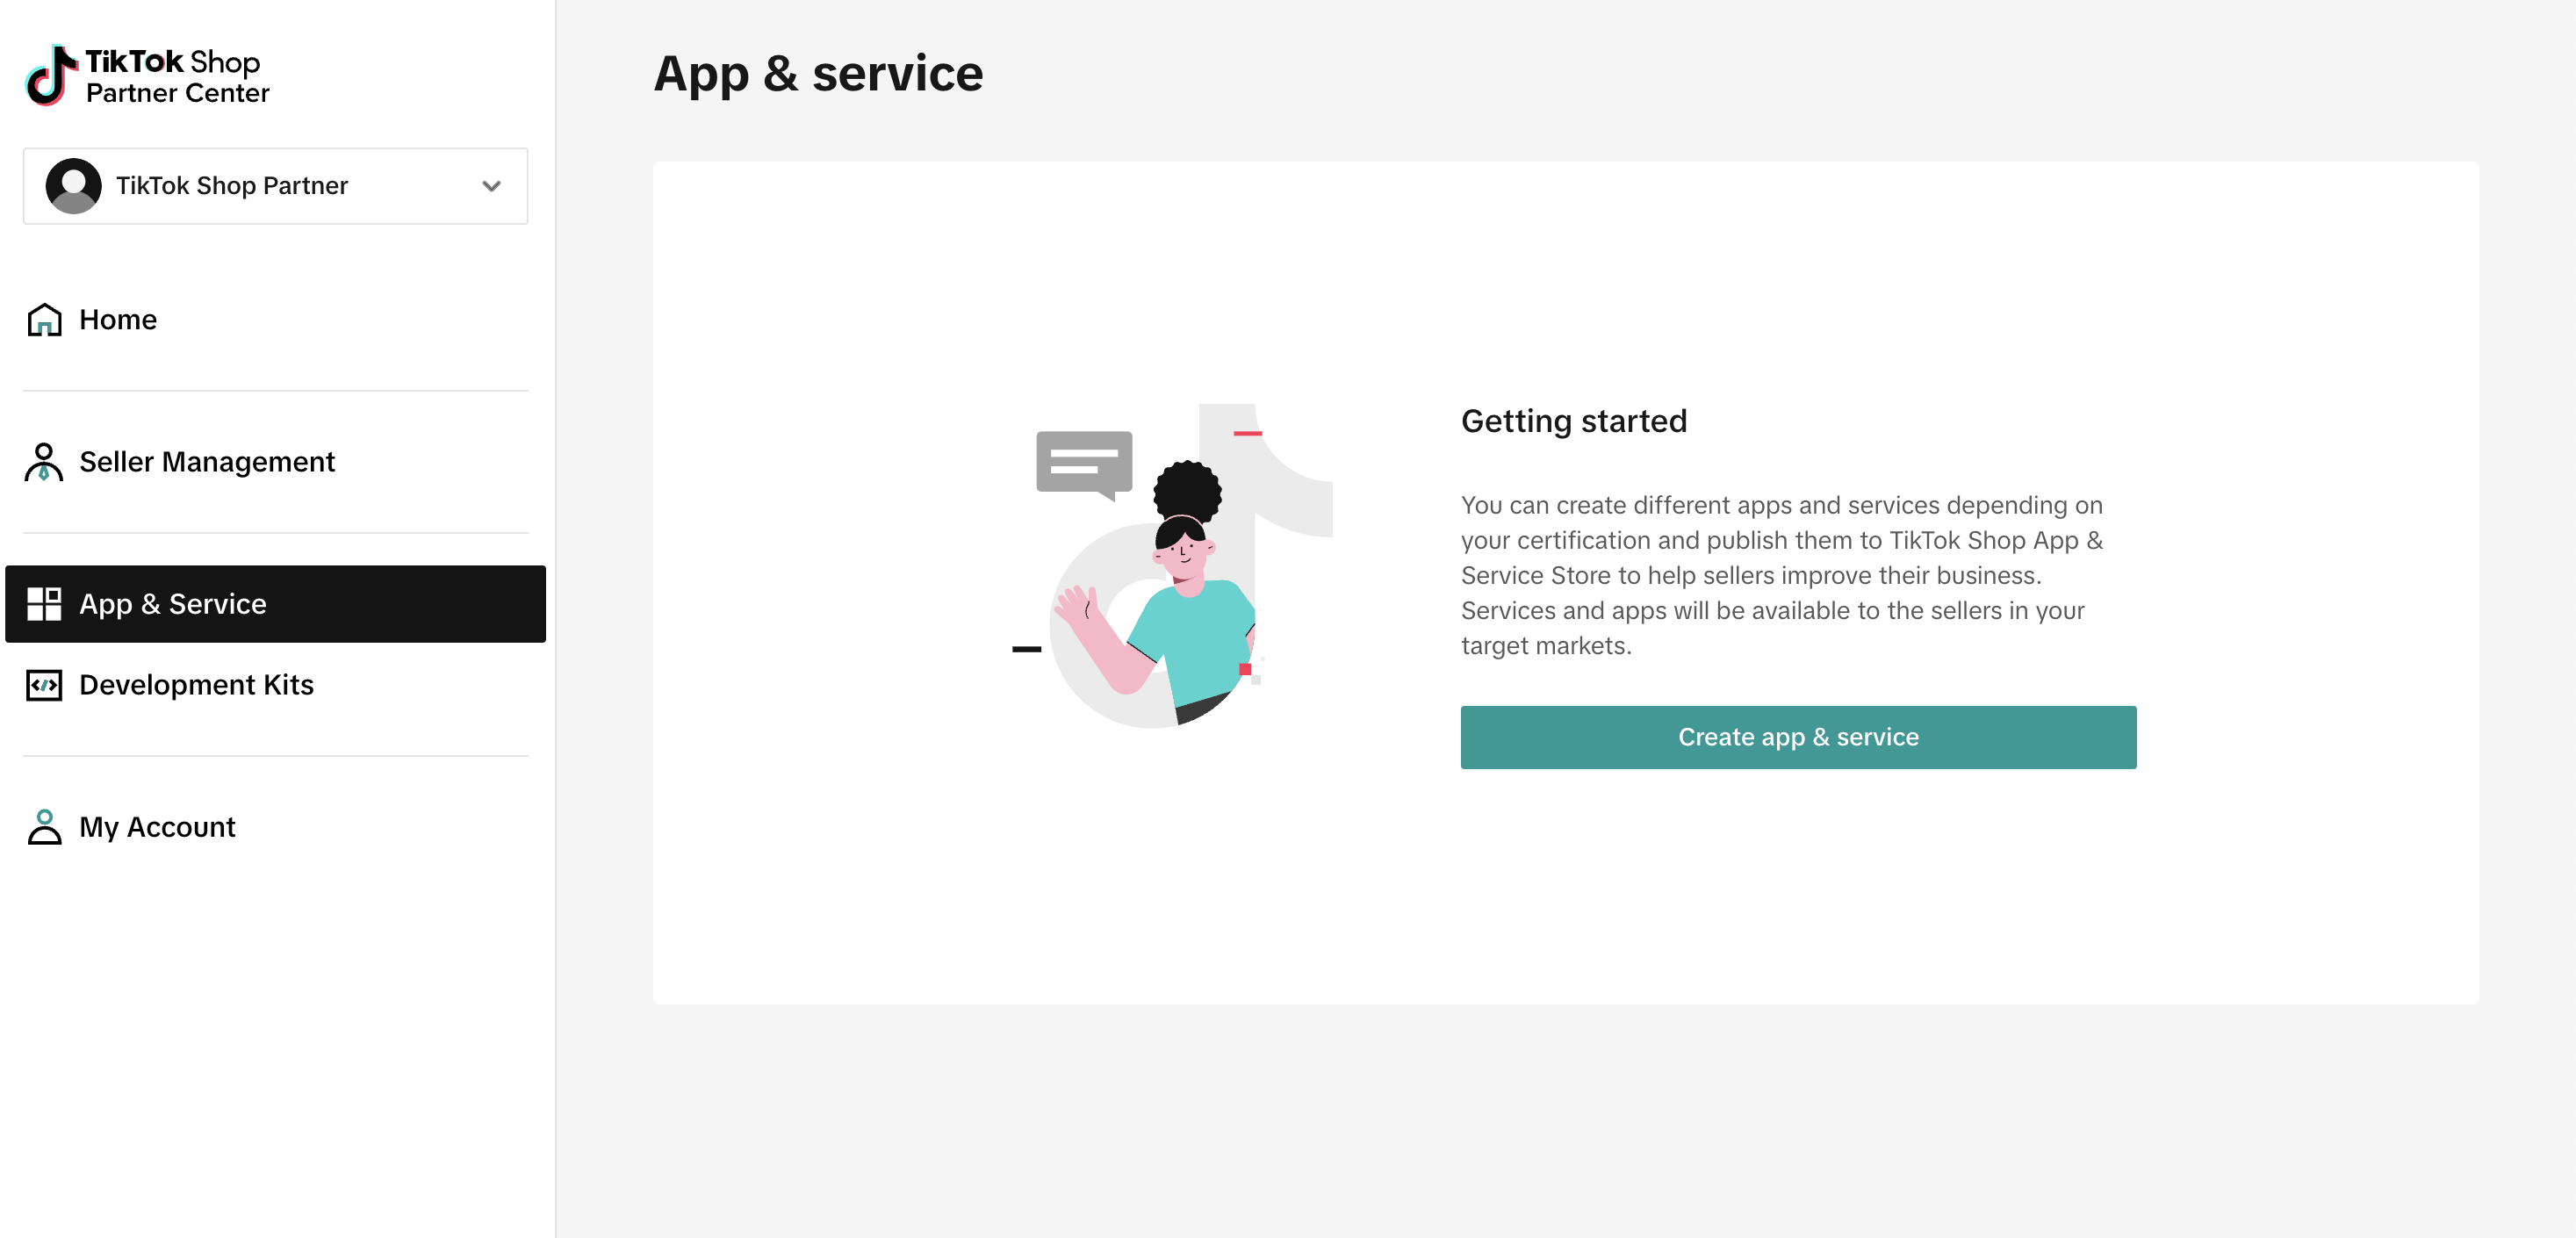
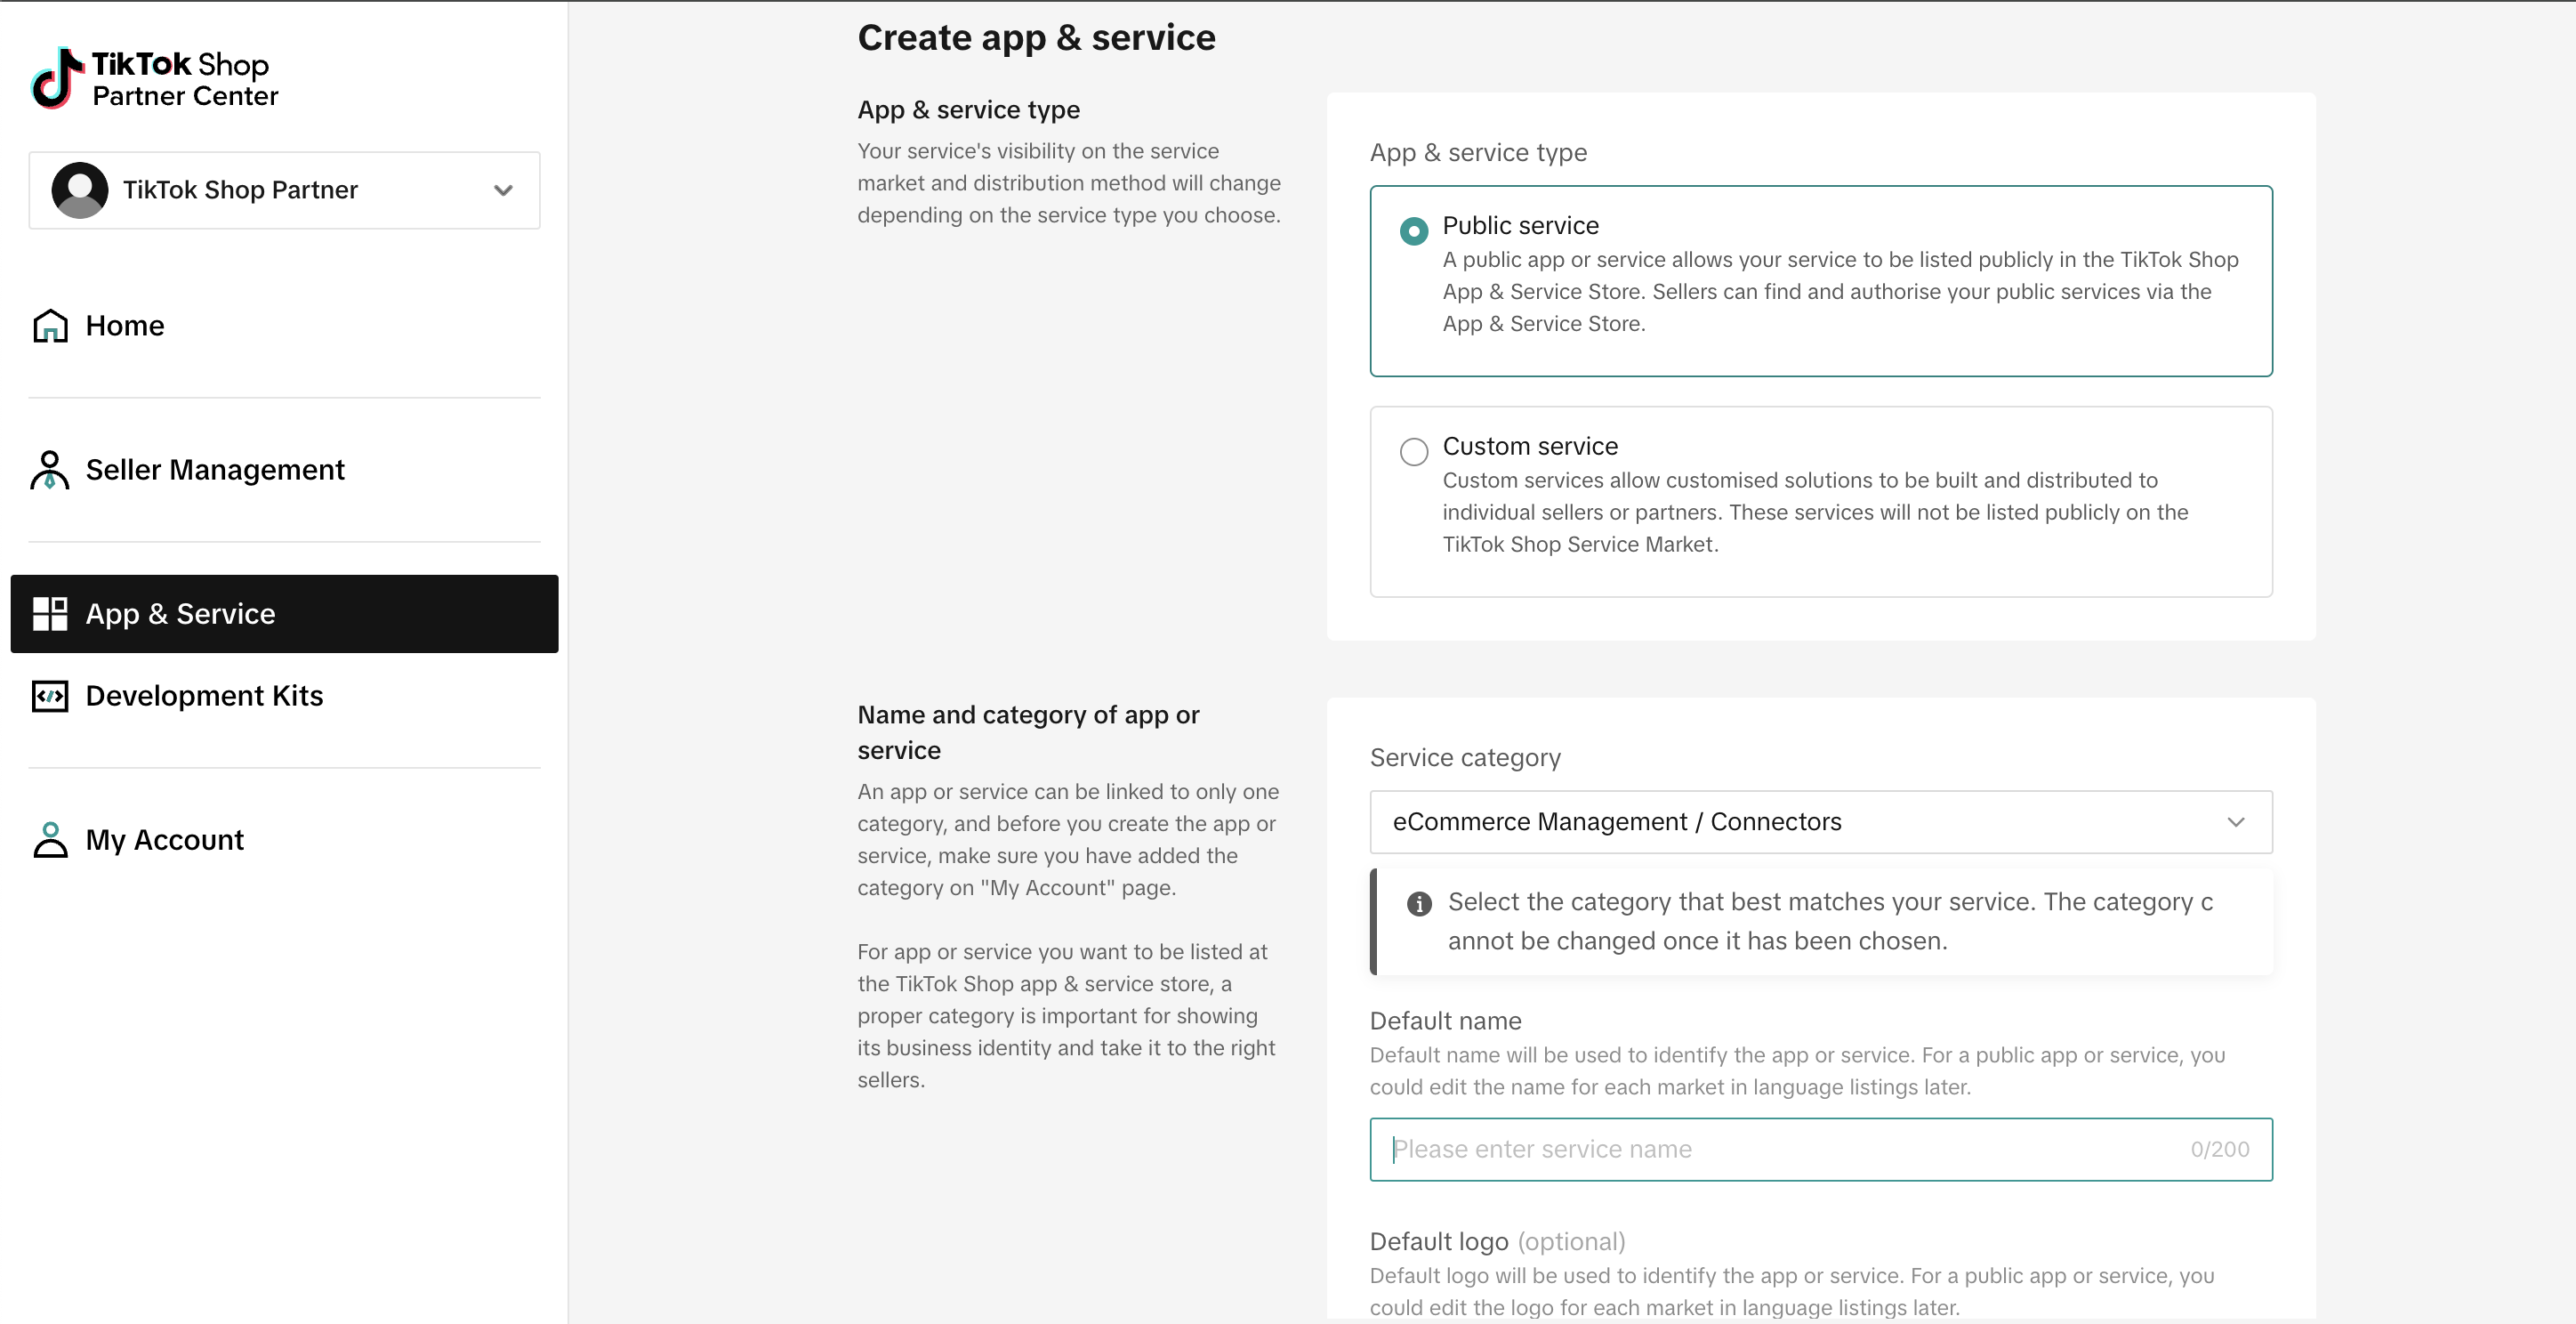
- There will be an option to choose between
Custom AppandPublic App. It is recommended to selectPublic App, but you can also chooseCustom Appand convert it toPublic Applater if needed.
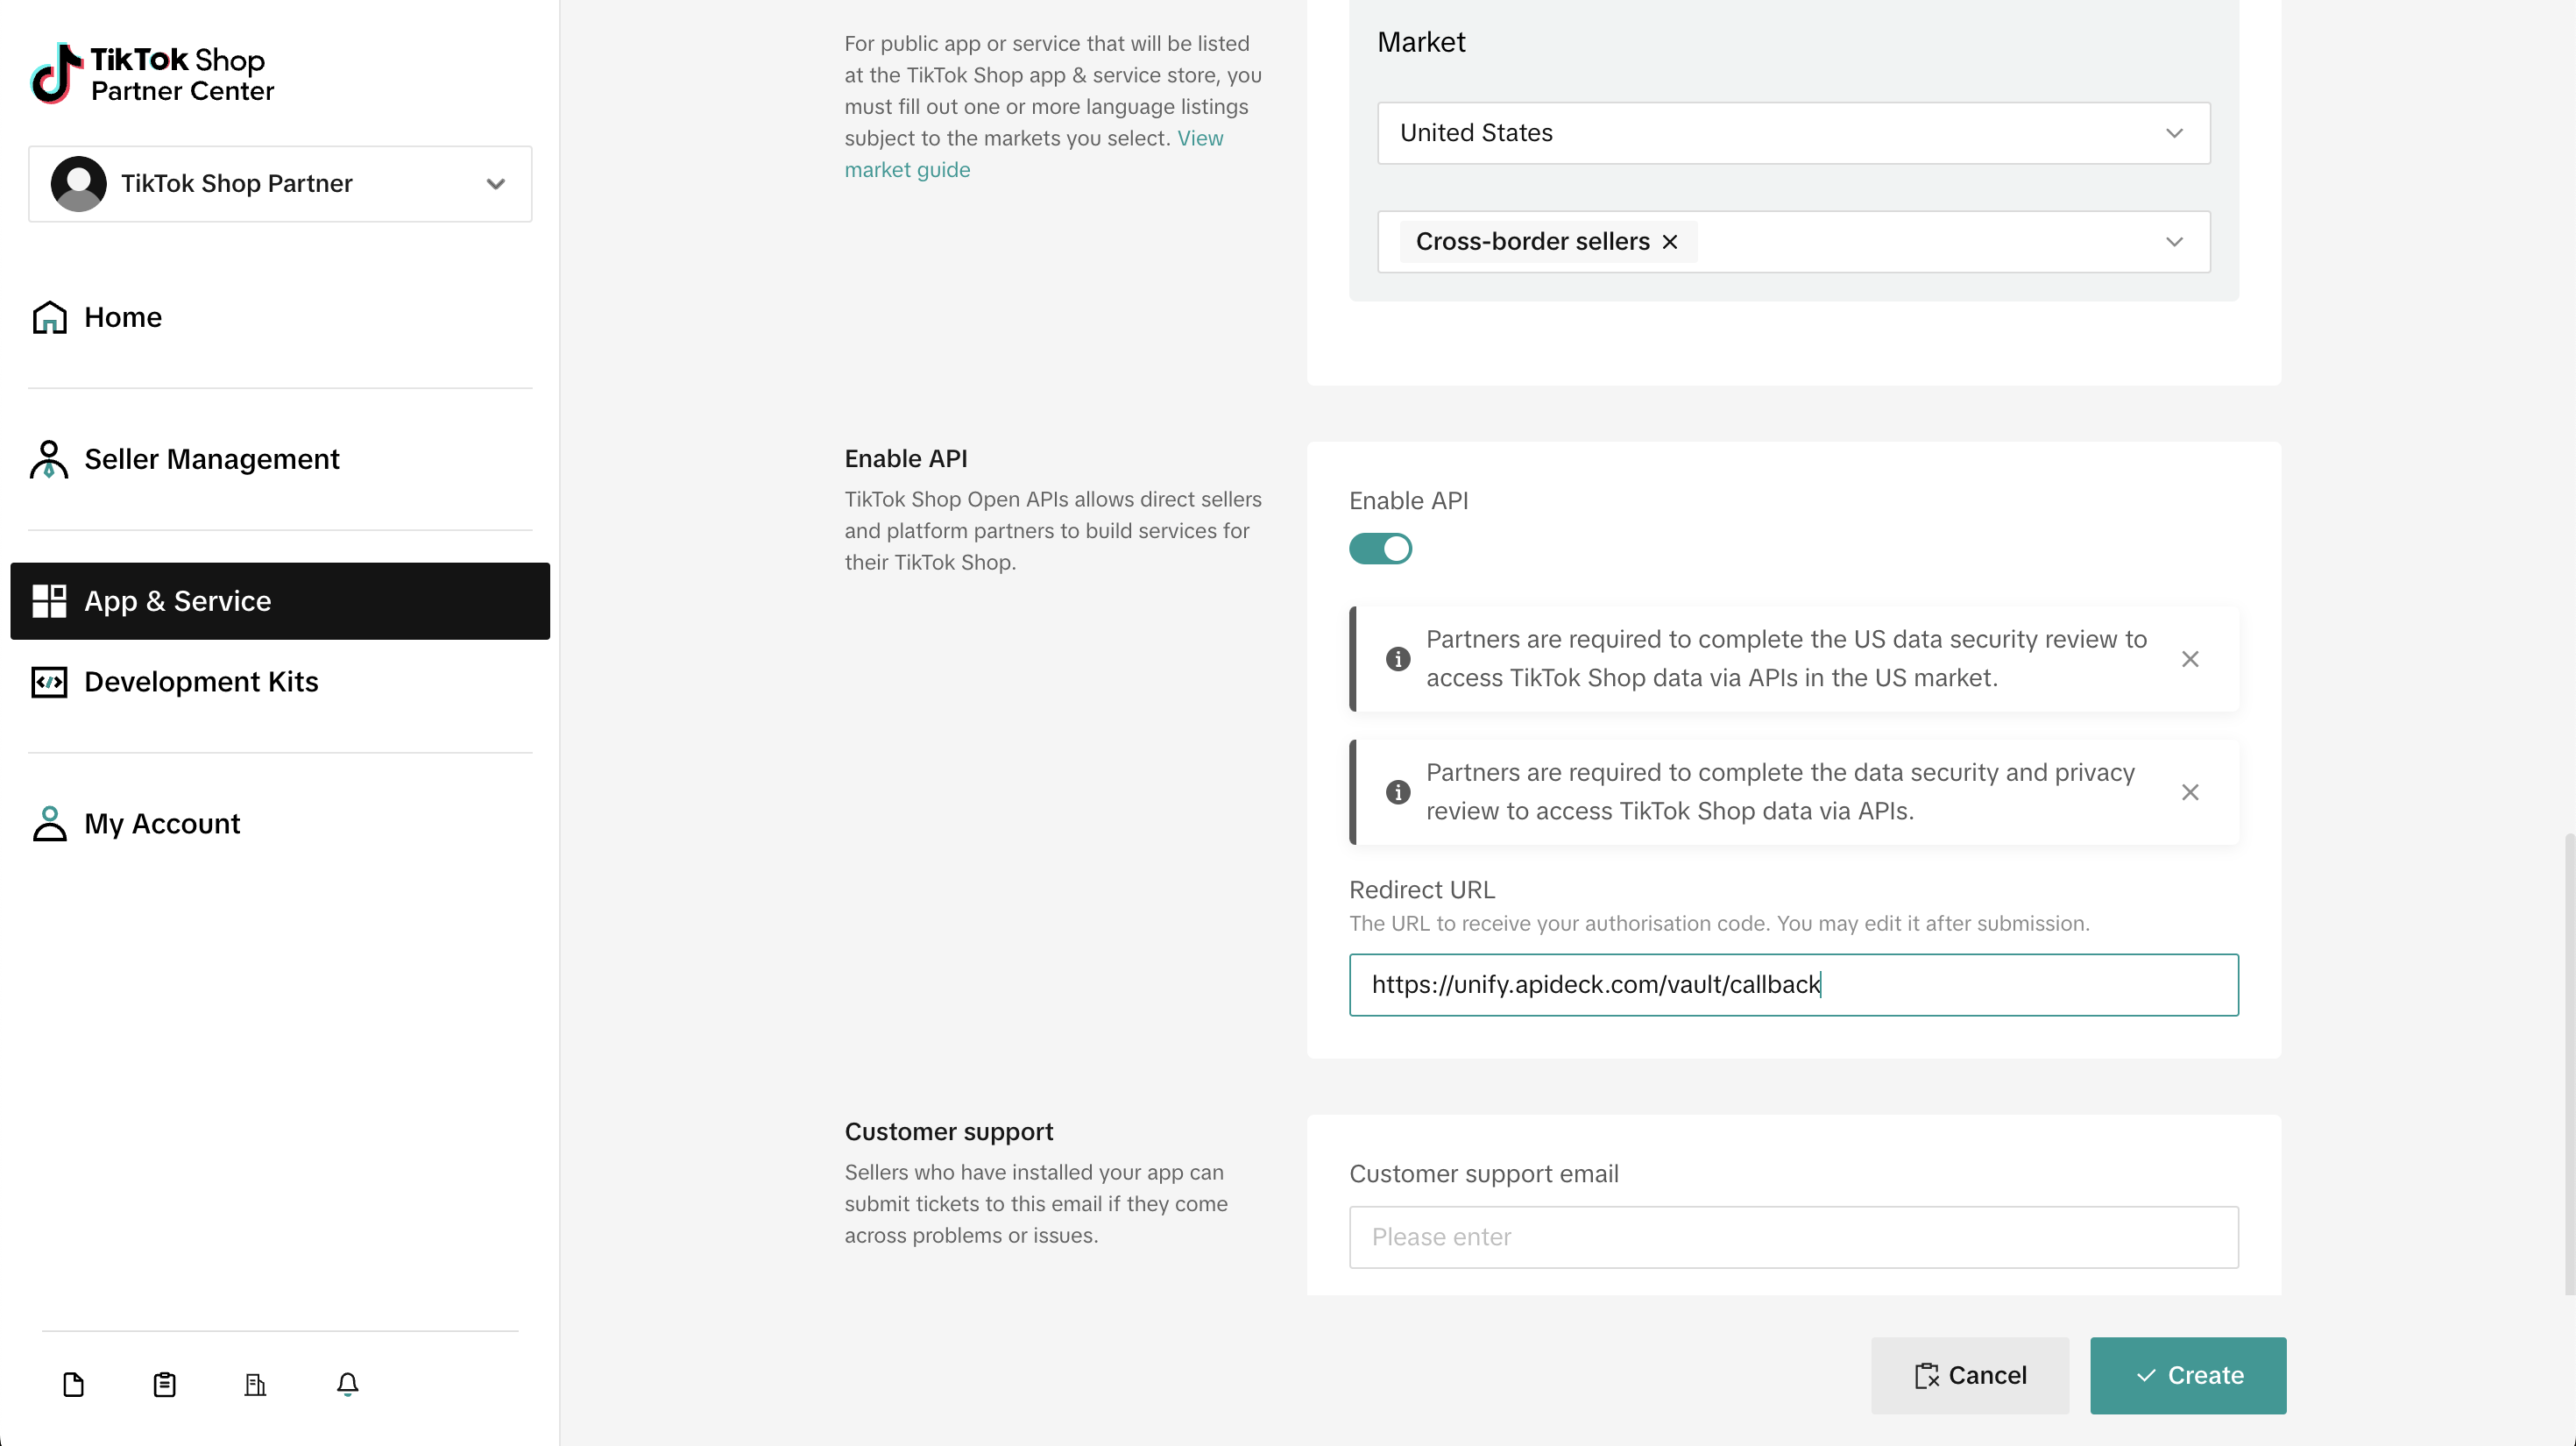
- Make sure to
Enable APIand keephttps://unify.apideck.com/vault/callbackas the redirect URL.
-
Click on
Create Appbutton after filling out the details. -
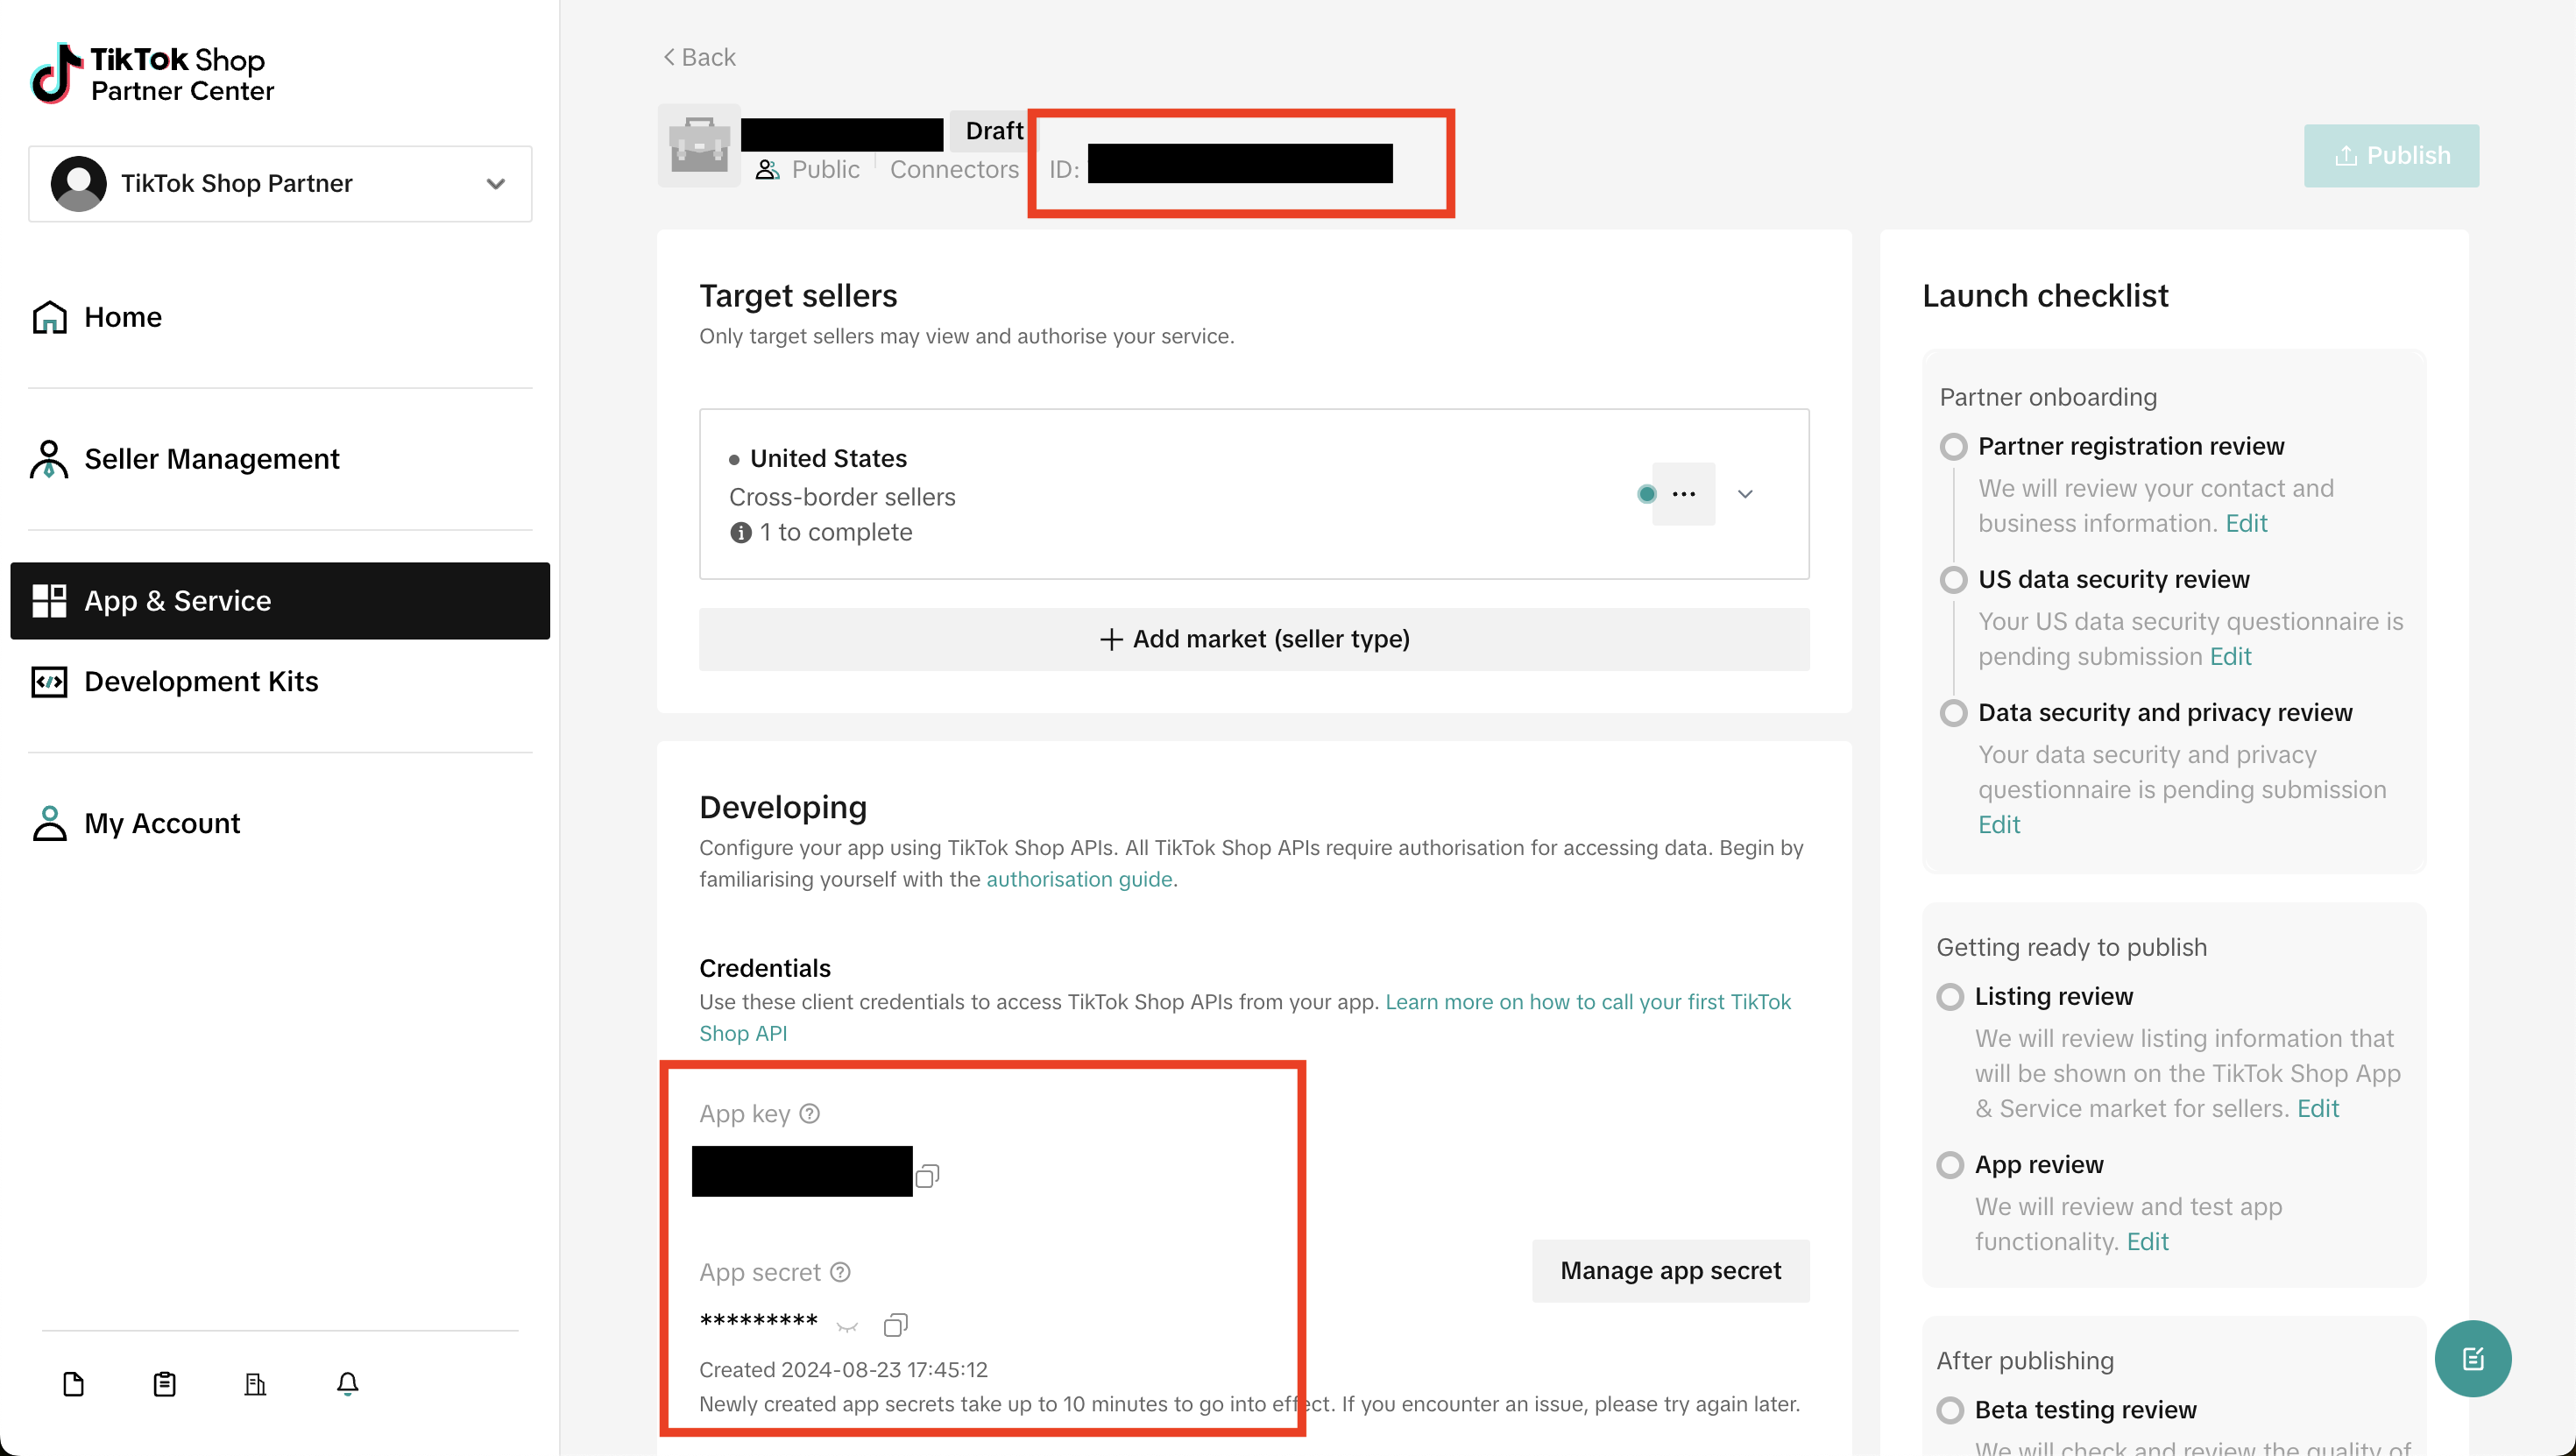
After creating the app, the page will be redirected to the app details page where you can find the
App Key,App SecretandService Id.
-
Scroll below the credentials section then there will be
Basic Infosection. Click on theManage APIbutton. -
Enable the following APIs using search bar:
- Shop Authorized Information
- Product Basic
- Order Information
- Add the
App Key,App SecretandService Idto the vault.
How to retrieve customer details, if they are hidden in the order response
- Go to your TikTok Shop seller center
- On the left menu, click on
Orders->Shipping Templates. Create a shipping template. - Go to
Orders->Shipping Optionsand selectSeller Shipping.

- Orders after the updated settings will have customer details in the response.