QuickBooks Desktop – Connection Guide
QuickBooks Desktop is an on-premises accounting software by Intuit for small and medium-sized businesses, offering invoicing, expense tracking, payroll, and financial reporting capabilities.
Connecting QuickBooks Desktop to Apideck
This guide walks you through connecting your QuickBooks Desktop company file to Apideck so your data can sync through Unify. The connection runs through the QuickBooks Web Connector, a small app from Intuit that lives on the same Windows machine as QuickBooks Desktop.
Step 1 — Open QuickBooks Desktop
-
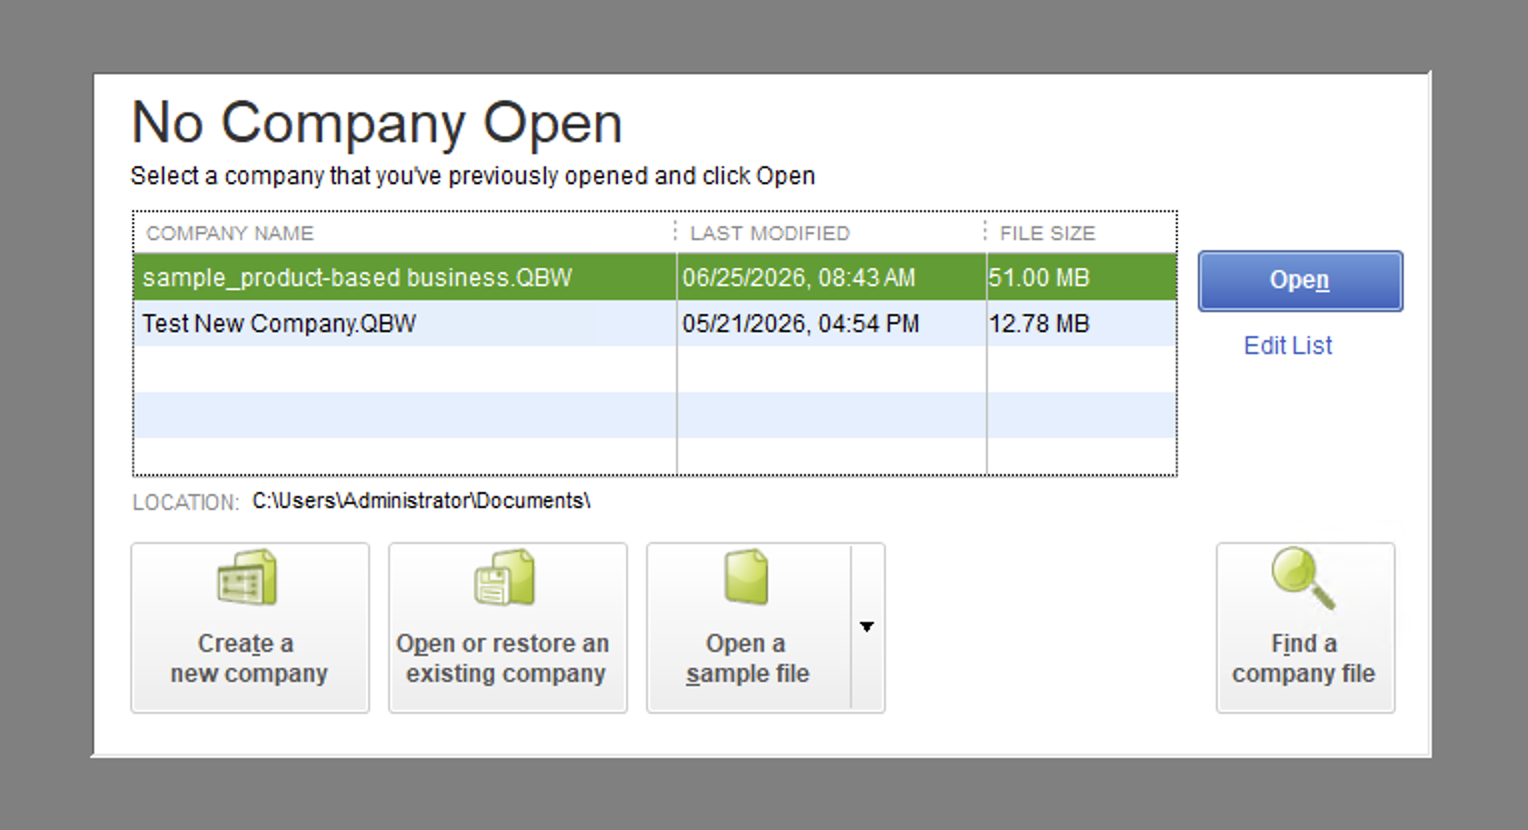
Launch QuickBooks Desktop.
-
Open the company file you want to connect.
-
Leave QuickBooks running — it must stay open during setup and while syncing.
⚠️ Only one company file at a time. Make sure you don't have a second QuickBooks window or a second company file open. The Web Connector refuses to connect if it sees more than one running instance of QuickBooks (see Troubleshooting).
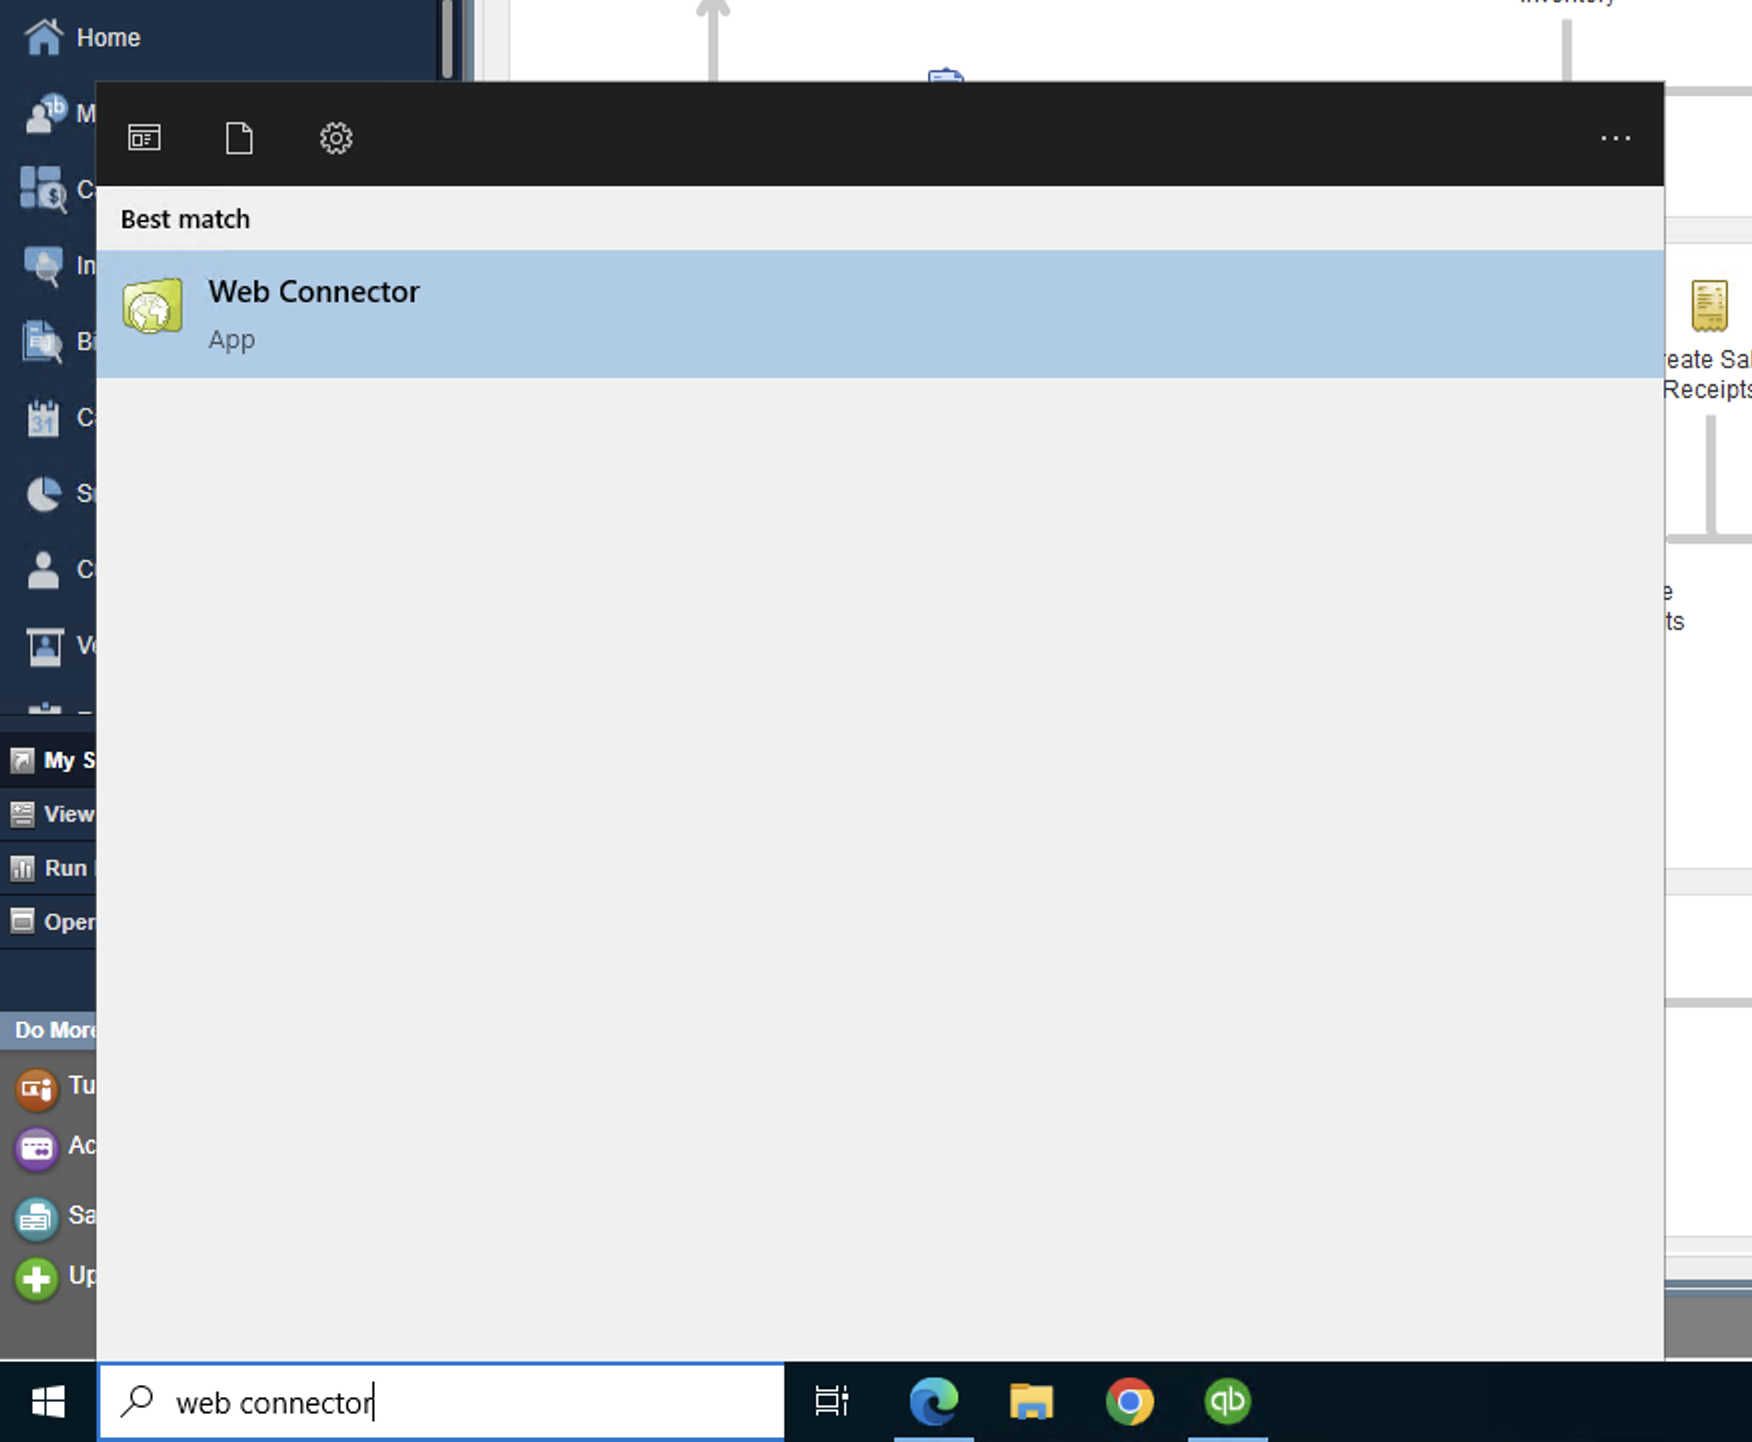
Step 2 — Open the QuickBooks Web Connector
Find it in your Windows Start menu or your QuickBooks program folder, and open it. This is the window that manages the connection and runs the syncs.
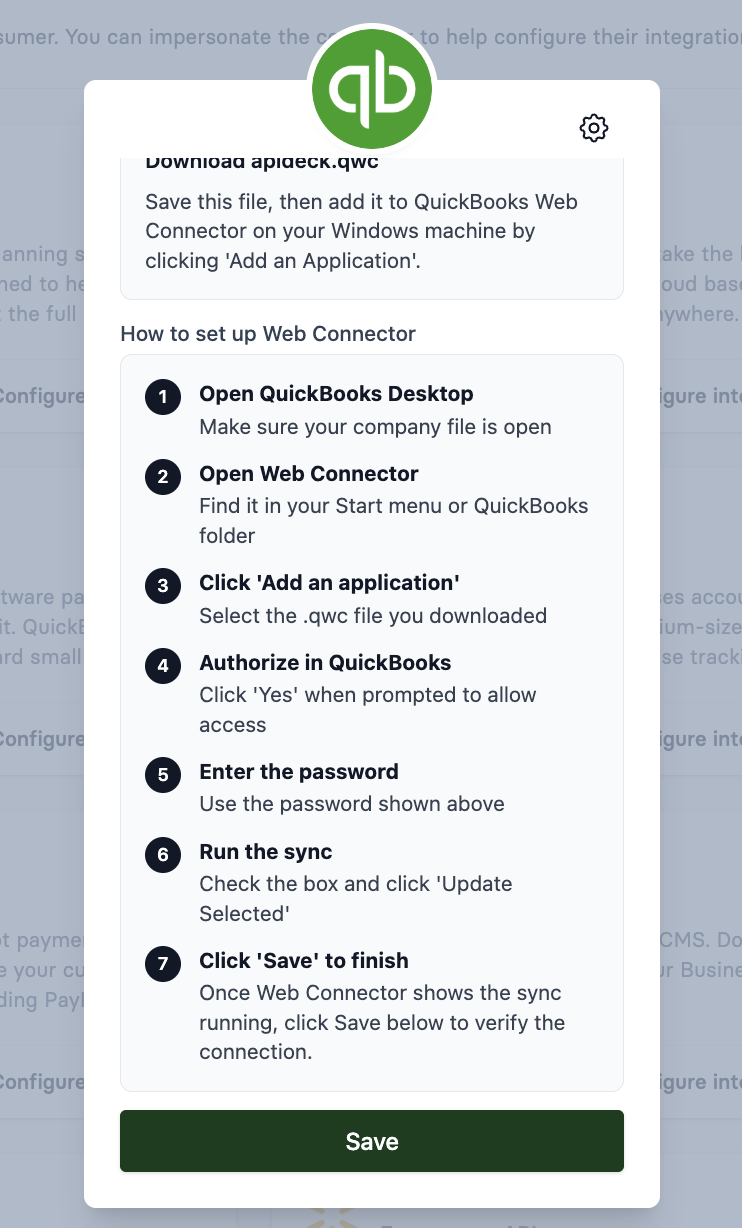
Step 3 — Get your connection file from Apideck
-
In Apideck (Unify → QuickBooks Desktop), open the connection and click Test Vault.
-
Copy the Web Connector Password shown — you'll need it in a moment.
-
Click Download apideck.qwc to save the setup file.

🔑 Keep the password and the
.qwctogether. Each time you download a new.qwc, Apideck generates a new matching password. Always use the password and the file from the same download — mixing an old password with a new file (or vice versa) will fail to authorize.
Step 4 — Add the connection in the Web Connector
-
In the Web Connector, click Add an Application.
-
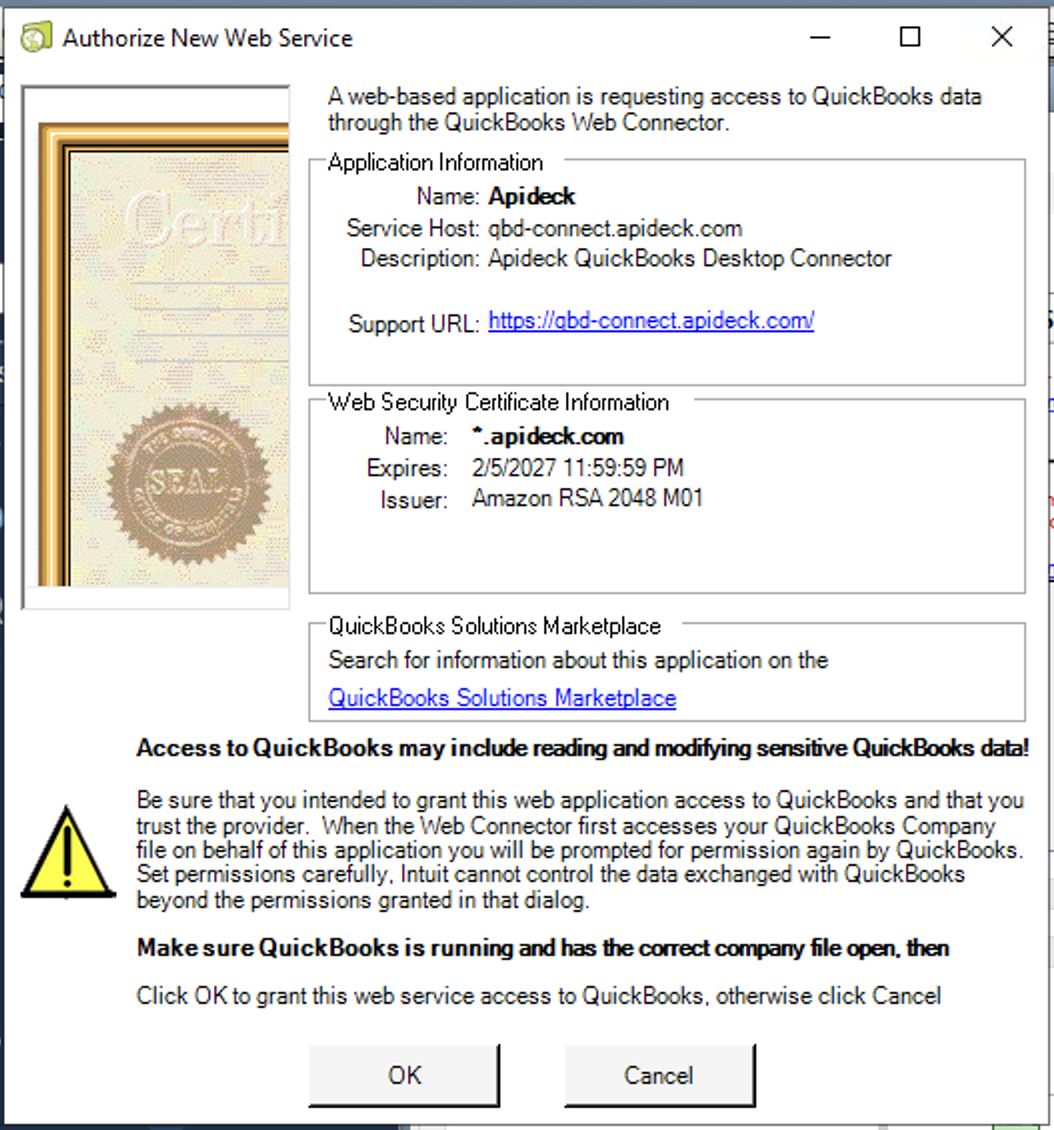
Select the
.qwcfile you just downloaded. -
When QuickBooks asks whether to allow access, choose Yes to authorize it.
-
Paste the password from Step 3 into the Password field for the new row.
-
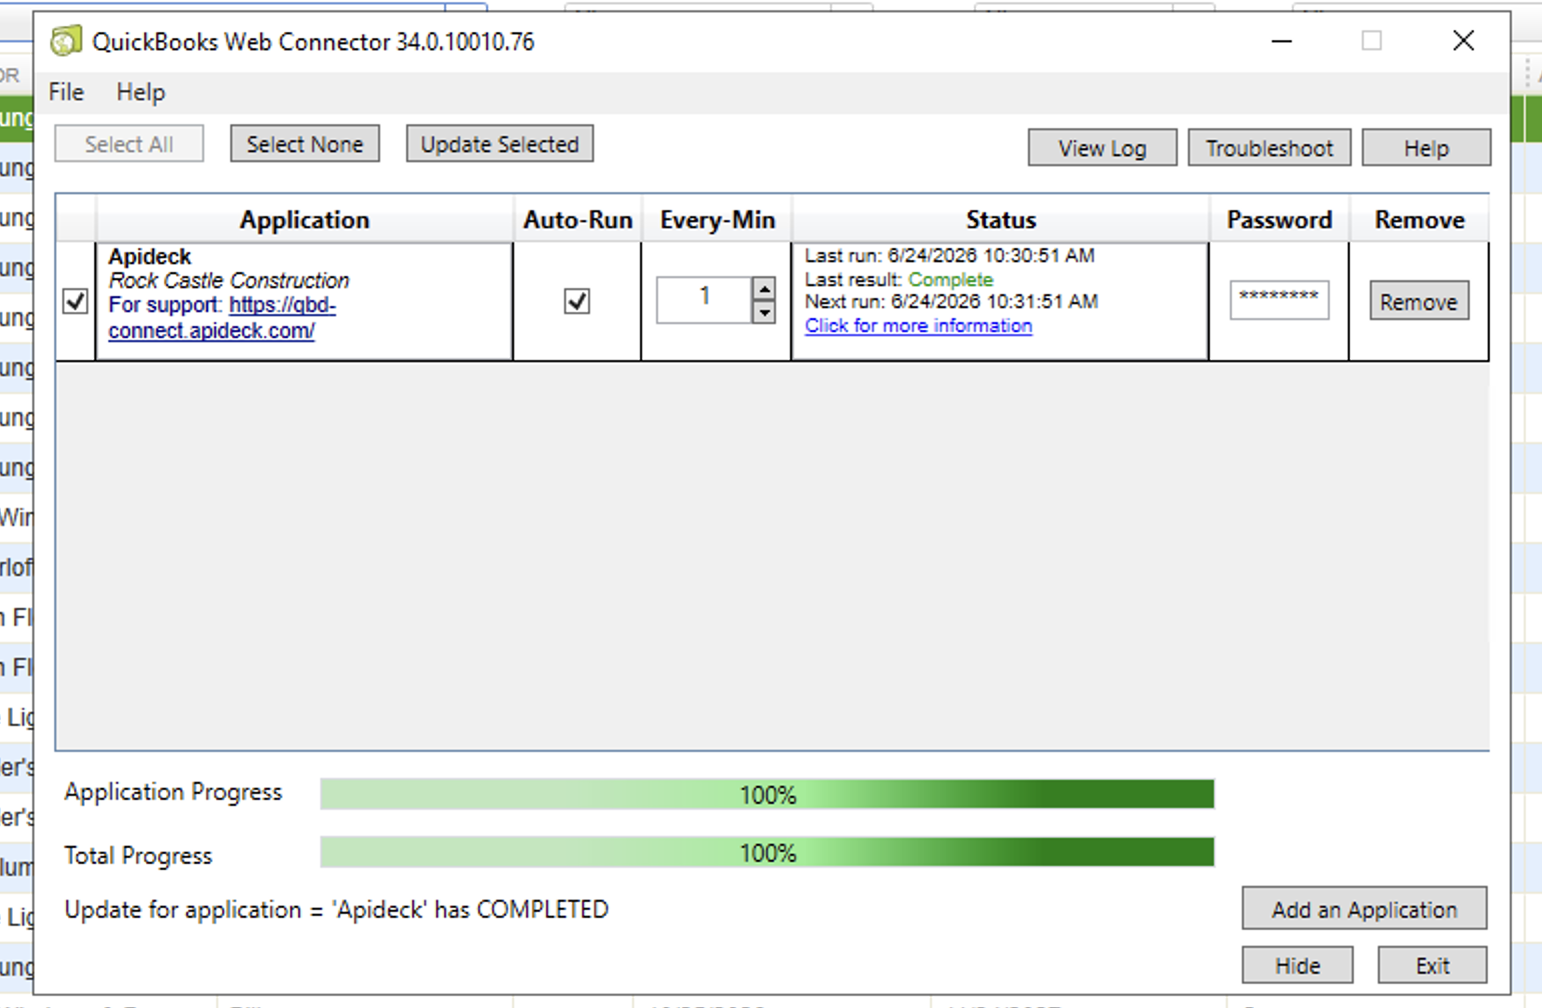
Tick the checkbox next to the Apideck application, then click Update Selected to start the first sync.
Step 5 — Confirm the sync and save in Apideck
-
In the Web Connector, watch the progress bars reach 100% and the Status column show Last result: Complete.
-
Go back to Apideck Vault and click Save to verify the connection.
-
The connection now shows Connected.
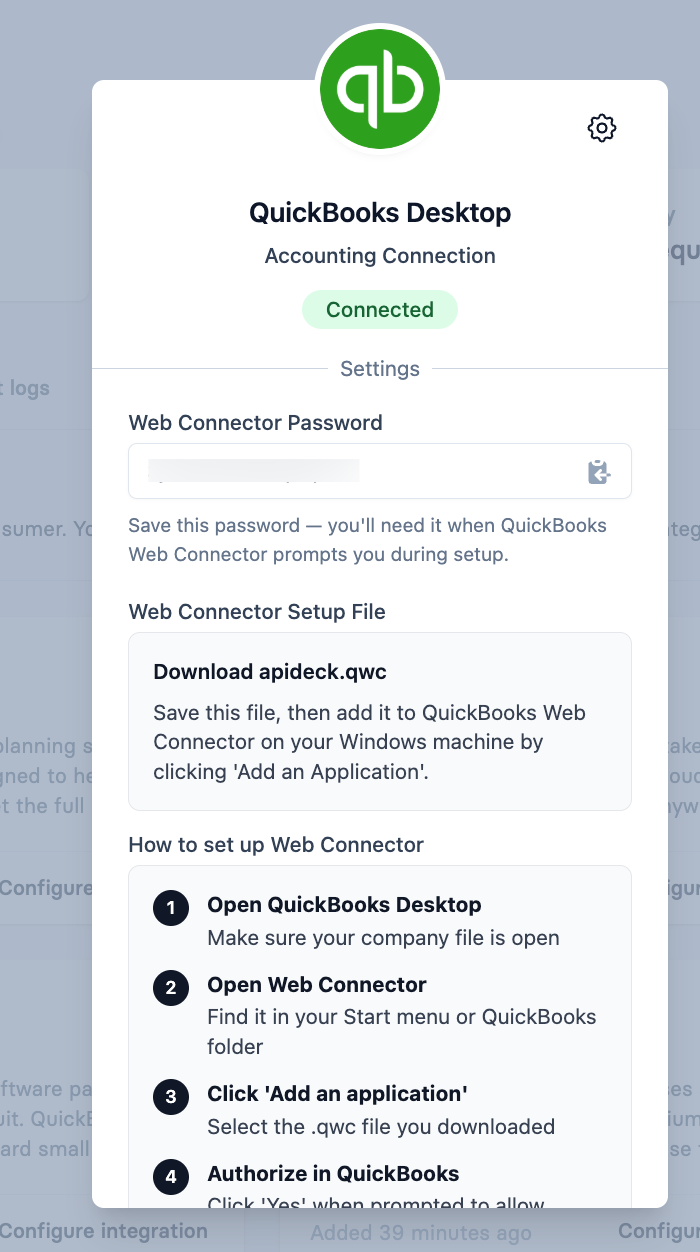
Data now flows between QuickBooks Desktop and Apideck.
Troubleshooting
QuickBooks Desktop error messages are often cryptic and don't say what they actually mean. Here are the ones you're most likely to hit.
| What you see | What it actually means | How to fix it |
|---|---|---|
| QBWC1039 — "not supported while multiple instances of QuickBooks are running" | More than one copy of QuickBooks Desktop is open. The Web Connector only connects when a single instance is running. | Close all QuickBooks windows. If needed, open Task Manager and end any extra QBW32.exe processes. Reopen QuickBooks once with a single company file, then retry Update Selected. |
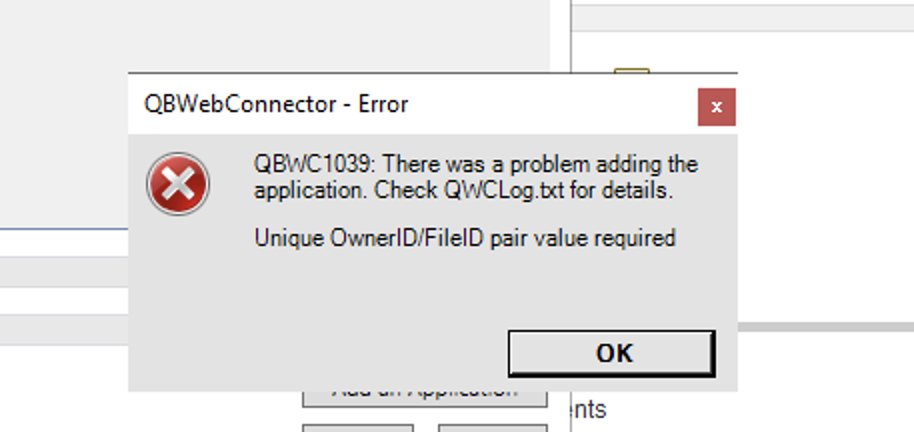
| QBWC1039 — "Unique OwnerID/FileID pair value required" (also appears as "index cannot be zero") | An Apideck application is already registered in the Web Connector with the same ID, so it won't add another. Both error messages are the same problem. | Re-downloading the .qwc alone won't fix this. Remove the existing Apideck app from the Web Connector, delete the connection in Apideck Vault, then recreate the connection, download a fresh .qwc + password, and add it again. |
| Status stuck on "Unauthorized" | The password and the .qwc file don't match. | Re-download the .qwc and copy the new password from the same download. Use them together. |
| "Last result: Another update in progress" | A previous sync is stuck in a stale state. | Close the Web Connector completely and reopen it, then run Update Selected again. |
| Sync silently stopped / data looks stale | The Web Connector was minimized, closed, or the machine slept/shut down. | Reopen the Web Connector and leave it running (not minimized). See "Why did syncing suddenly stop, or why is my data a few days behind?" below. |
Common questions
Why did syncing suddenly stop, or why is my data a few days behind?
Almost always because the QuickBooks Web Connector isn't running — this is the single most common cause of "it stopped working," and it's a QuickBooks limitation. Keep the Web Connector open:
- Don't minimize the Web Connector window. Minimizing stops the automatic sync. The window can sit in the background behind QuickBooks, but it must stay open.
- Don't close it or shut the machine down if you want syncing to continue. If the computer sleeps, logs out, or powers off, the connection stops until the Web Connector is open and running again.
I made a change in QuickBooks but don't see it in Apideck yet — is something broken?
No. With auto-run on (the default, every ~1 minute), the connection syncs on a short cycle in the background rather than instantly. If you create or change something and don't see it reflected right away, wait about a minute. That delay is normal, not a sign something is broken.
Getting help
If you run into something not covered here, contact support@apideck.com. For connection or authorization problems, it helps to include the Web Connector log: in the Web Connector, click View Log, scroll to the bottom for the most recent entries, and share those (the log can be very long, and only the latest entries are useful).